Warning
This video is a little older, and you will notice that our home page looks quite different. Almost all information is accurate, but when entering a users cell phone, the service provider is no longer required.
Add Office User
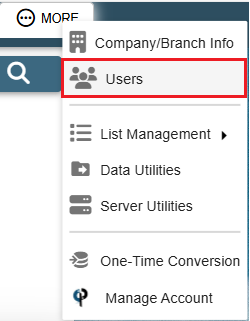
Go to More -> Users
Then click on Add

Set Up a New Office User's Information/Settings
General Tab
General Info Section
Type in your Users First and Last Name and Hire Date.
Make sure the box labeled "Active" is checked. This allows the user to log into CenPoint.
If the Active box is unchecked the user can't do anything in CenPoint.
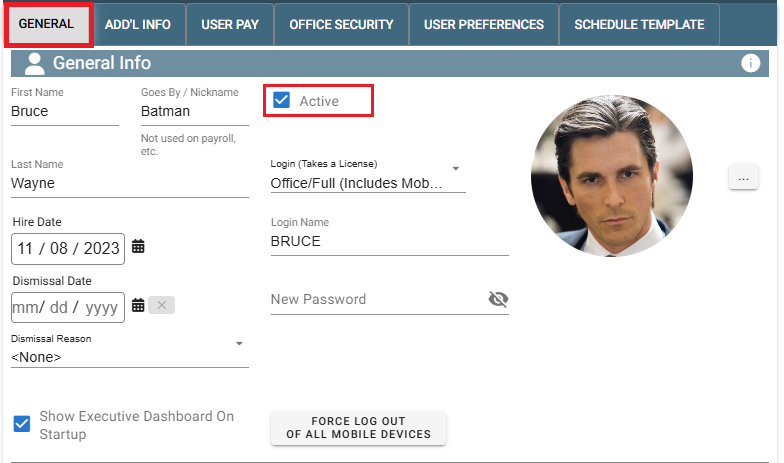
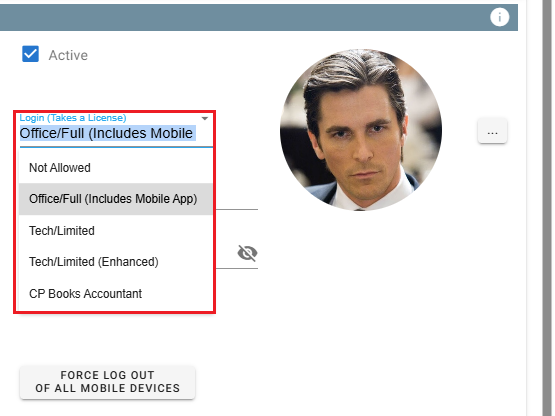
Since this is an office user select Office/Full User as their Login type.
This means they can use both the desktop and Mobile versions of CenPoint.
Security levels for this user can be set under the "Office Security" tab.
Feel free to click this link to jump farther down on this article where it talks more about it: Office Security Tab
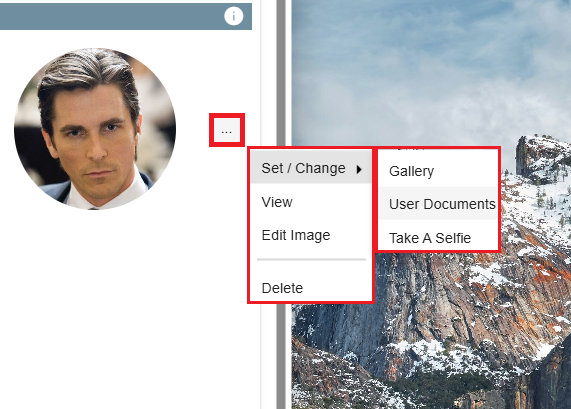
To add a Profile Picture simply click the Ellipsis -> Set/Change-> choose whether the photo comes from your Gallery on your device, any User Documents that may have been previously uploaded, or if you'd like to take a selfie right then and there.
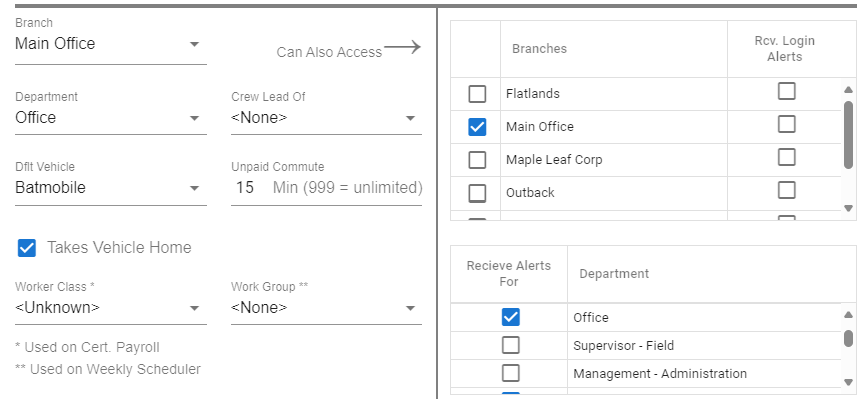
Select a Main Branch for this office user, then select any additional branches this office user may have access to.
Select the department and if they have an assigned vehicle.
Then select all the departments where they can receive alerts.
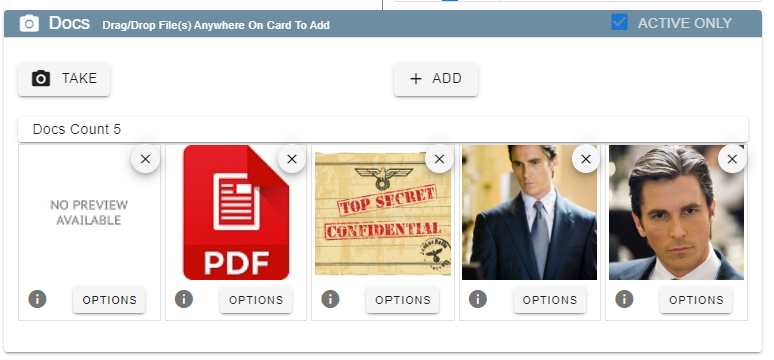
Documents
Upload any documents for pictures associated with this user like an employee photo, driver's license, contract, etc...
Buttons at Bottom of General Tab
Click the 'Email or Text' button to easily send download links
to your new user for the desktop and mobile installation.

Click the 'User Log' button to see a list of notes about your user.
Some examples of User Logs would be noting that they were on vacation, or logging customer feedback about them.

Click the 'Audit Log' button to see a log of which users have changed what settings recently.

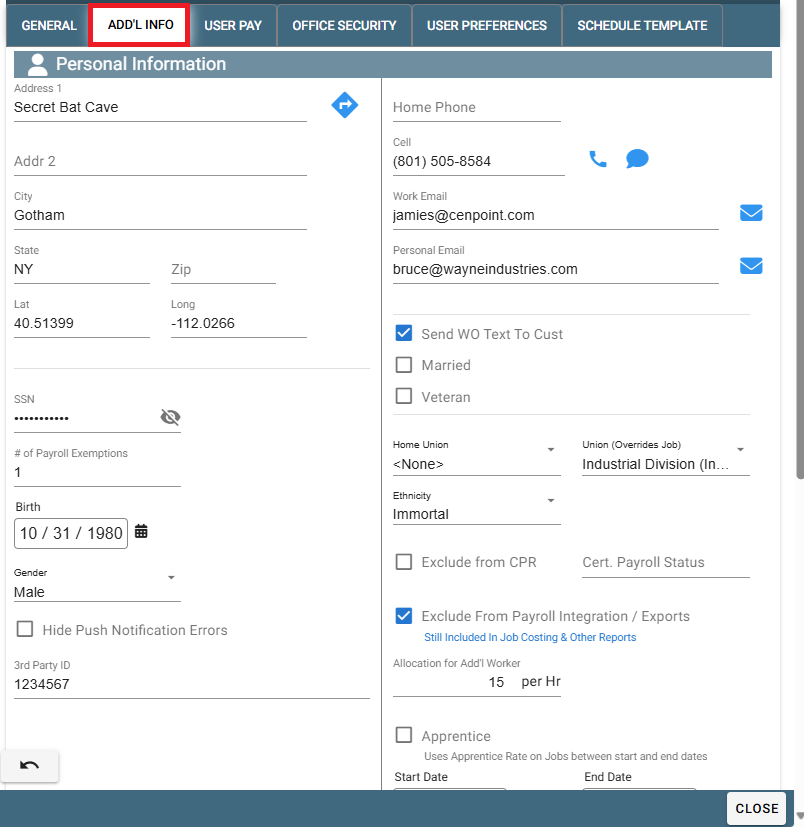
Add'l Info Tab
Personal Information
Fill in all the necessary information required for your company.
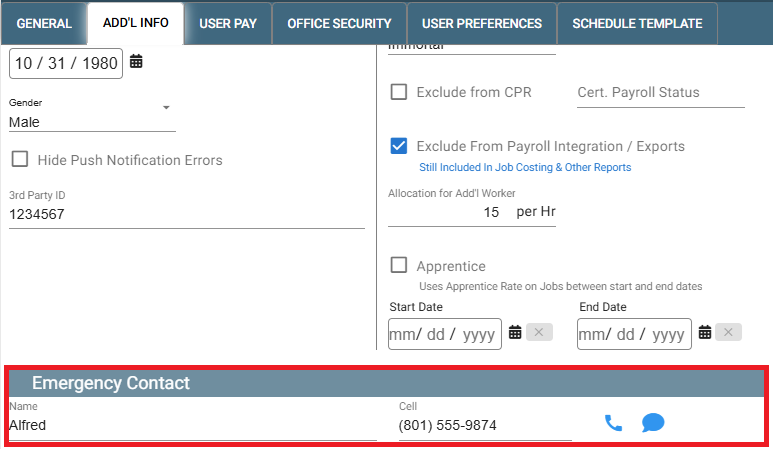
Emergency Contact
Fill out the User's Emergency Contact if applicable
Licensing
Add the user's Driver's license information.

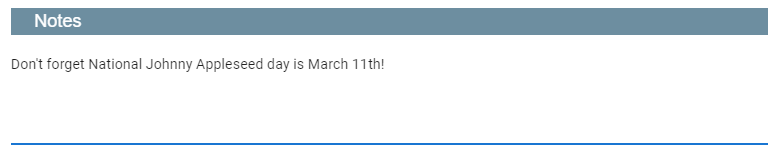
Notes
Keep notes for this User. This is not the same as the User Log
For more information on the User Log use the following link: User Log
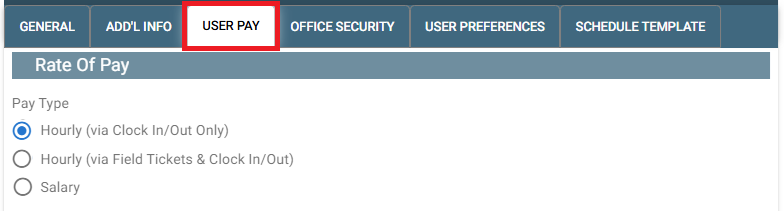
User Pay Tab
Rate of Pay
Fill in the users rate of pay and office user will usually be Salary or Hourly(Via Clock In/Out)
Pay Details
You can assign the user to a Rate of Pay Group and set up their pay rates for things like standard time, travel time, and more.
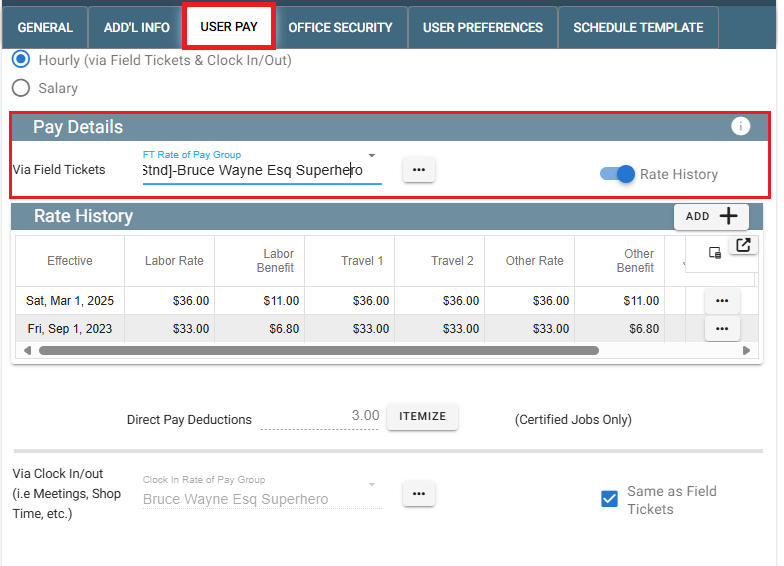
For more information on Pay details, please visit this article: User Pay
Integrated Payroll (CP Payroll)
You can access the W4 calculator and if you enable Payroll integration you can setup/create your user in CP Payroll.
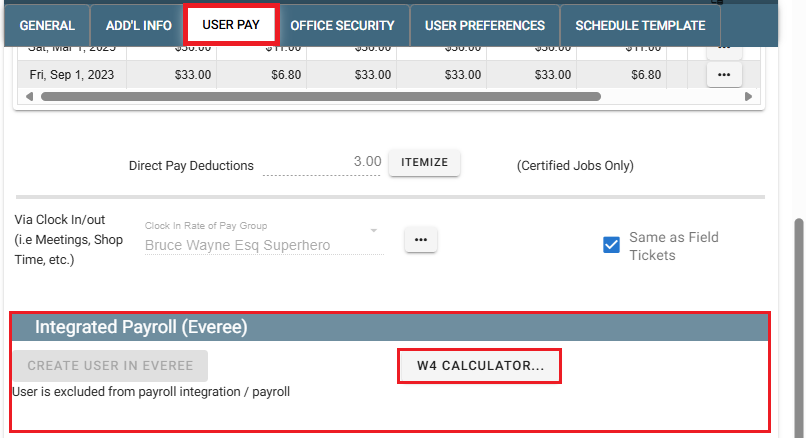
Deductions
You can customize deductions for any odd situations that may arise.

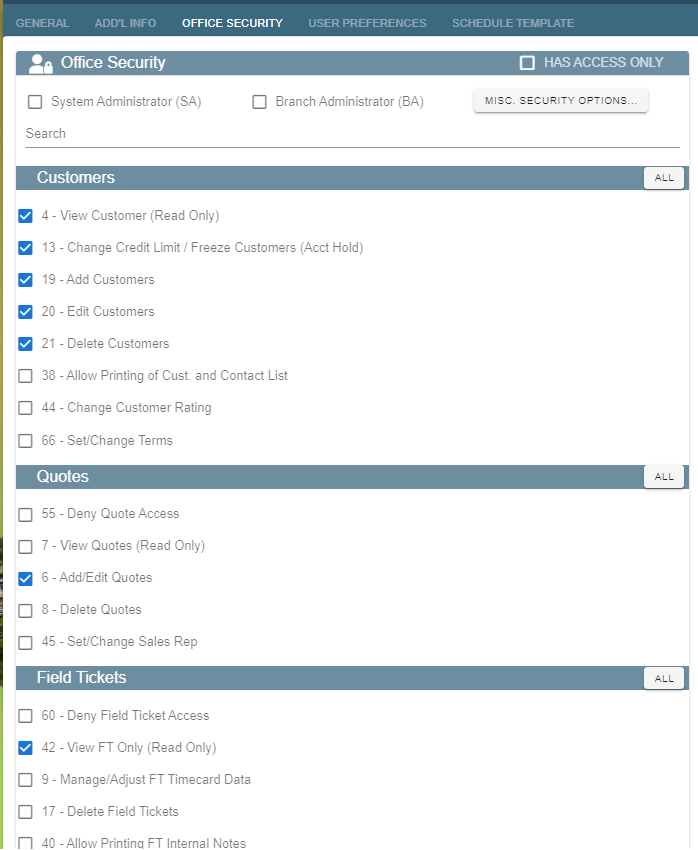
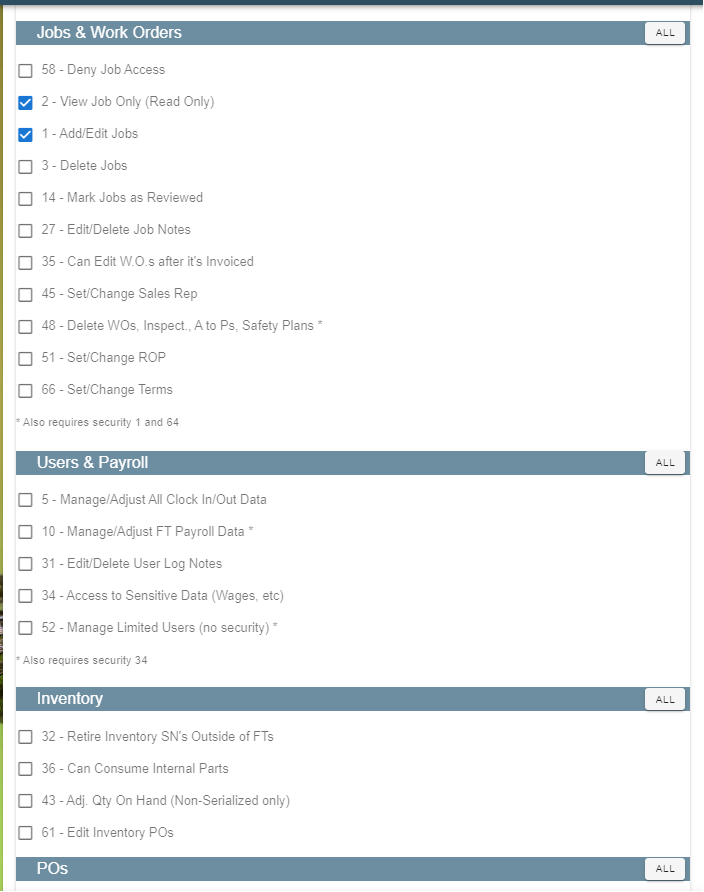
Office Security Tab
Set up the Office Security for your office user. Save time and use the Copy/Paste feature by going to a
user that will have the same security, click Copy, then come back to the new user and Paste.
A System Administrator will have access to everything including all other branches.
A Branch Administrator will have access to everything but only for their assigned Main Branch.
A Branch Administrator will still have access to other branches if granted access, to see Jobs, Schedule etc..
but will not have Admin access for those branches.
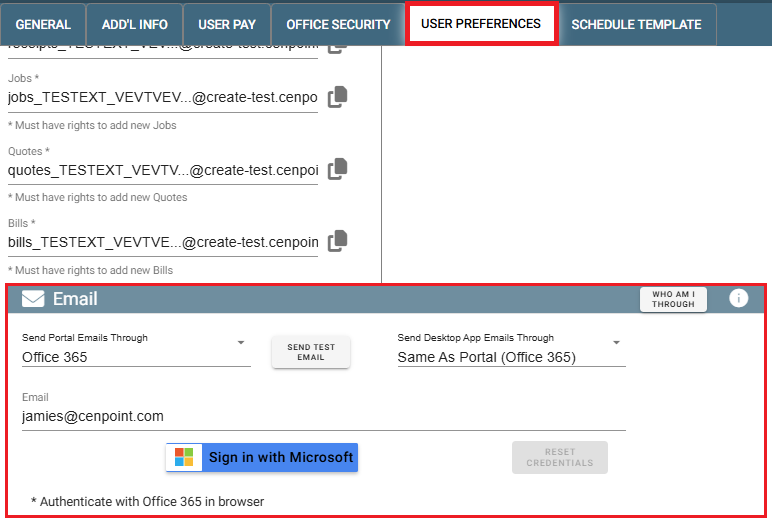
User Preferences Tab
General
Set the User's password for CenPoint. Remember that it can be up to 24 characters long.
Most of the other user preferences can be set up by the user, according to their preferences.
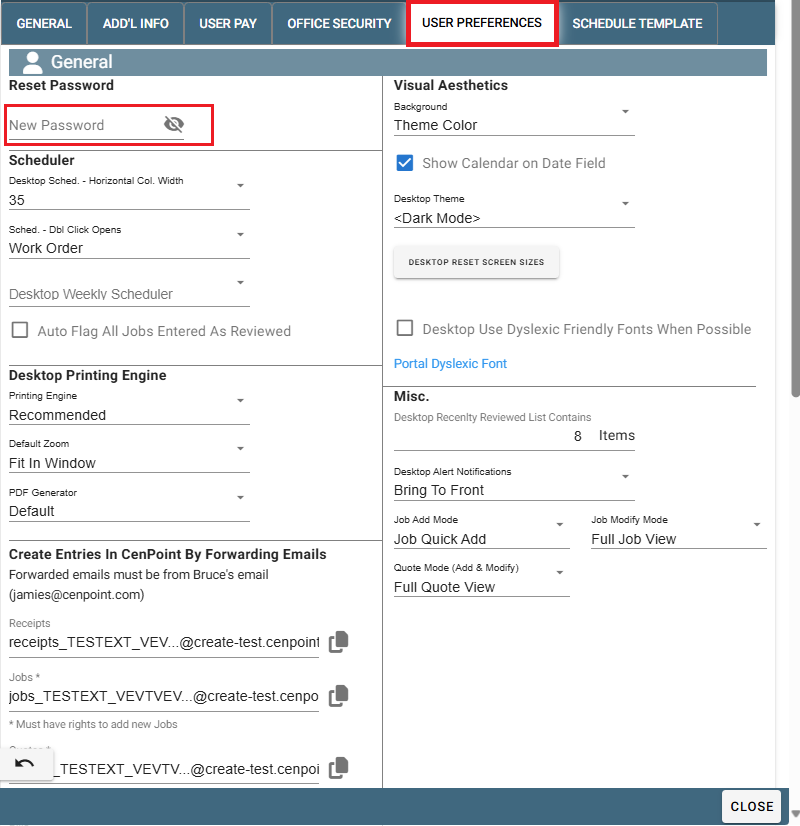
Set up user email. Use the following links for more information on setting up E-mail
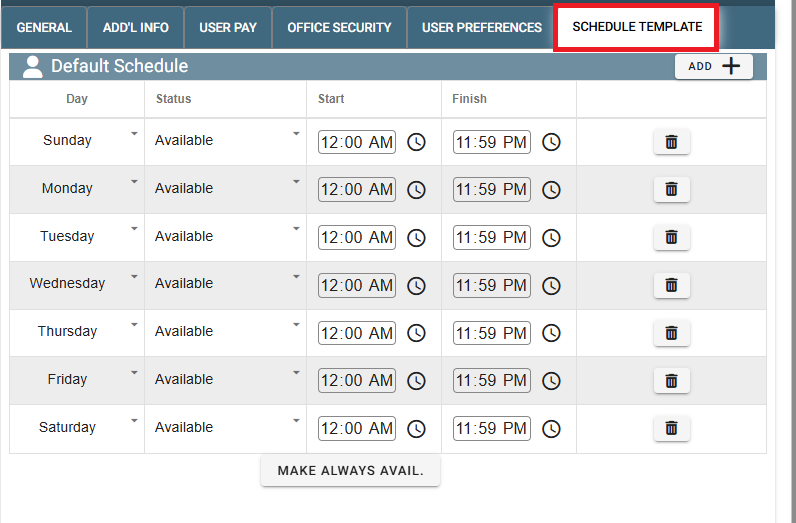
Schedule Template Tab
Set up a schedule for the office user.