
This article covers how to adjust check printer alignment.
Adjust Check Printer Alignment
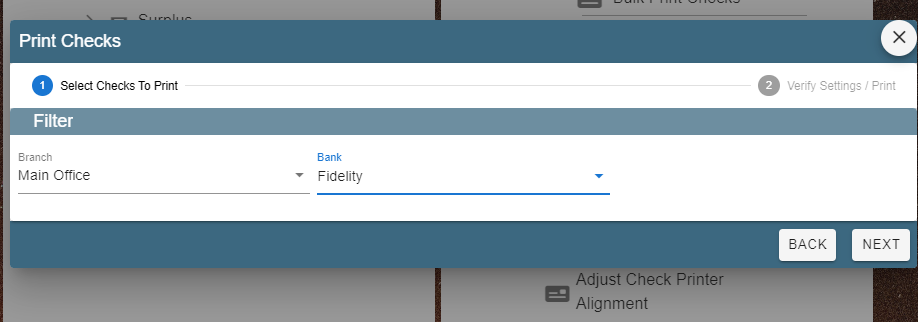
Go to CP Books→ Checks→ Adjust Check Printer Alignment

Select your Branch and Bank -> Next
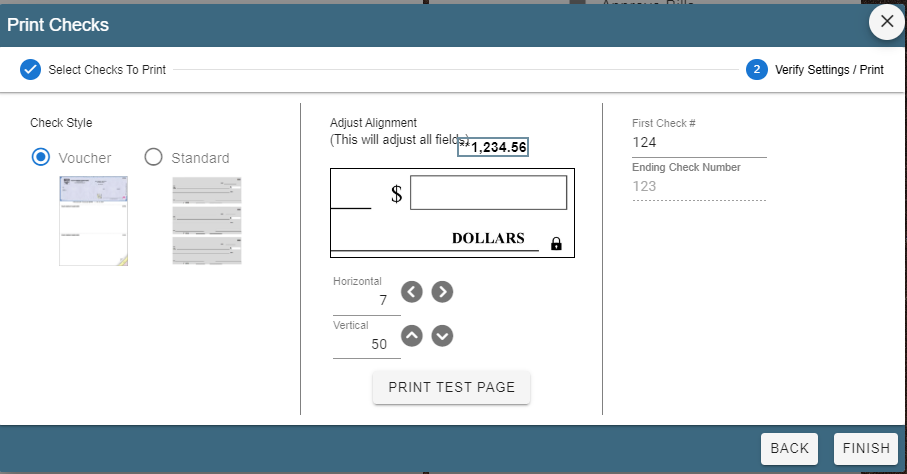
Use the Horizontal and Vertical arrows to adjust the position of the fields.
.jpg "12(10).jpg")
Click ‘Print Test Page’
On the print window select ‘More Settings’
.jpg "13(4).jpg")
Then select ‘Actual Size’ and print or it may say ‘Fit to Paper’
.jpg "14(5).jpg")
Once everything is lined up and satisfactory add the First check number ,then click ’Finish’.