
If you need your checks to always print from a certain tray, here’s how you can create an option in your list of printers that will always pull from a certain tray (ie. 1,2,3,or 4 etc.)
There are 3 steps to Duplicate a Printer and Set up a default tray to print checks from.
Step 1: Find your current printer port
Open the Start menu (Windows key or click on the Windows icon in the bottom left corner).
Type “Printers & Scanners” and click open or choose your printer from the list.
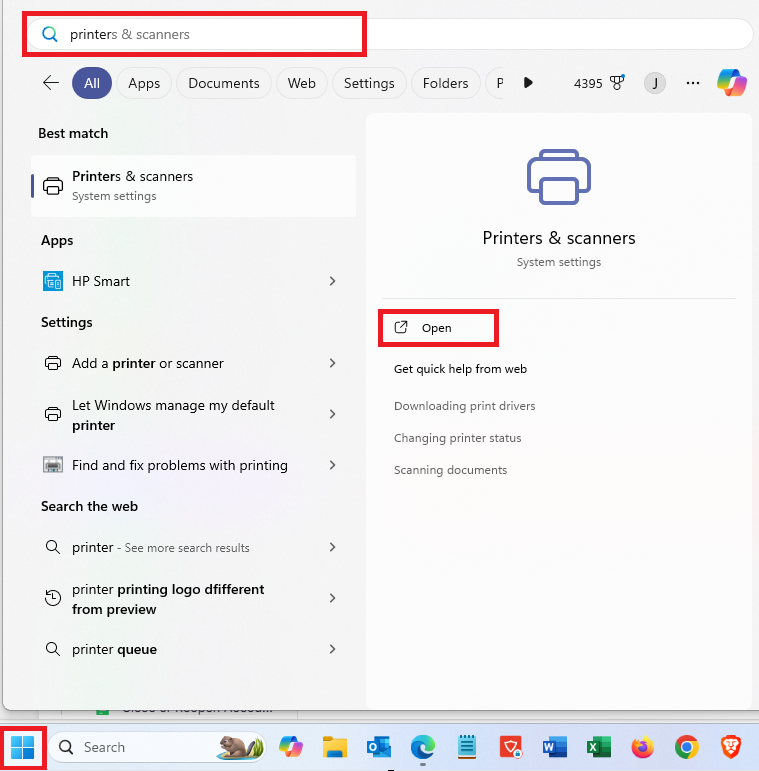
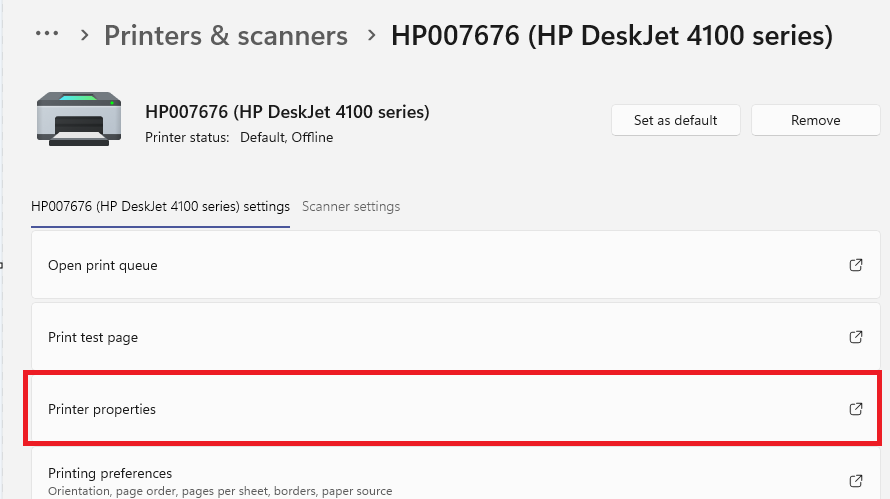
Once your printer is selected click on Printer Properties.
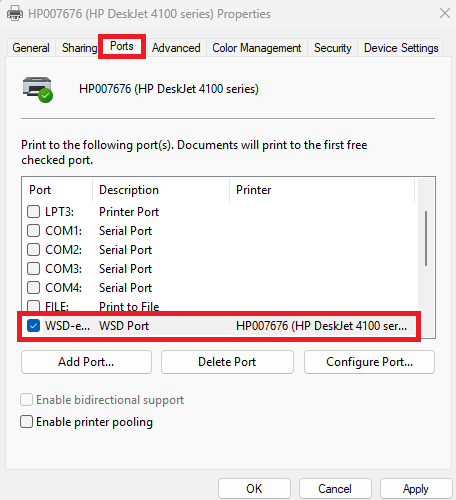
From the properties window select the ‘Ports’ tab and make note of the port your printer is using. (it will have a check mark)
Step 2: Add the Same Printer with a New Name
Go back to the Printers and scanners screen or Open the Start menu (Windows key or click on the Windows icon in the bottom left corner), type “Printers & Scanners” and click it when it shows up.
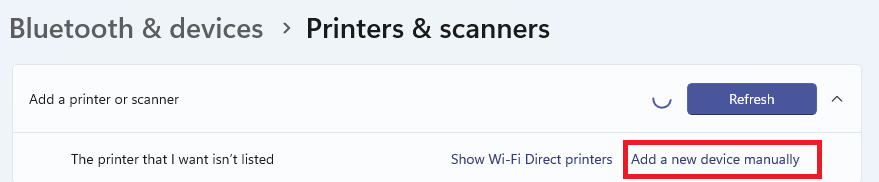
Click “Add a printer or scanner” (scroll up if you don’t see it).
Wait a moment, then click “Add new device manually”
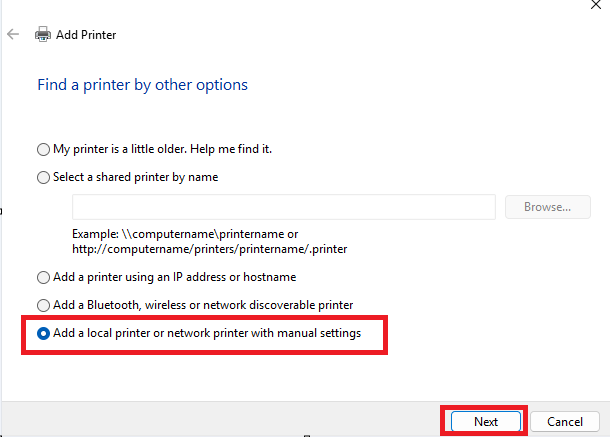
Choose “Add a local printer or network printer with manual settings” and click Next.
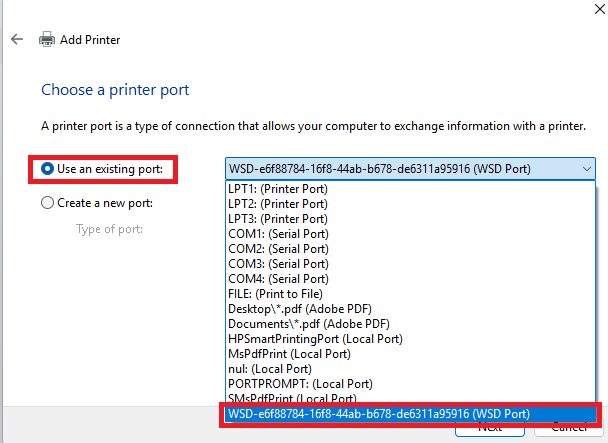
Select “Use an existing port”
Remember that port you found in step 1? Well, guess what? It's time to pick that same port again. Deja vu, anyone?
After you select the port, click on ‘Next’
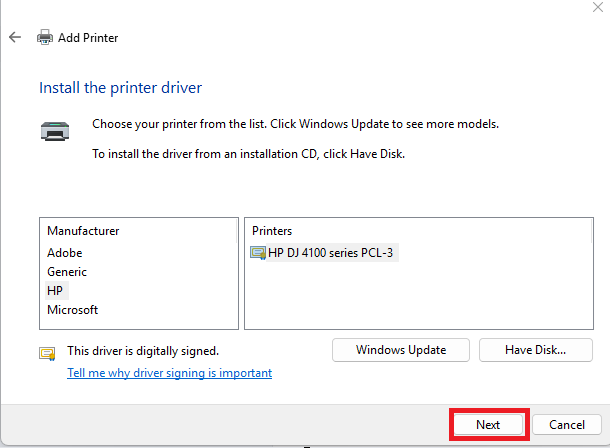
Pick your printer’s make and model from the list (e.g., HP LaserJet), then click Next.
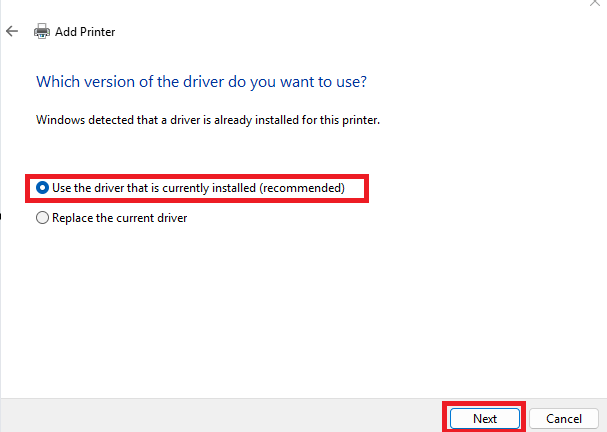
When it asks “Which version of the driver,” choose “Use the driver that is currently installed” and click Next.
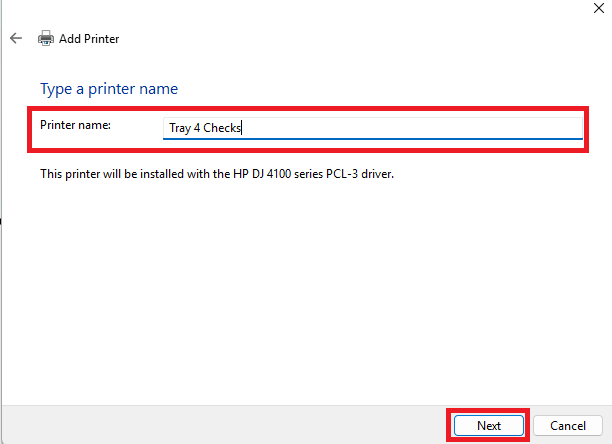
Type a new name like “MyPrinter_Tray4” in the “Printer name” box, then click Next.
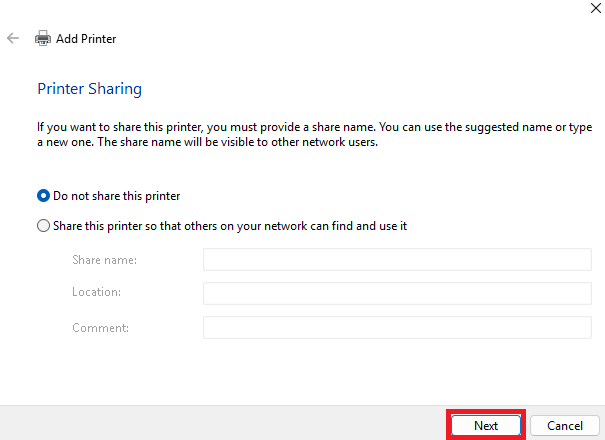
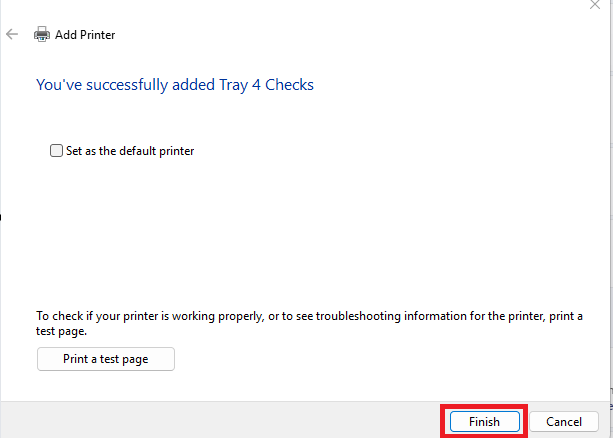
Click Finish (skip sharing options by leaving them unchecked).
Step 3: Set Tray 4 as the Default for the New Printer
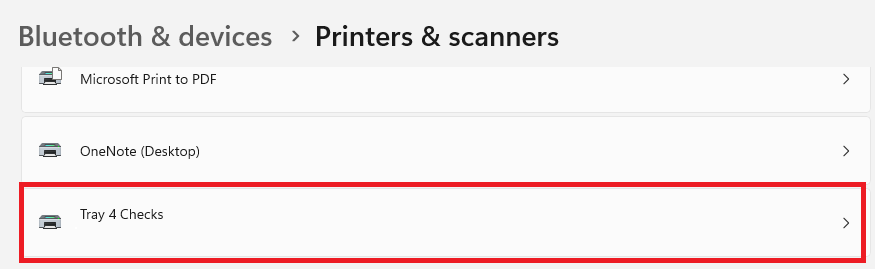
Back in “Printers & Scanners,” find “MyPrinter_Tray4” in the list.
Click it, then click “Manage.”
Click “Printing preferences” (small text link).
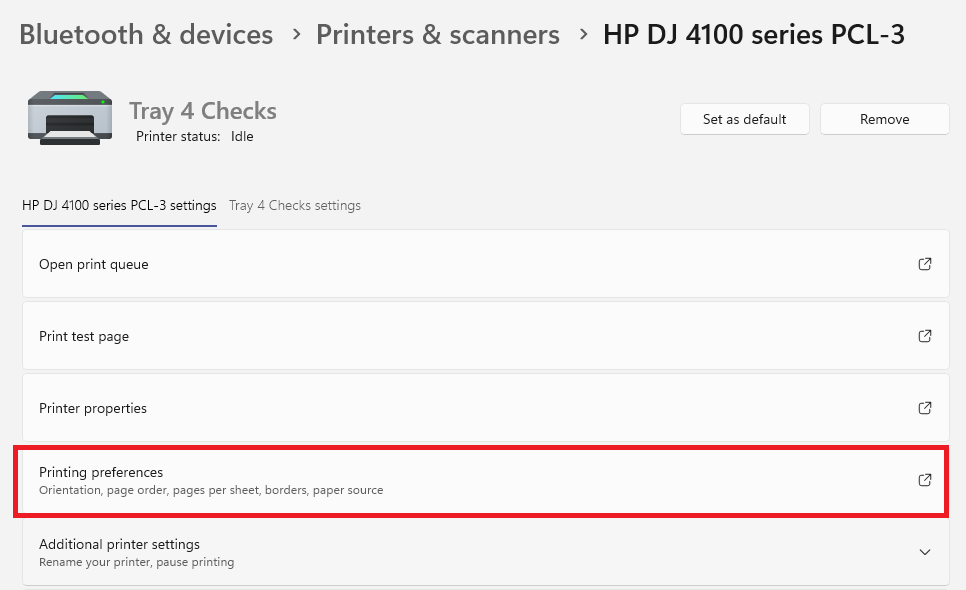
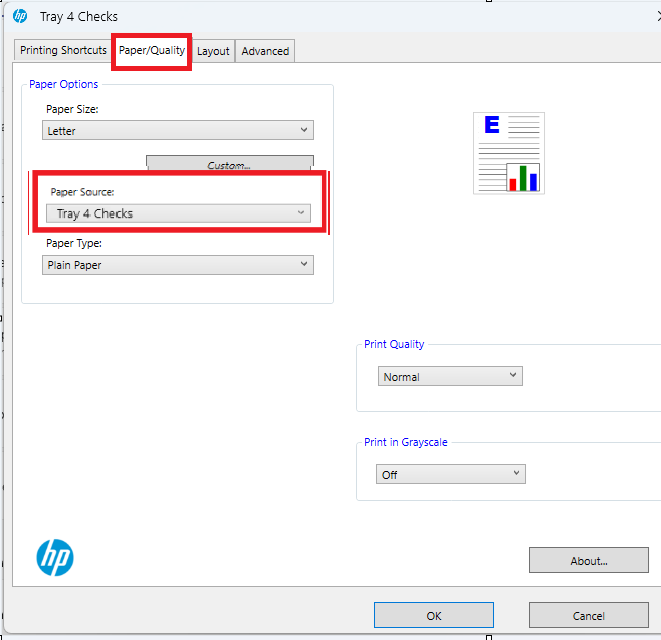
Look for a “Paper Source” or “Tray” option (might be under a tab like “Paper/Quality” or “Layout”).
Note: Your settings screen may look different based on the printer but the same concept applies

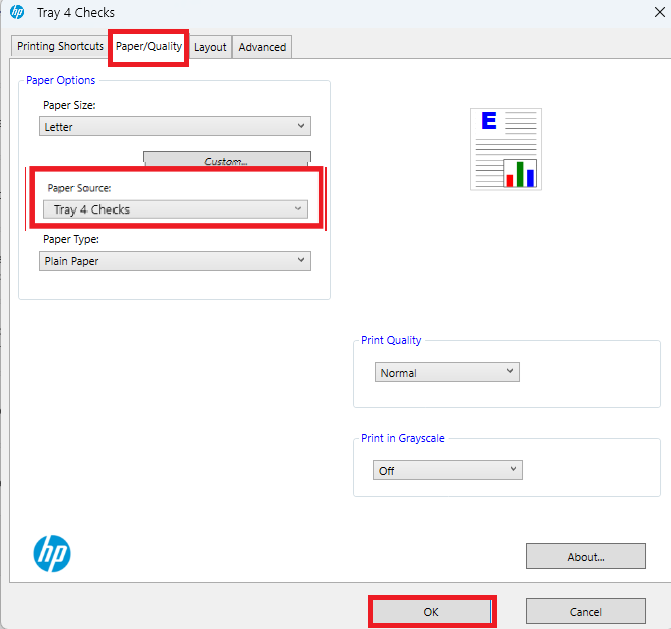
Change it to “Tray 4” (or whatever your printer calls it—check the manual if unsure).
Click Apply, then OK.
Use the New Printer
When printing, the print dialog will pop up.
Choose “MyPrinter_Tray4” from the printer list instead of the original name.
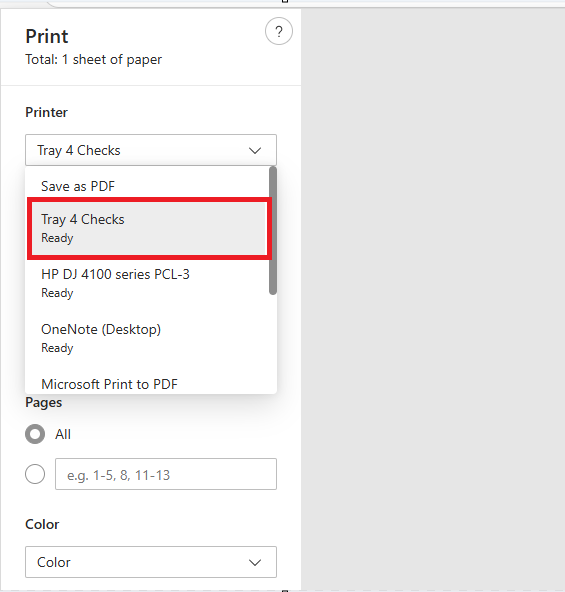
Click Print—now it’ll always use Tray 4!