
This article will cover CenPoint Free Version
What features are there?
How to use them?
CenPoint Free Features
This is the home screen of Free Version.
Customers: Customers
Jobs: Jobs
Schedule: Schedule

Clock In and Out
To clock in or out, click the button below. Select the category and write a note if needed. To change a time or date while clocking in or out, click the button on the below left corner.

Change Background
To change background picture, click the button at the bottom right corner and you can save an image or get a new picture.

Notification Bell and Menu
There will be a red dot when you have a notification on the top right corner. Next to that is the hamburger menu. This takes us to more menu options.


In the Device Settings, you can customize language, temperature display, weather icons, and turn the push notifications on. You can select light or dark mode and how you want the maps to launch. There are also advanced settings at the end.

We highly recommend turning the phone dialer on.
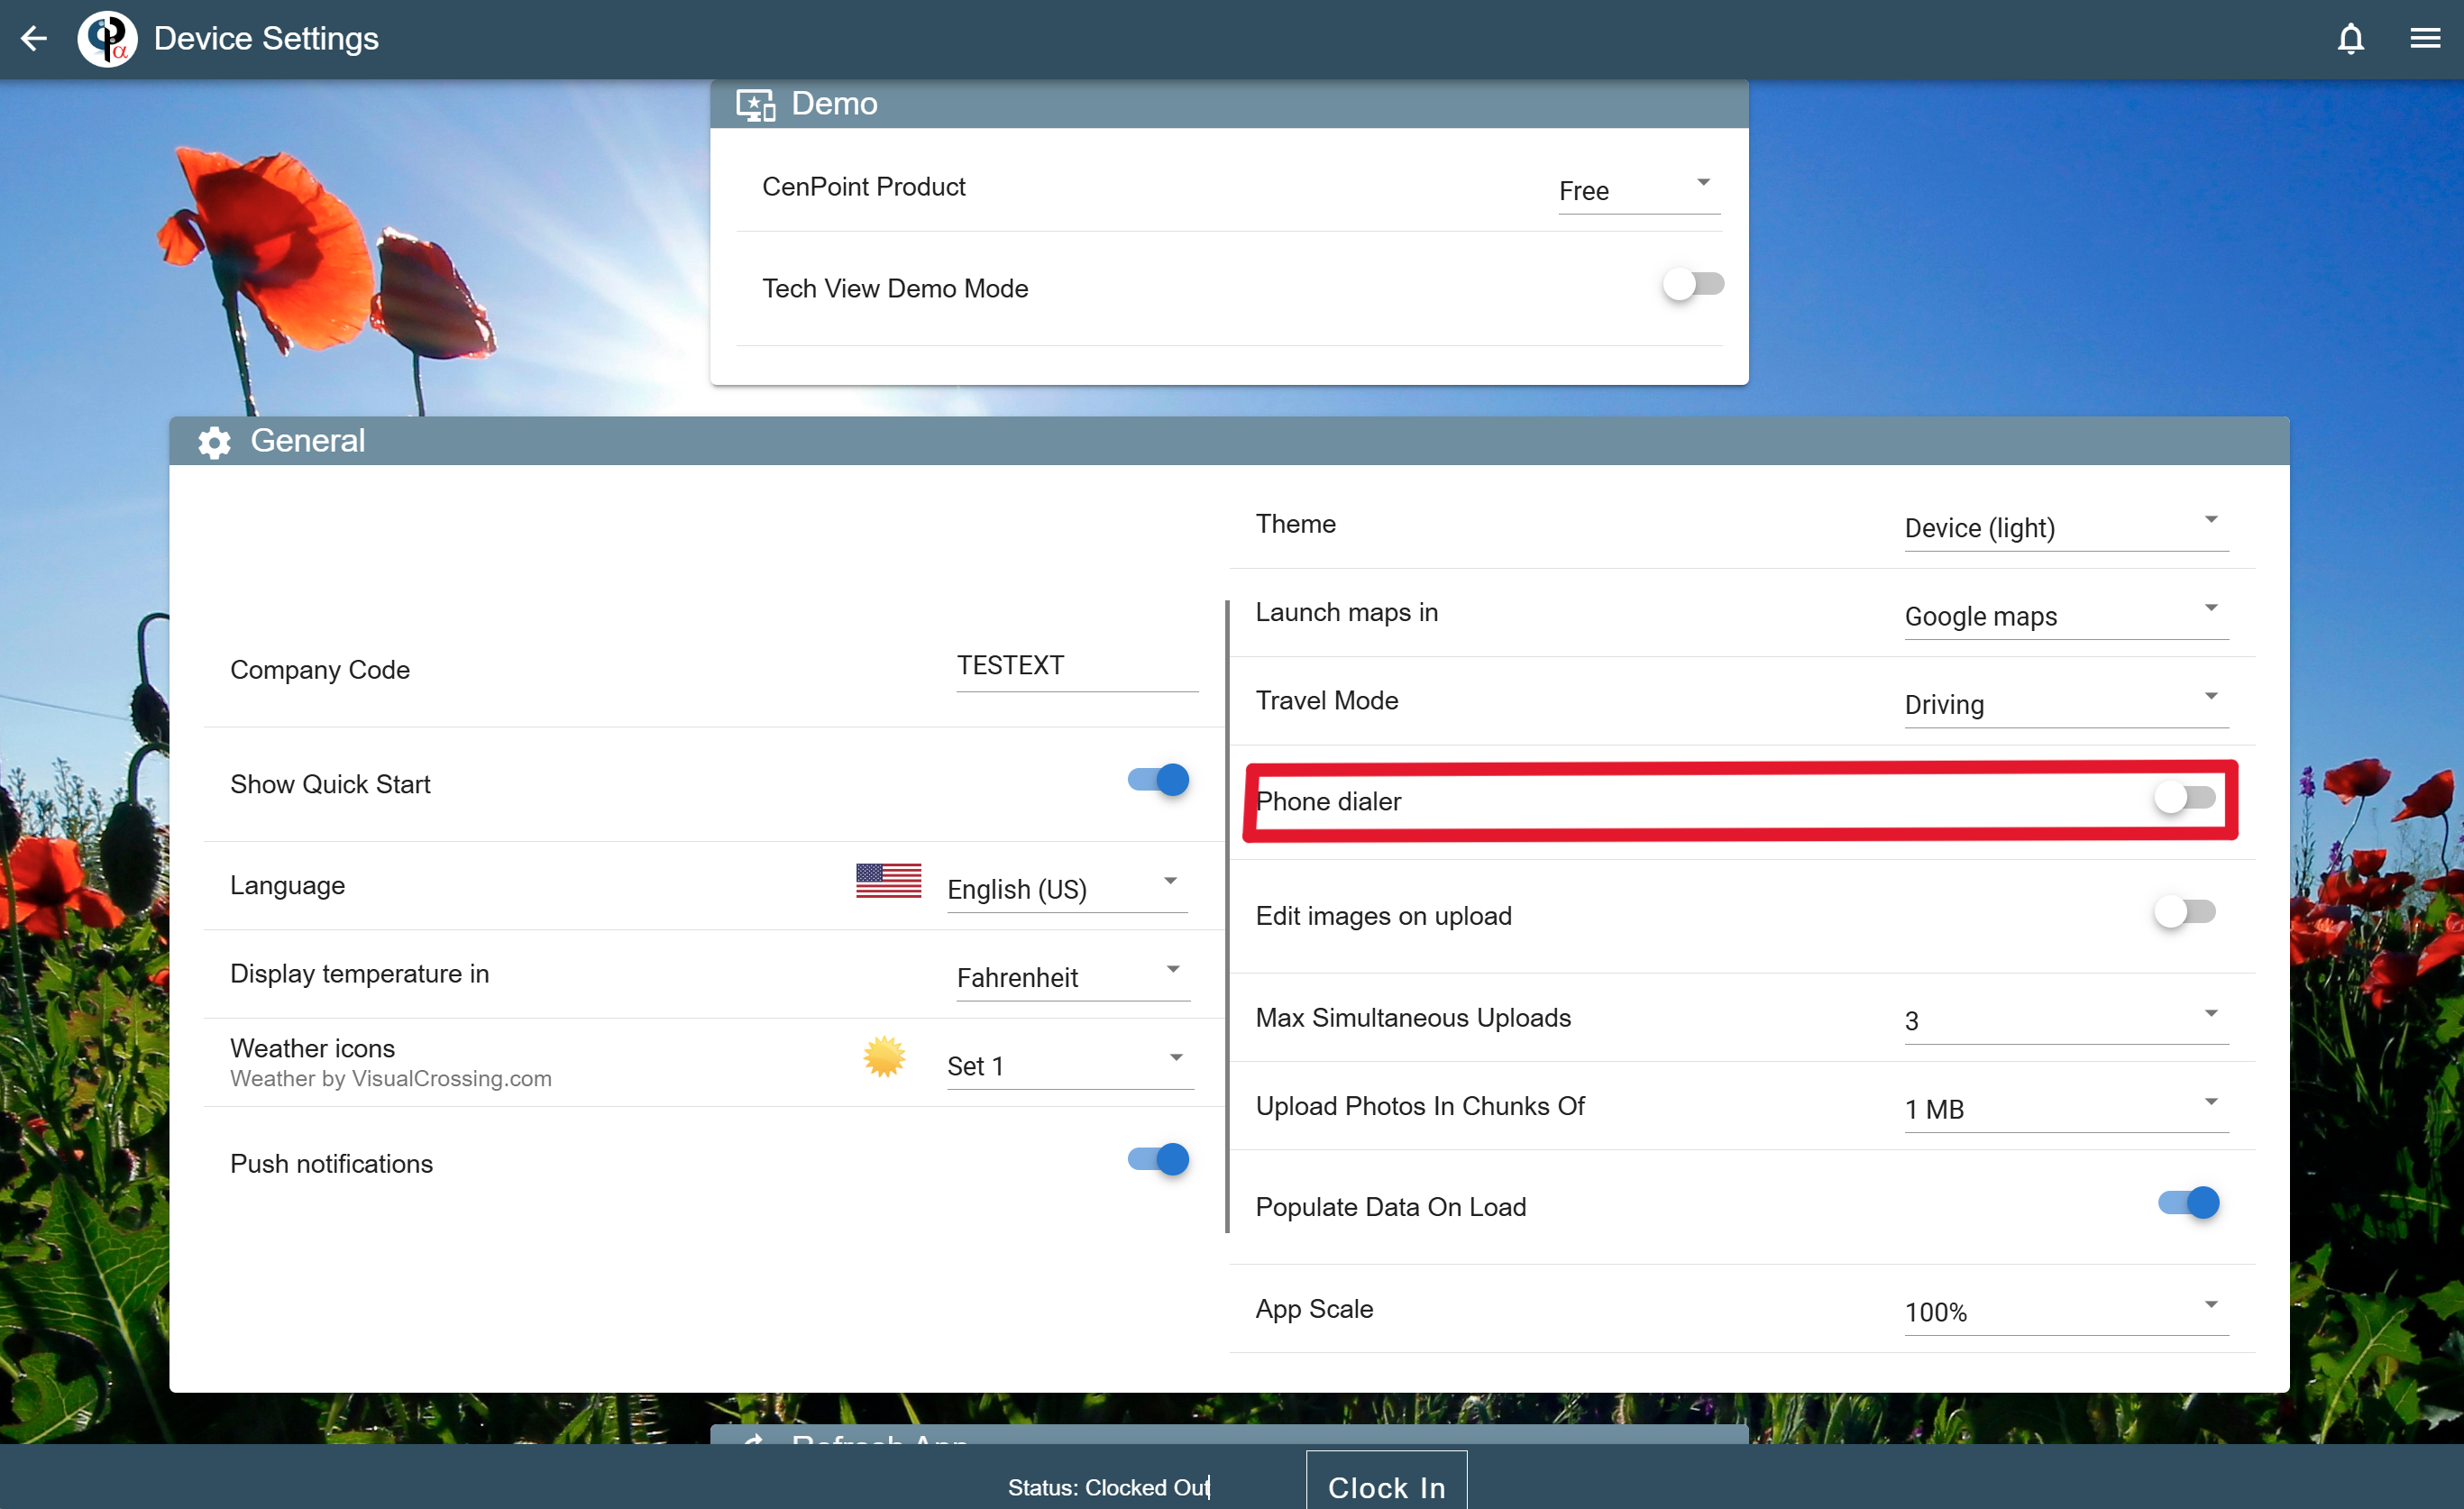
This will allow you to call and text customers and coworkers through the app by clicking on the blue symbols by their name.

Branch Information
To set up your branch information, go to More → Company/Branch Info. You can only do one branch in light version. Some features are locked in the Free version, to unlock it, you will need to upgrade.
For more info on Setting up Branch, follow the link: Initial Branch Setup

Add a New User
To add a new use, go to More → Users. You will see pre-existing users and to add a new one, click Plus sign.
For more info, follow the link: Add Office User or Add Tech User
.jpg "Screenshot 2024-07-11 112307(1).jpg")

Clock In/Clock Out Category
More → List Management → Clock In/Out Categories → Write the category name. This will create a drop-down list of categories to select when clocking in and clocking out.

Tasks and Task Lists
For more information on creating a task, follow this link: Task Options

One-Time Conversion
Here you can import your customers from .csv file. It's highly recommended that you do this on desktop application by going to Browser.
Type in portal.cenpoint.com on your computer and sign in. For detailed instructions of how to import from QuickBooks, follow the link: Import from QuickBooks
.png "Screenshot 2024-07-11 133219(1).png")
You are now set up and ready to start using the right tools for your business.