
1. Find PUSH ID for invoice by going to
Data → Invoices
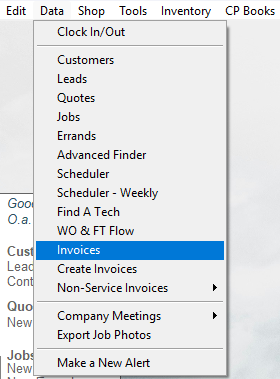
Highlight the invoice then click ‘Invoice Info’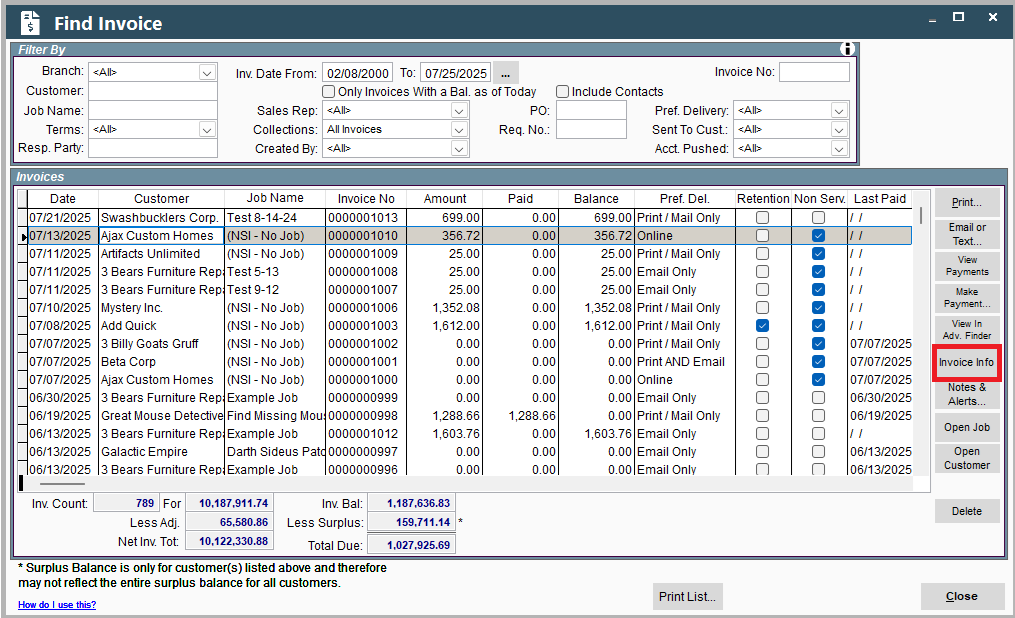
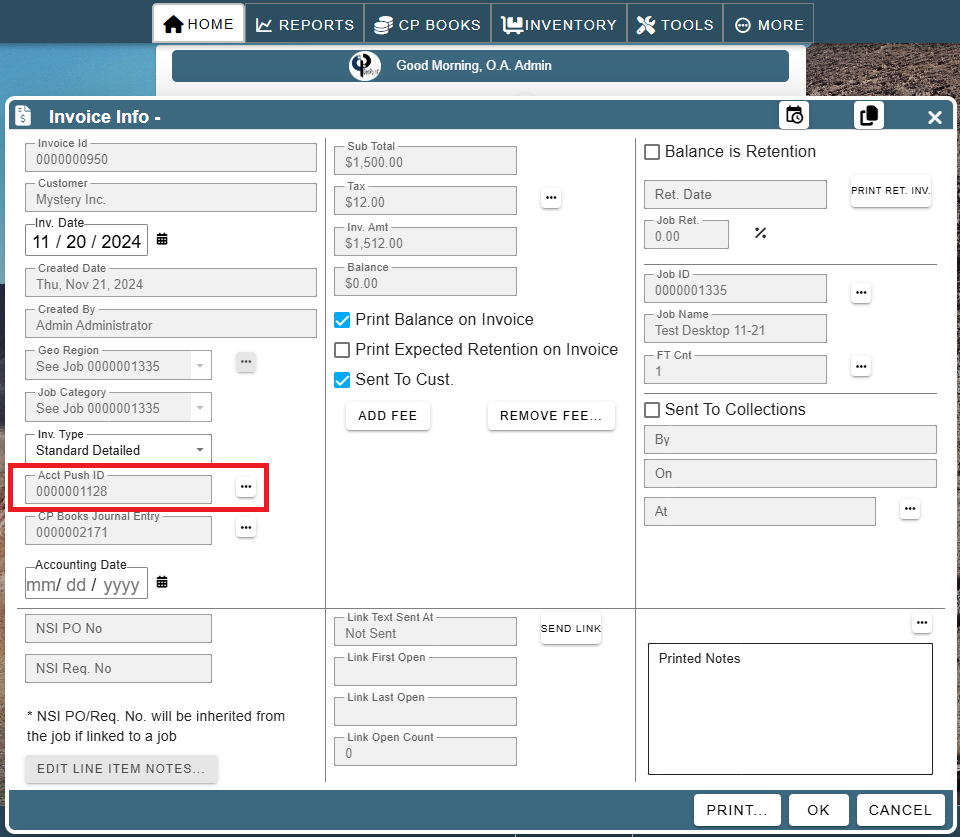
Locate the ‘Acct Push ID’ and write it down
2. Delete push by going to:
There are two ways to find the Data push.
Option 1 to Delete Push:
The easiest way is to continue from the screen where you found the Push ID and click on the Ellipsis → View Data Push
.png)
Click on the Ellipsis → “Delete Push”
You may be prompted to enter in your Admin password to confirm that you wish to delete this pushed record of an invoice.
.png)
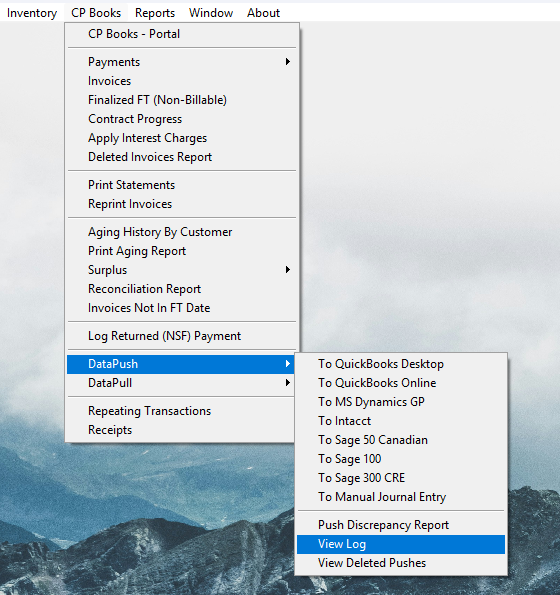
Option 2 to Delete Push:
CP Books → Data Push → View Log
Set the date range you are looking for using the ‘From’ and ‘To’ Date boxes
Under Results, scroll all of the way to the right (if needed) until you see the column labeled ‘Push ID.’ Locate the push ID that matches the one you wrote down in step 1 (one). Click on it to highlight it and then scroll left (if needed) and write down the Date, Amount, and Ref. No.
.png)
Scroll right again (if needed) and then right click on the push ID and click ‘Delete Push xxxxxx’. Enter Administrator password and then click ‘OK.’
Remaining Steps After Deleting Push:
Go into your accounting software (i.e. quickbooks) and delete the push. If you skip this, your accounting books will not balance. Use the Date, Reference number, and Amount that you wrote down in the previous step to verify you are deleting the right push.
4. Delete Invoice from CenPoint by going to
Data → Invoices → Highlight invoice and click ‘Delete’
5. Make desired changes to invoice (i.e. deleting or adding tax) by going to field tickets for the job and making changes. Make sure ‘Ready to invoice’ is checked
6. Recreate invoice by
Clicking ‘Create Invoices’ on CenPoint start screen
Select Invoice and check box under ‘Invoice.’ Under Invoice options in top right hand part of the screen, click button next to ‘Invoice Date of:’ and then specify original date of invoice
Click create invoice
.png)
7. RePush invoices to accounting software by going to
CP Books → Data Push and then select the option you use to push the info to your accounting software
Congratulations! Your invoice that had previously been pushed to an accounting software has now been modified!