This article is out of date!!!!
Don’t worry though! We made a new one, but we need to make sure that you aren’t being left with broken links as we update! So, go here for the new up to date version: New Branch groupings
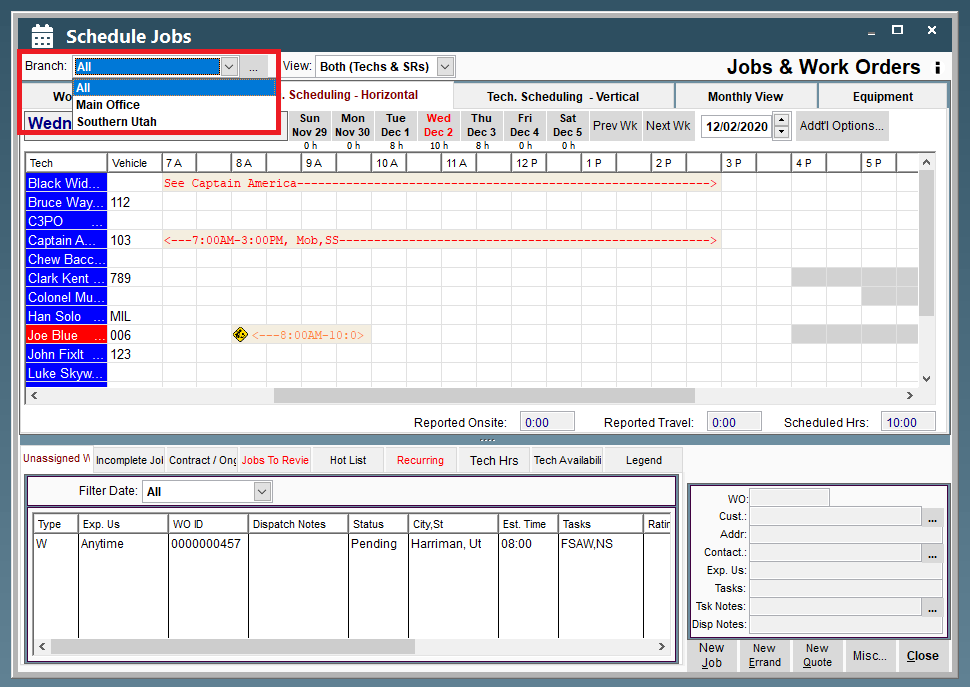
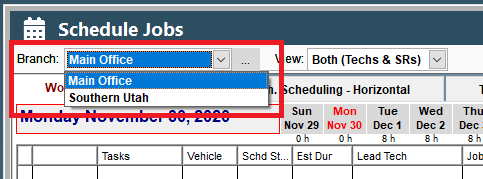
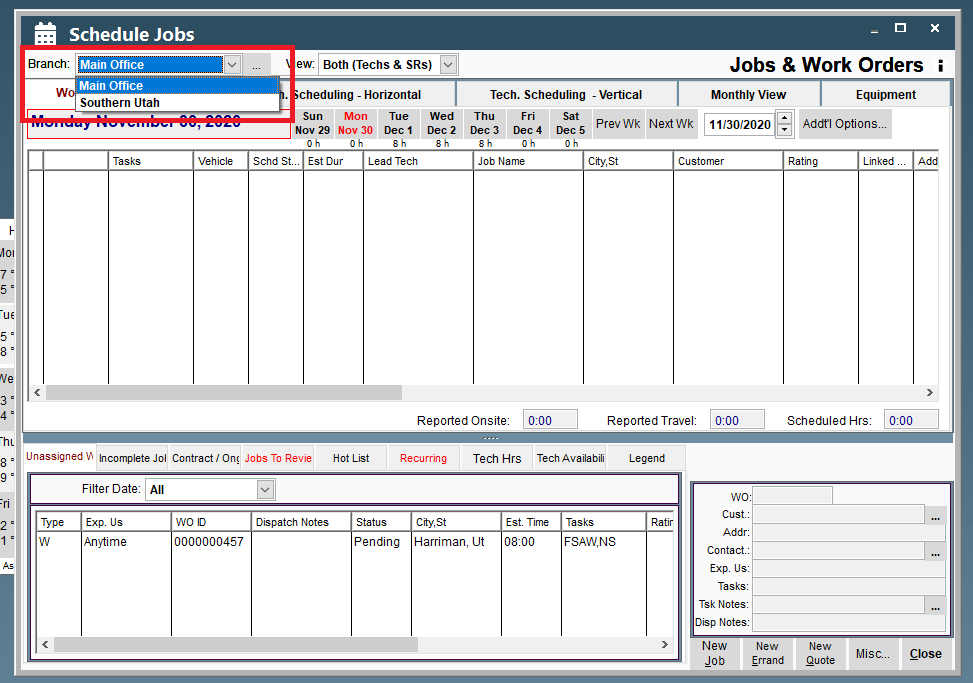
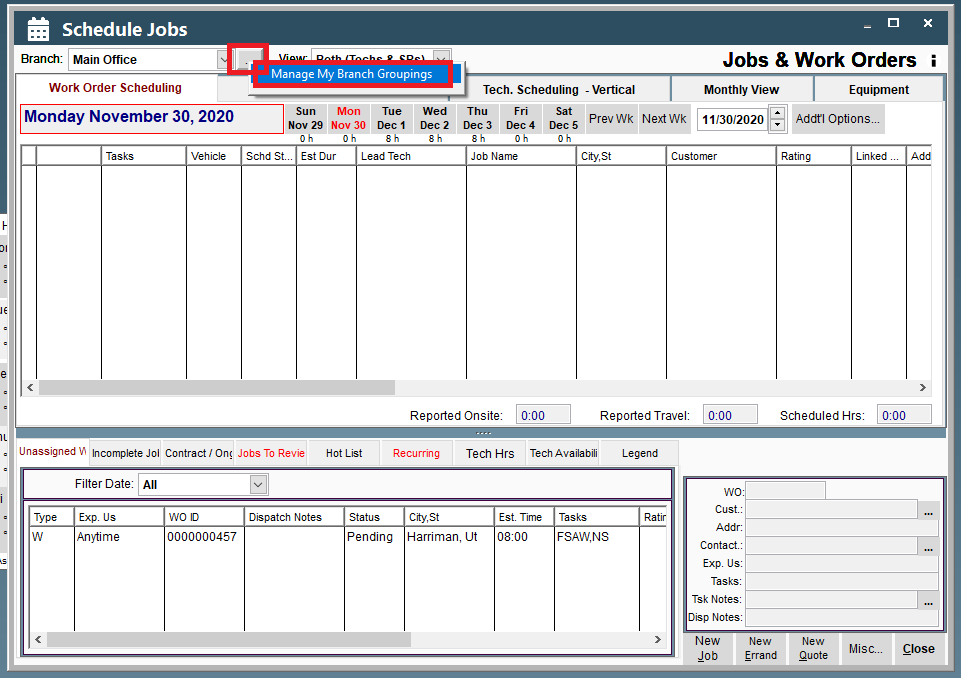
On all schedulers there is a branch drop down in the top left corner.
To create branch groupings, allowing you to see all, or multiple branches at a time, follow the directions below.
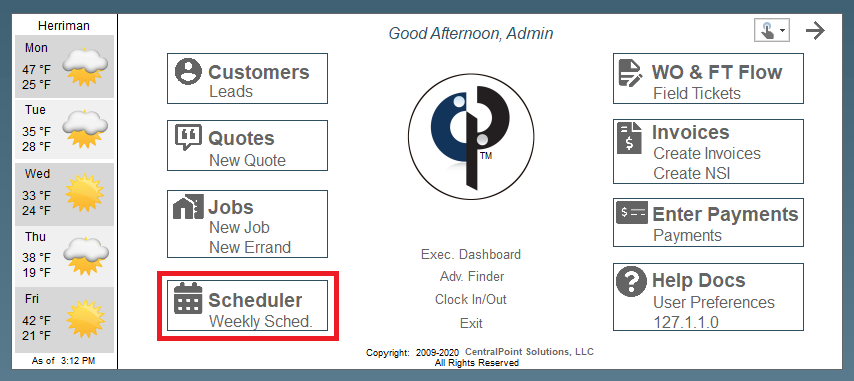
1. Open the scheduler or weekly scheduler.
2. Find the branch drop down.
3. Click the ellipsis button next to the branch drop down, and select “Manage My Branch Groupings”.
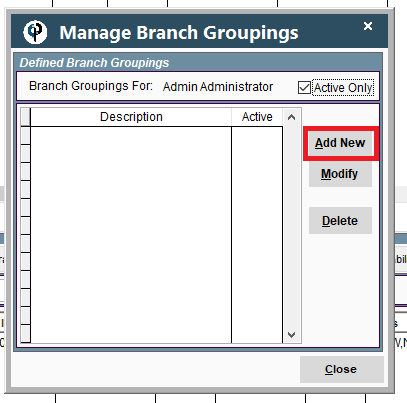
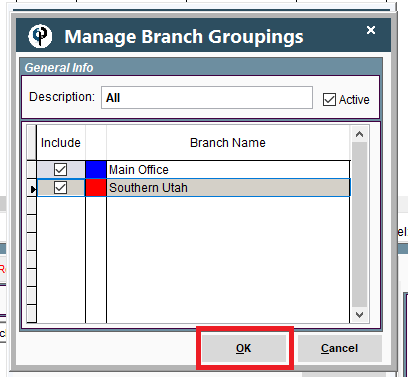
4. Click “Add New” to add a new branch groupings.
5. Give your new branch grouping and name.
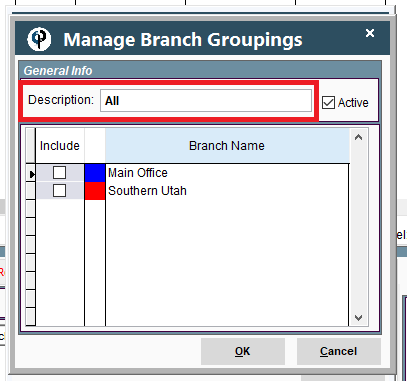
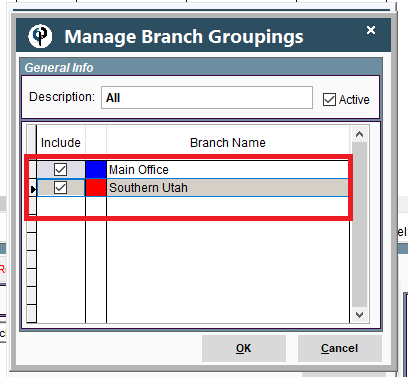
6. Put a check mark next to each branch to be included in the branch grouping.
7. Add another branch grouping if necessary, otherwise click close.
8. Congratulations, you have now added a branch grouping. When selected, work orders and technicians for both branches will display. Branch colors can help you distinguish between each branch (see Branch Colors for more info).