Vehicle Tracking
Set Up Vehicle Tracking
Set up vehicle tracking by going to More → Company/Branch Information.png)
Double Click on your Branch or select it and click Modify
.png)
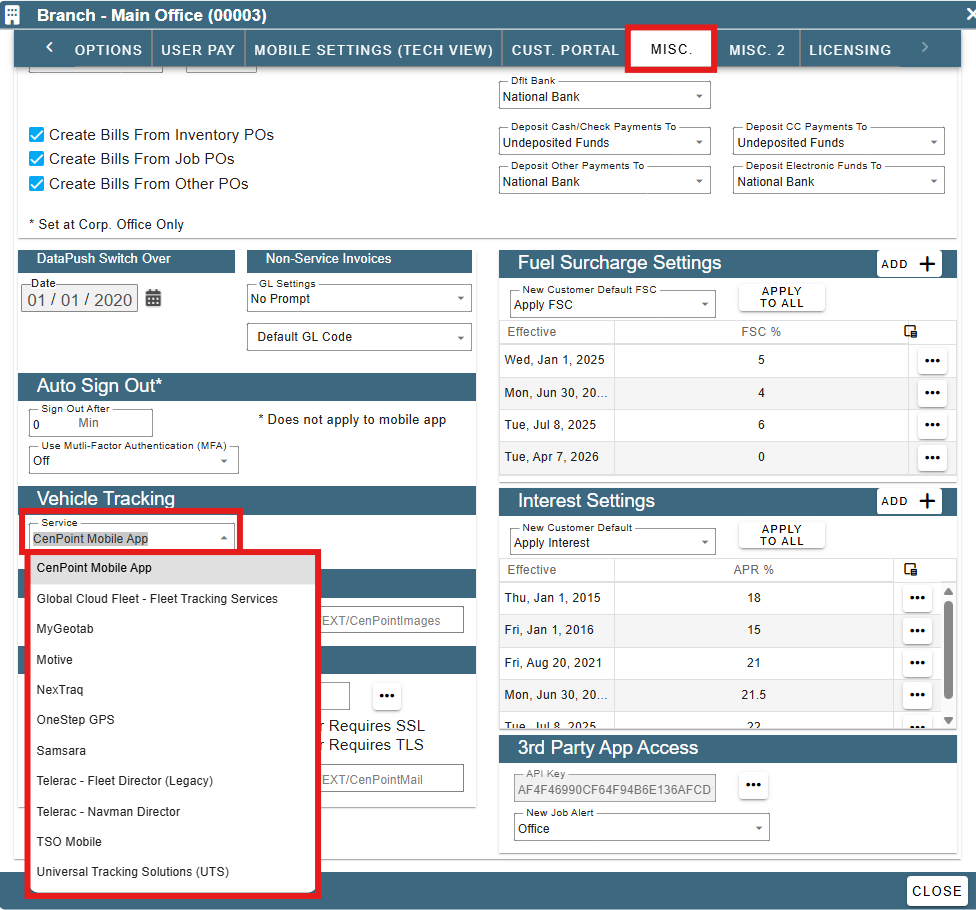
Go to the Misc. tab and select your Vehicle Tracking Service. Fill out any other fields that may appear like a login, password, or API key.
The following few steps will have to done for each vehicle using the tracking service.
Go to More → List Management → Shop → Vehicles → Vehicles
.png)
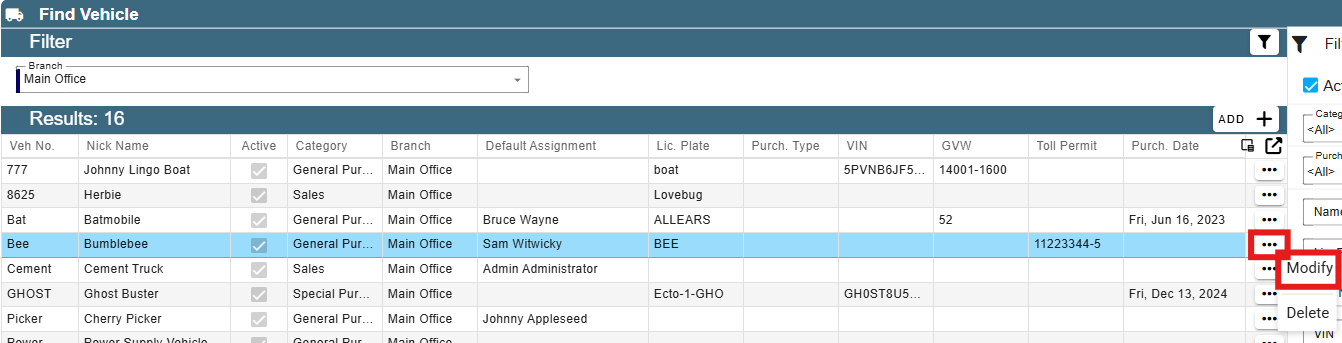
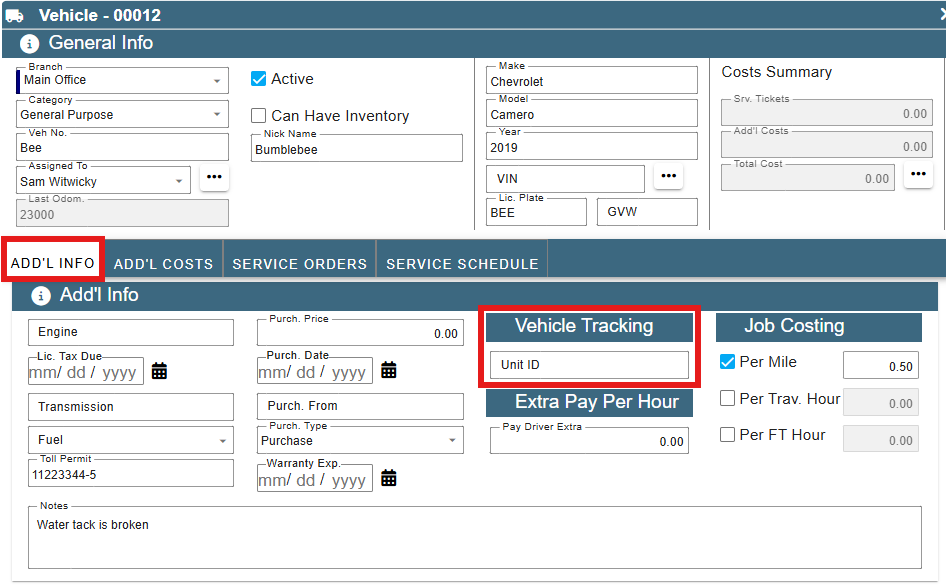
Select the desired vehicle that is using or will be using Vehicle Tracking and click the ellipsis and then ‘Modify’
Under Add'l Info add the Unit ID for the vehicle tracker.
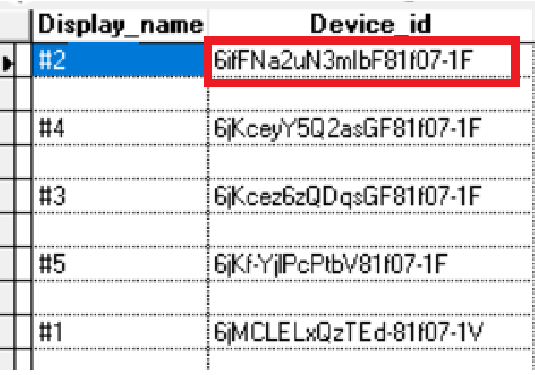
Some unit ID’s may be something like the example below:
You should be all set to use vehicle tracking 👍
Vehicle Tracking Log (Coming soon to CenPoint App and Portal)
For now, this is what it looked like on the Legacy system and should come to the App soon, functioning in a similar way.
On a Field Ticket click this icon.jpg)
to launch the Vehicle Tracking Log.
Compare the time from the CenPoint Mobile App Vs. GPS Tracking Service (ie: Samsara, Motive, Teletrack) and choose what time to use.
.jpg)
.jpg)
View Current Location of Vehicles on Desktop
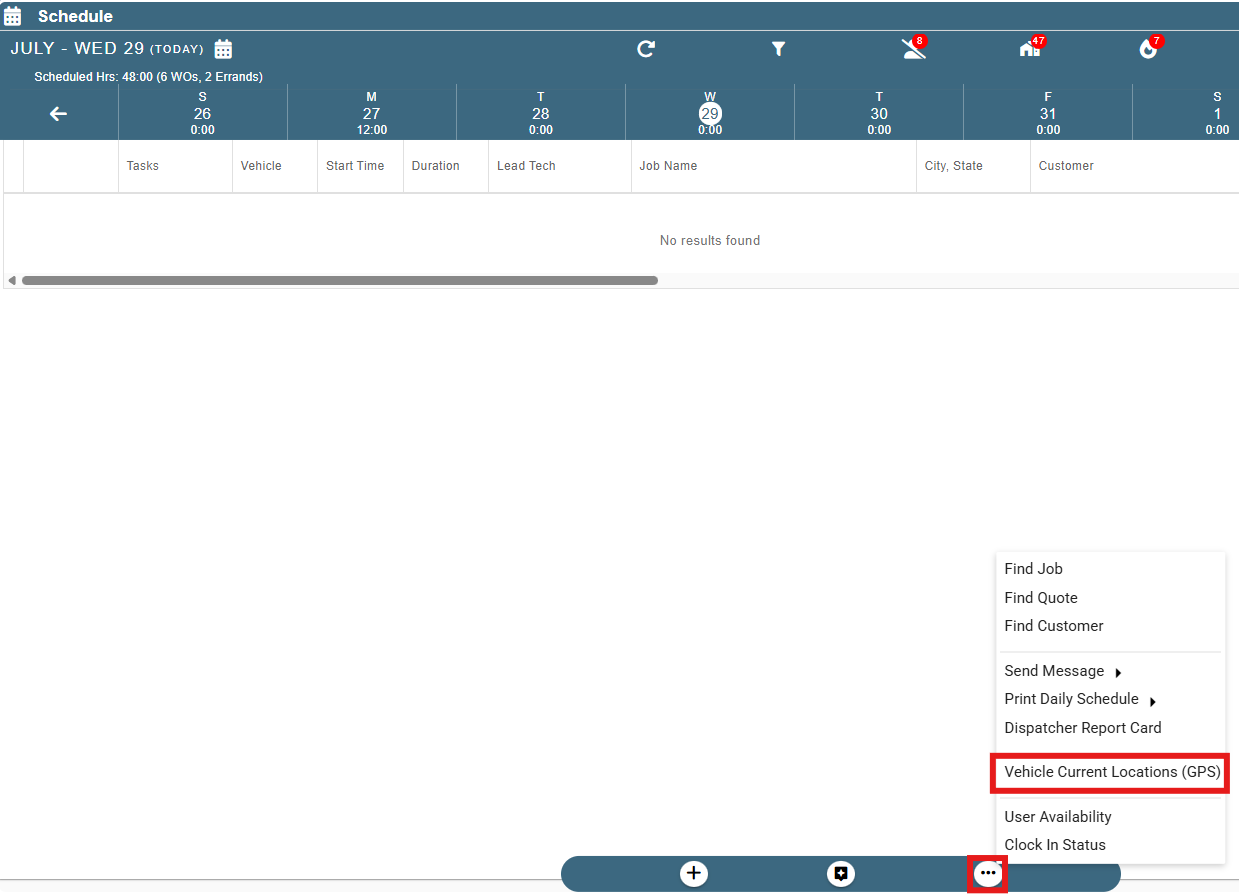
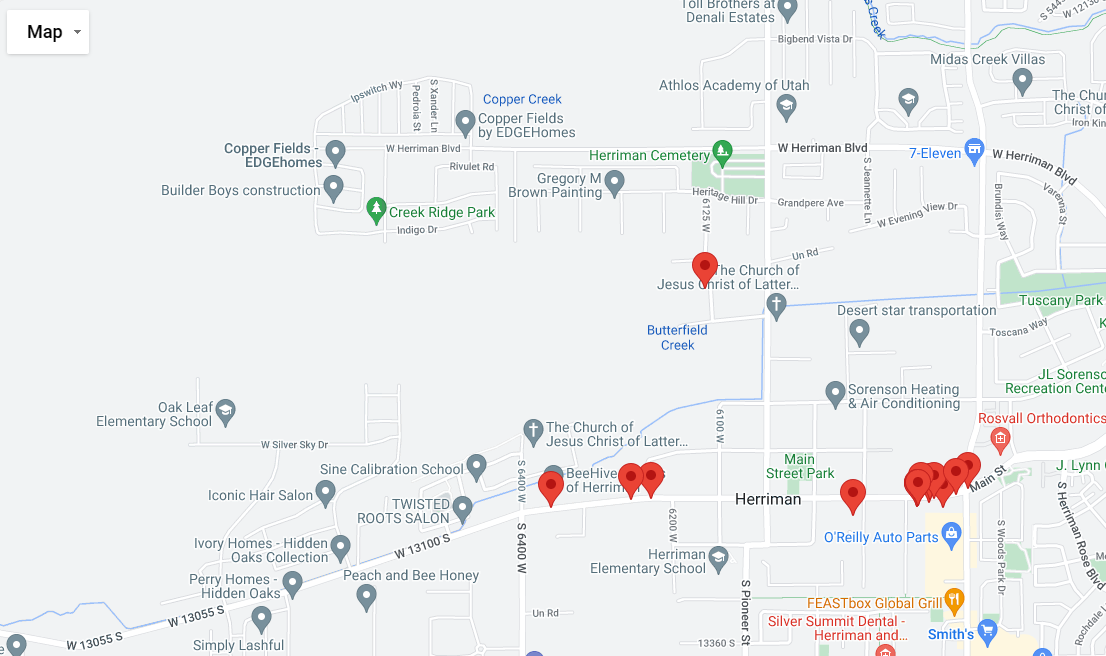
On the scheduler click Misc → Vehicle Location Mapping to see current location of vehicles on the map.
This allows your dispatcher to launch the GPS tracking (without having to log into the GPS tracking) from CenPoint.
The dispatcher now can use CenPoint and not have to run 2 different programs.