
1. Make sure that you are using the version of the CenPoint.exe file that does not run as an administrator. (As of April 2020 CenPoint installs with this version by default)
a. CenPoint ships with two different executable files (.exe). By default the administrator one is used as it is needed for updates and a few other things. However, in order for CenPoint to communicate with QuickBooks, you must be using a non-administrative version.
i. Navigate to where you store CenPoint on your computer. In newer versions of Windows (7 and up) you can simply right click on the CenPoint icon on your desktop and click “Open file location.”
ii. Open the “Setup” folder and there you will see two different .exe files. Locate the one called “CenPoint_WinNoAdmin.exe”.
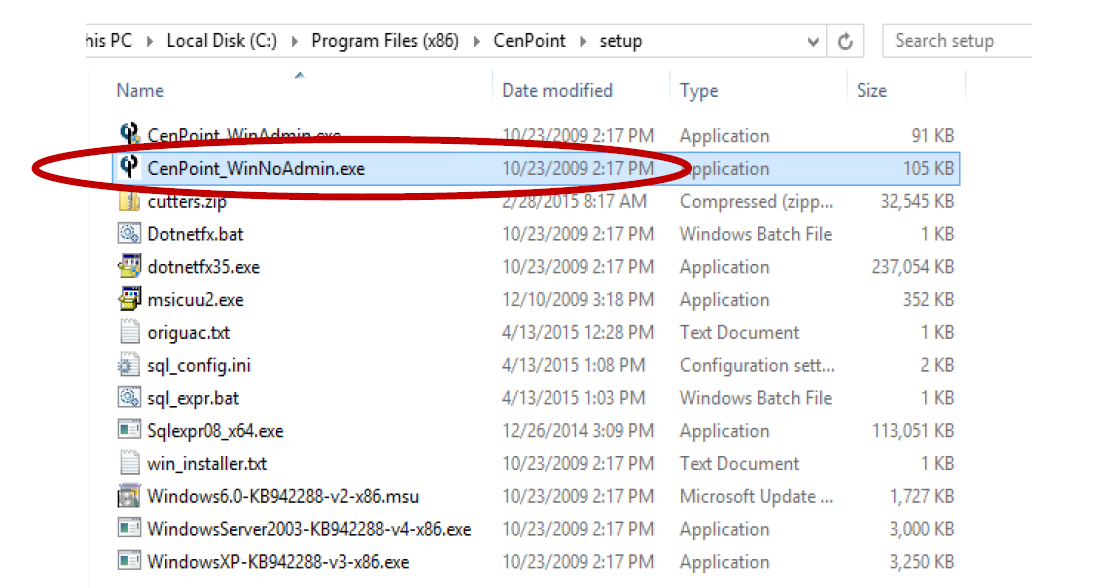
iii. Right click on it and say “Copy.”
iv. Go up one directory to the CenPoint folder, right click and say “Paste.”
v. Now that the CenPoint_WinNoAdmin.exe is in the CenPoint folder, create a link to it on your desktop. DO NOT COPY OR MOVE THE FILE TO YOUR DESKTOP. You may wish to rename the linked icon to “CenPoint QuickBooks.”
1. An easy way to create a link to is hold the Control and Shift buttons at the same time as you drag the icon onto your desktop.
2. Log into QuickBooks using the Admin Account
a. For the first initial communication between CenPoint and QuickBooks you must be logged into QuickBooks using the Admin account. It will not work if you log in as yourself even if you have administrative rights. You must log in to QuickBooks using the Admin account. You may have to look up the password if you cannot remember it.
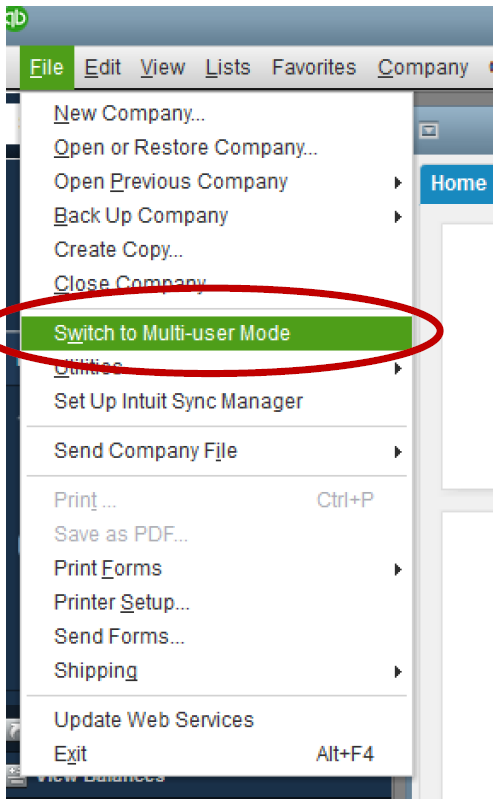
3. Make sure that QuickBooks is in Single User Mode. (After CenPoint and QuickBooks communicate the first time you can set QuickBooks back to Multiple Users)
a. Click on “File.”
b. On the list that drops down, find where it says “Switch to _____ mode.” If it says “Switch to Mutli-user Mode” then you are in Single User mode. If it says “Switch to Single-User Mode,” click on it to switch to single user mode.
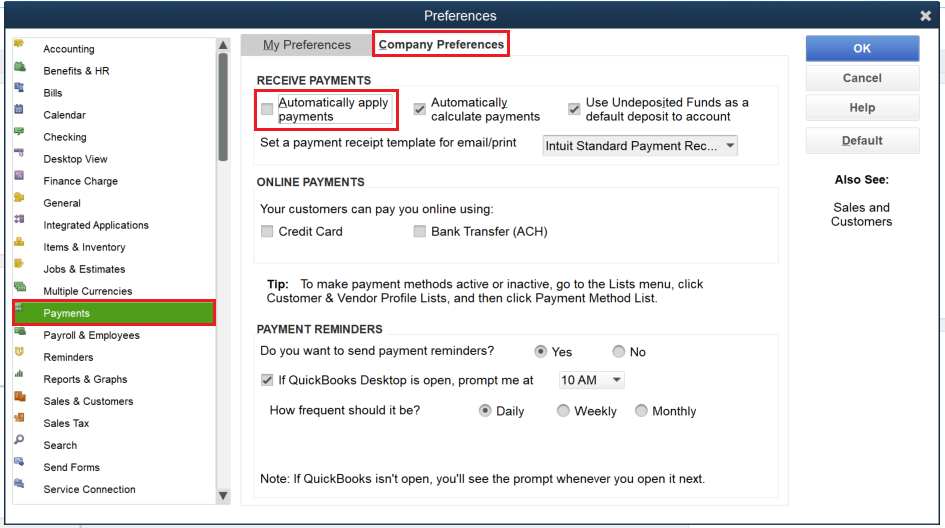
4. Set Up QuickBooks to correctly apply Payments from CenPoint.
a. Go to Edit-> Preferences-> Payments-> Company Preferences Tab
b. Under Receive Payments section make sure 'Automatically Apply Payments' is 'Unchecked'.
5. Open the Company File
a. Open QuickBooks
b. On the QuickBooks start screen, select the option that says “Open or restore an existing company”.
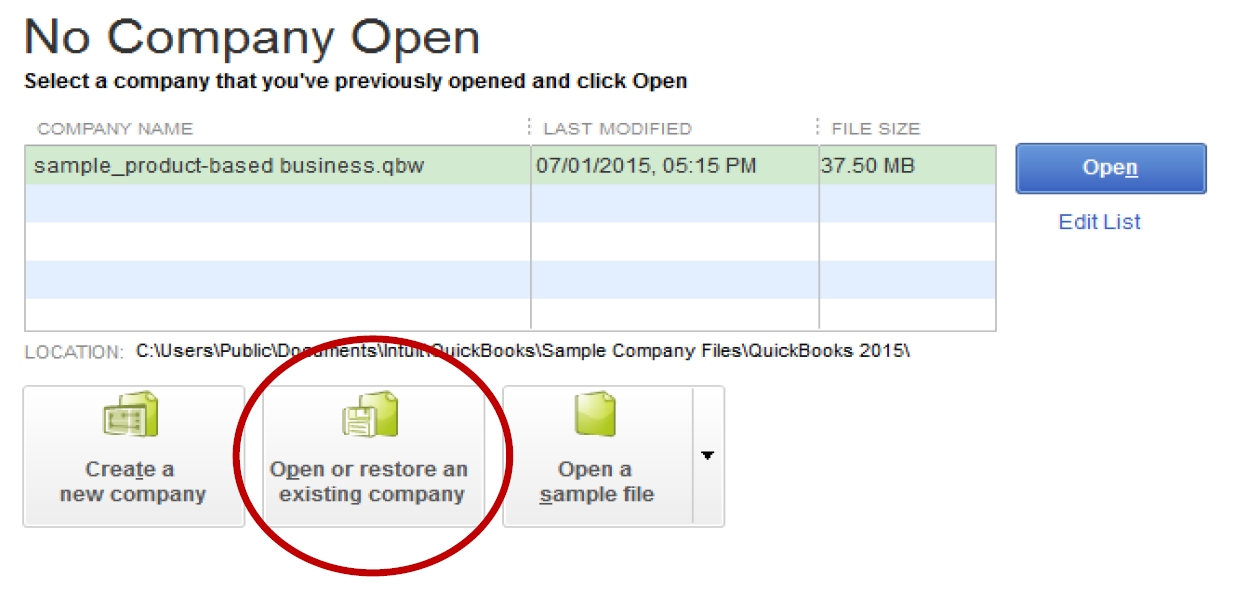
c. Select the “Open a company file” option and click Next. Navigate to where you stored your company file (CompanyName.qbw). Select it and click Open.
6. Send request from CenPoint to QuickBooks to be friends.
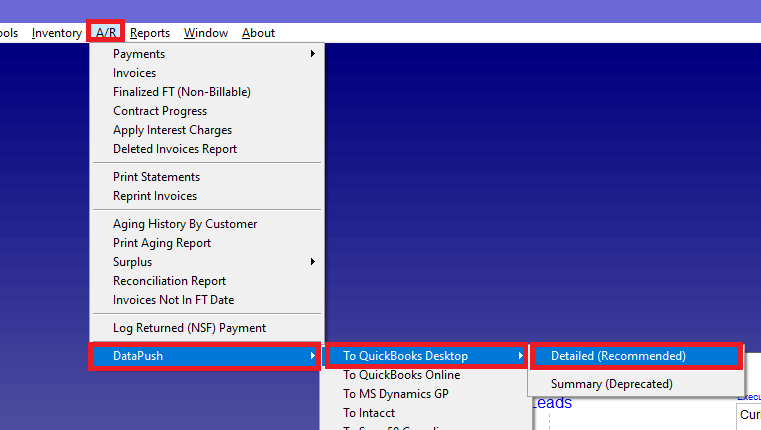
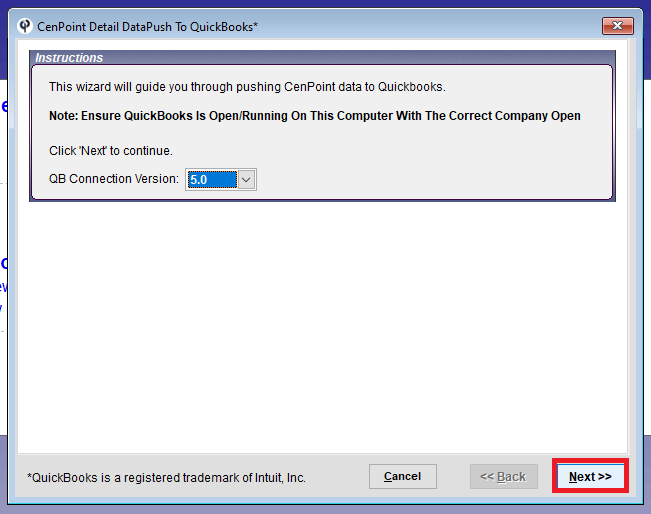
a. Go to A/R > Data Push > To QuickBooks Desktop > Detailed (Recommended)
b. Select 5.0 for your QB Connection Version: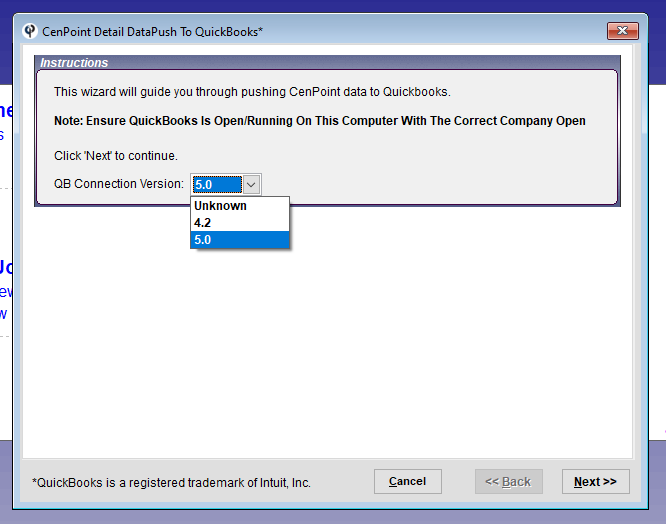
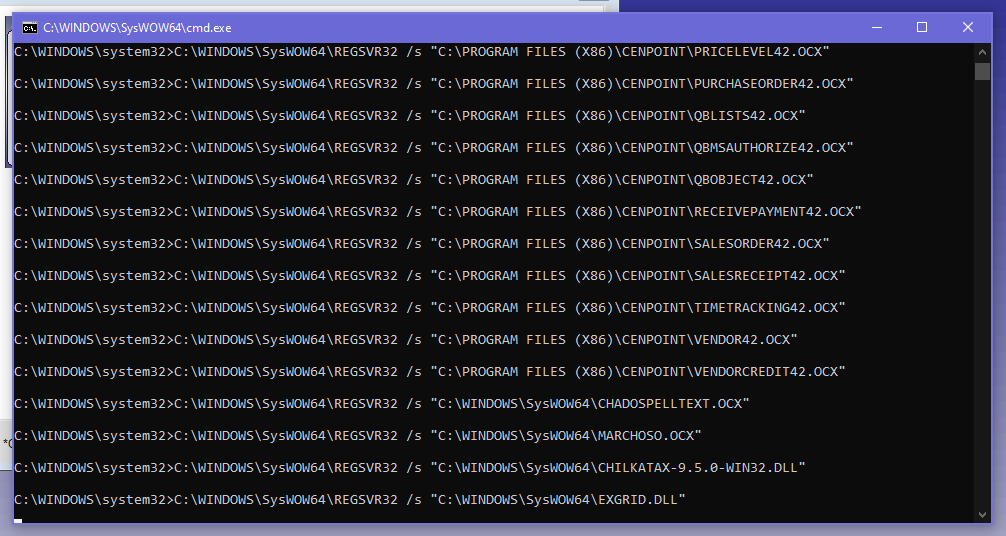
c. At this point, Cenpoint will retrieve new files needed for talking to QuickBooks.
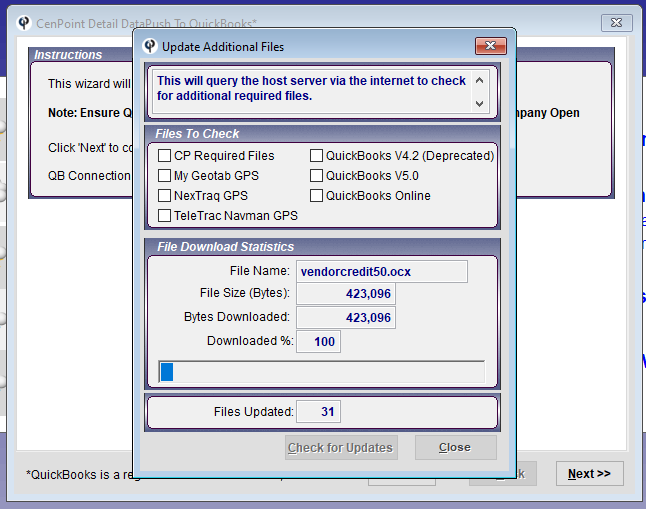
d. Click next.
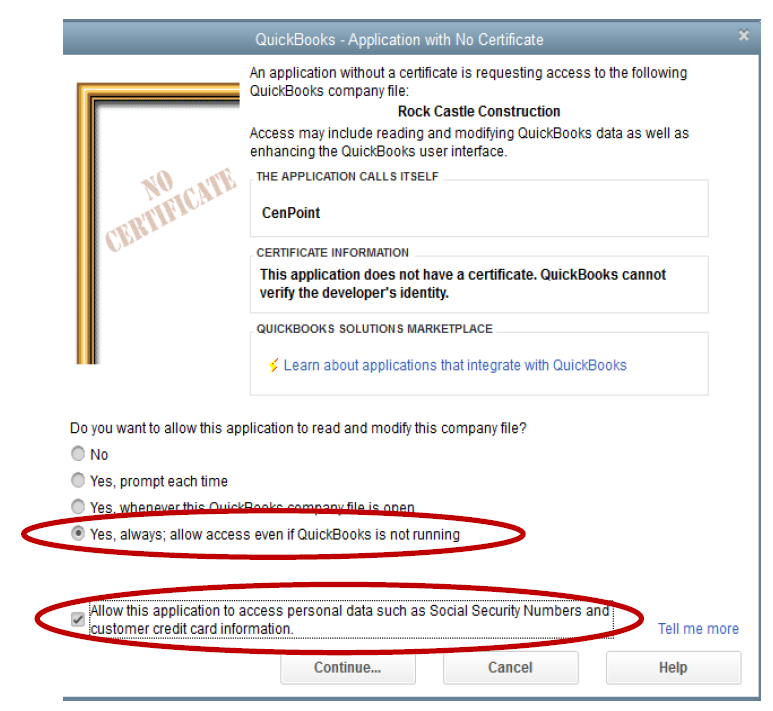
e. On the screen that pops up, select “Yes, always; allow access even if QuickBooks is not running” as well as “Allows this Application to access personal data….” and click “Continue”
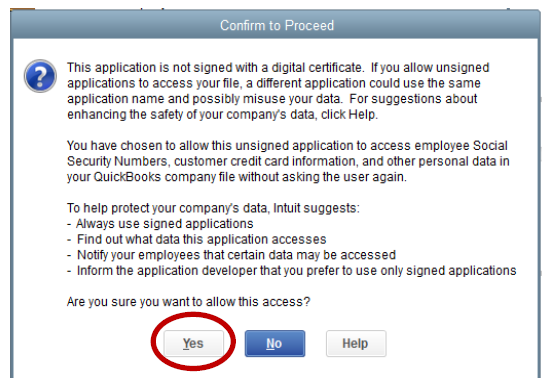
f. On the next screen that comes up, click “Yes”
7. CenPoint is now integrated with QuickBooks. If you’d like to verify . . .
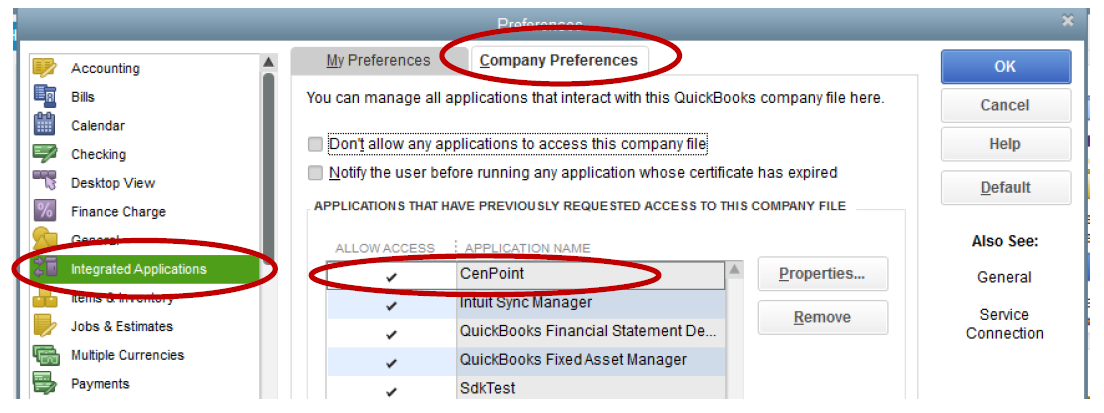
a. Inside of QuickBooks, click on Edit -> Preferences
b. On the left hand side of the Preferences screen, select “Integrated Applications.”
c. C lick on “Company Preferences” and verify that CenPoint is in the list.
Congrats! CenPoint and QuickBooks are now friends!
Before your first data push in CenPoint you will need to set the Data Push Switch Over Date, see the following article for details:
https://help.cenpoint.com/docs/set-cenpoint-s-data-push-switch-over-date