
Job Address on Desktop
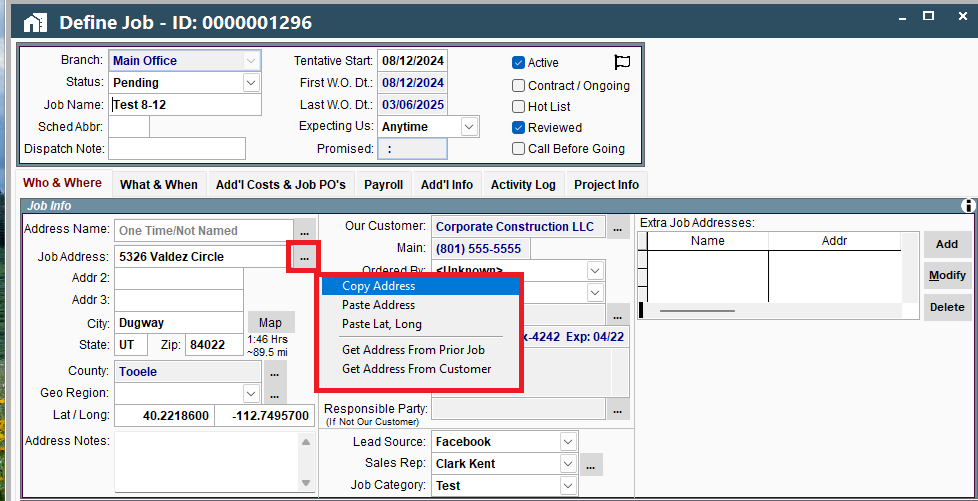
Job Address options on Desktop
1. The Job address is entered here. As soon as the address is recognized, the remaining fields will auto populate, such as the zip, county, and latitude and longitude.
.png)
2. Once an address has been entered into the system, it remains in memory and will appear in the autocomplete prompt.
.png)
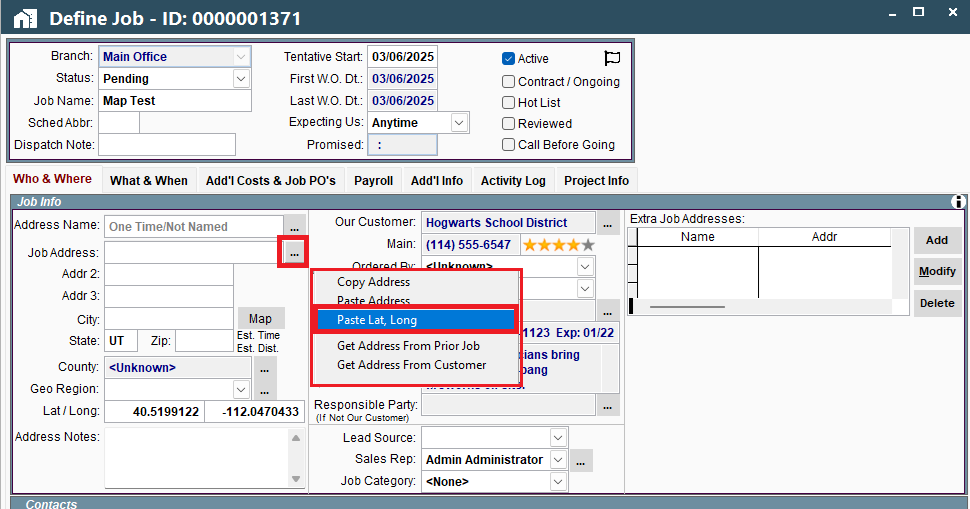
3. If you click the ellipsis next to Job Address, you will have the option to copy the address from the customer, or a previous Job, or copy and paste between jobs.
Paste Lat, Long and get address from Customer. (watch the video at the top of this page for more details)
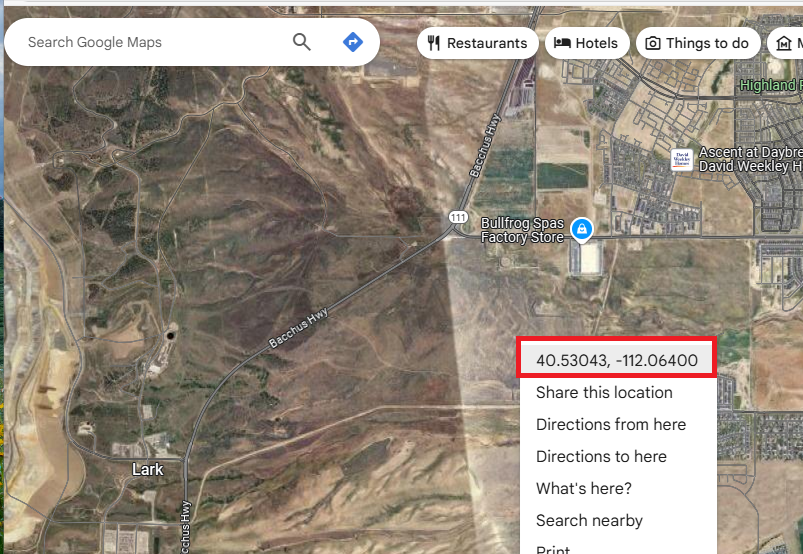
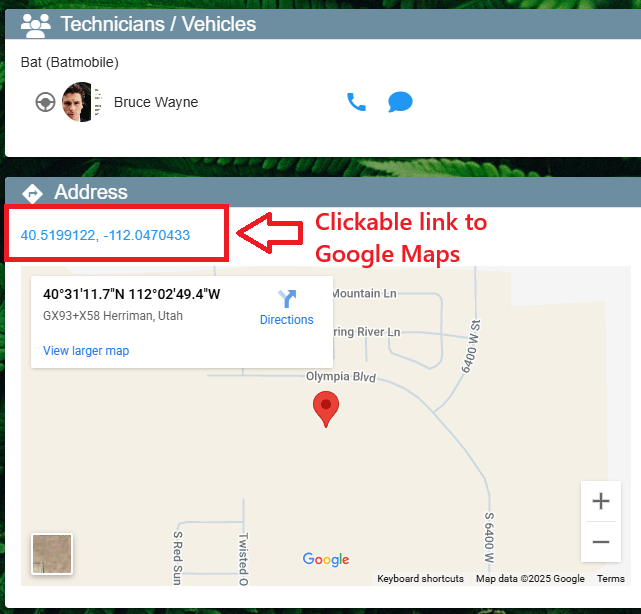
Paste Lat/Long is great for when there is no address at a job site ie working on a highway or new development. You can right click on google maps the exact location you want then click the ellipsis next to Job address and select Paste Lat/Long and CenPoint will fill that in for you. The address will be blank since you are using the Lat/Long but your tech will be able to click on directions and it will take them to the exact place where the job site is.

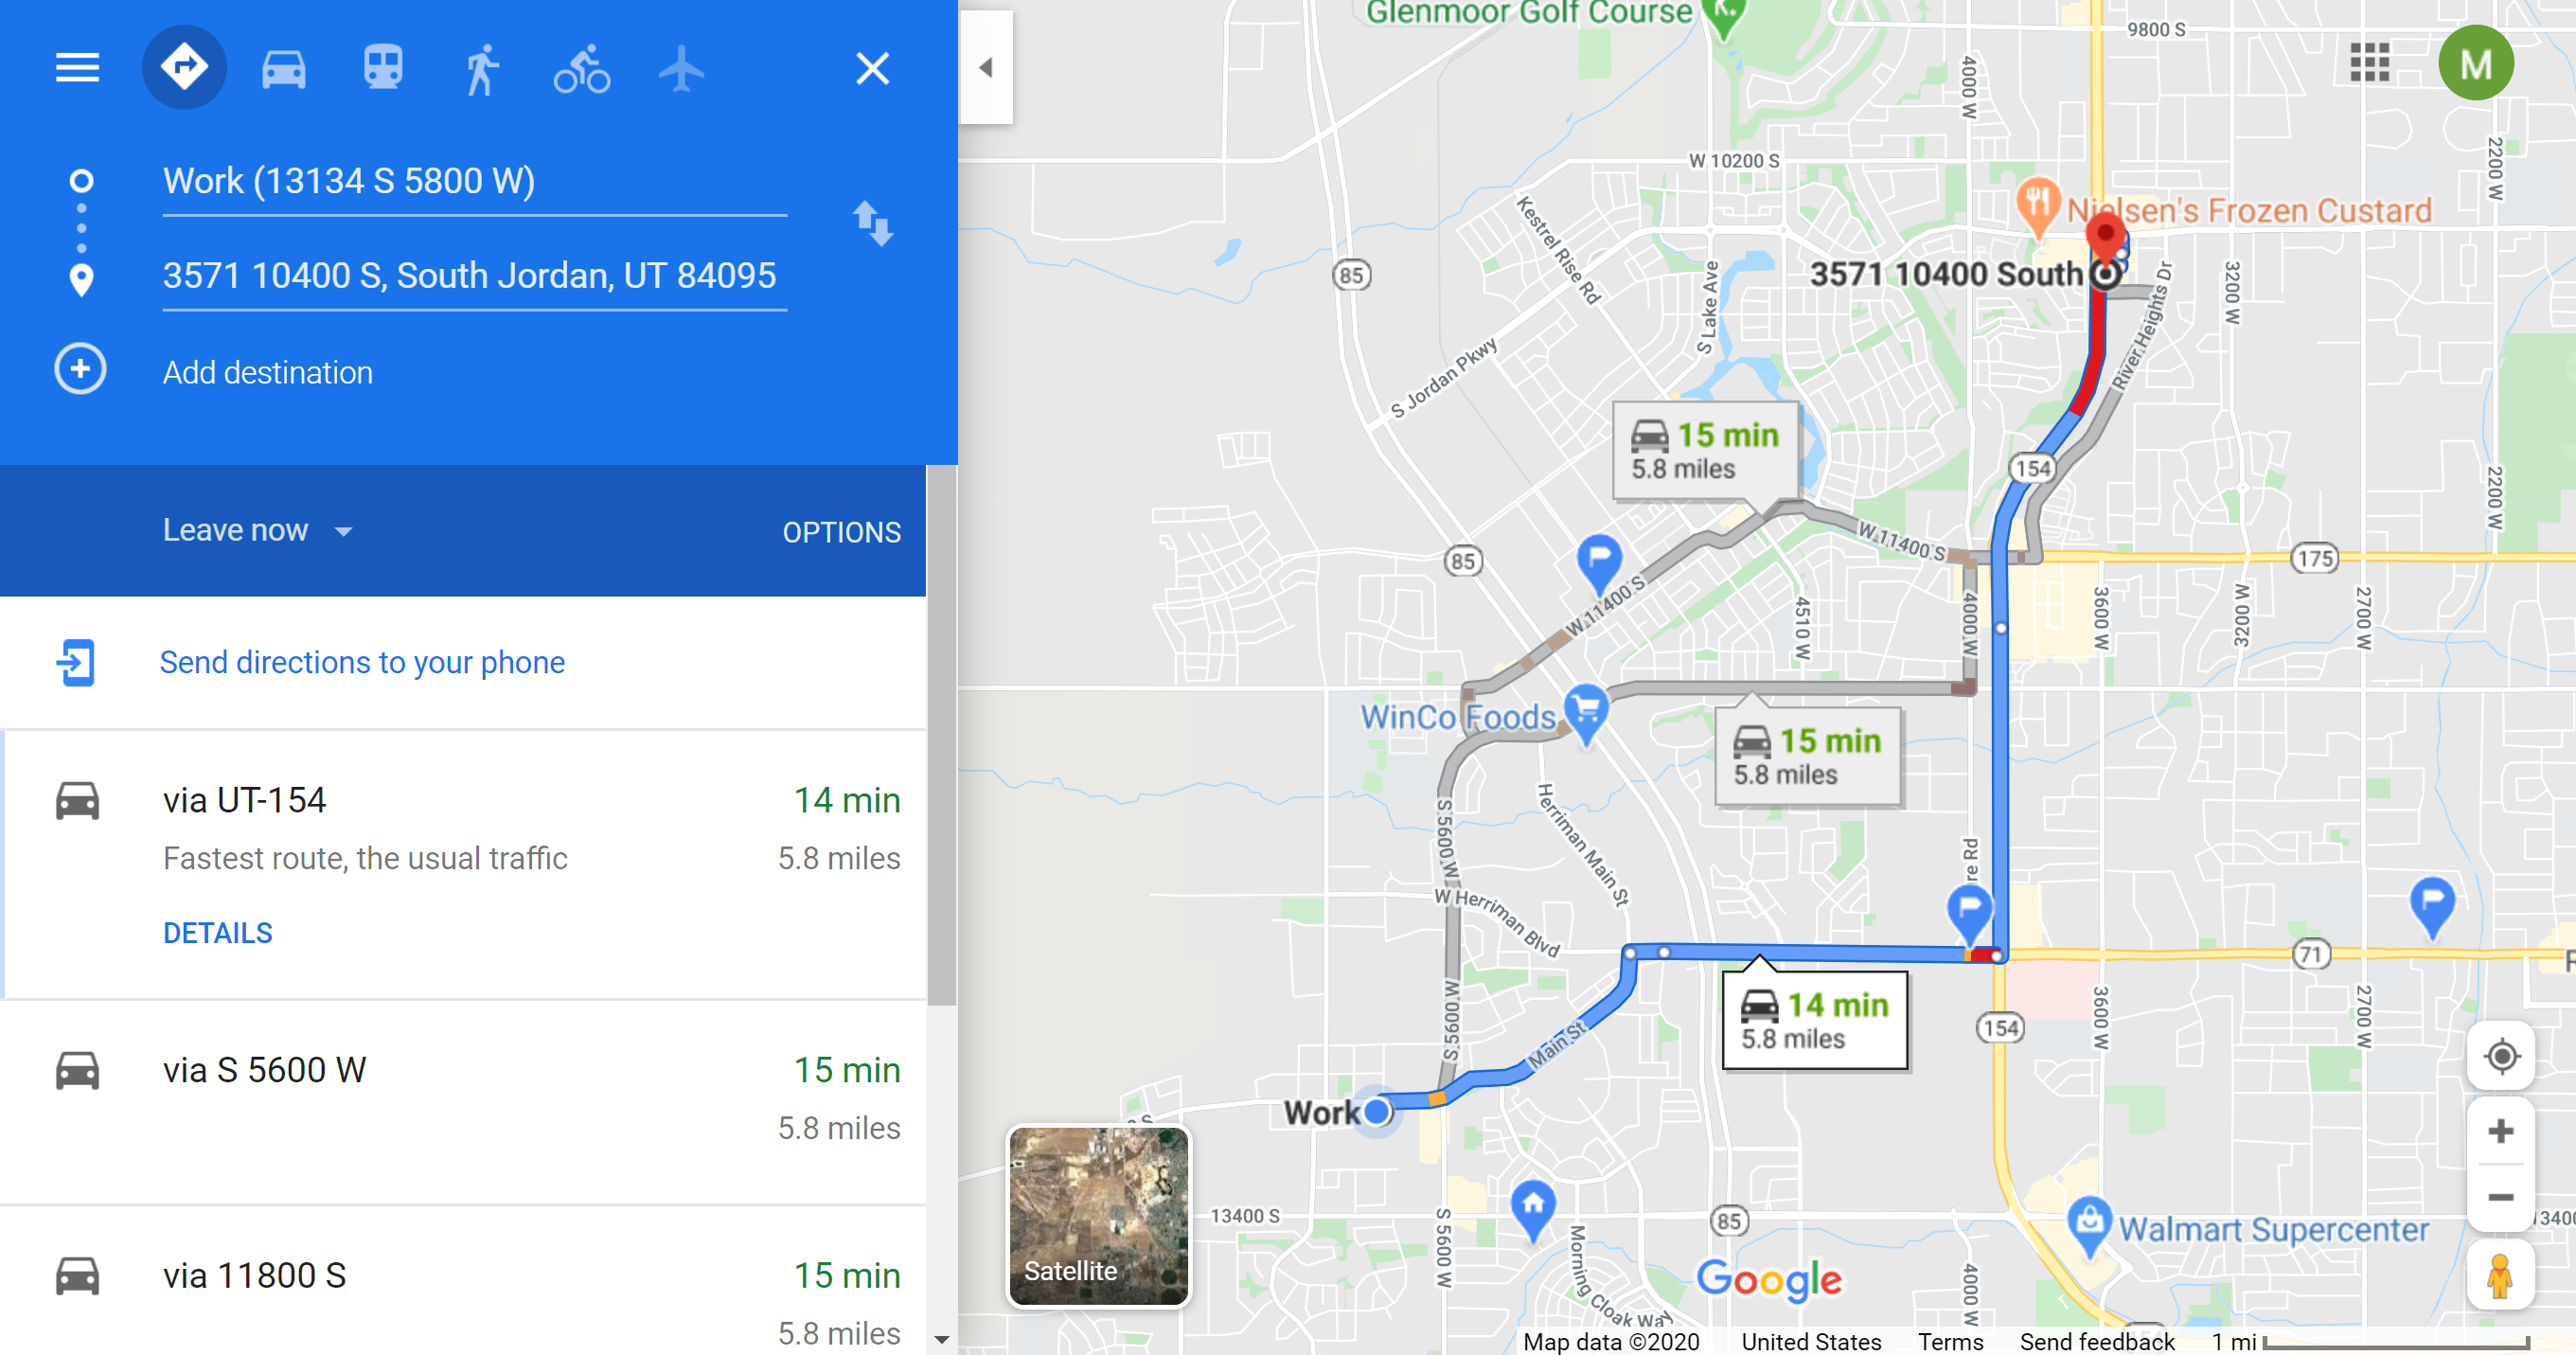
Clicking the Map button will pull up Google map directions from the office address to the Job address.
.png)
Named Addresses on Desktop
4. The address name field allows you to give an address a name so that in the future you can type in the name and auto fill the address. To learn more, please see Address Name.
.png)
5. Named addresses can have address notes to give you a heads up on location specific information if you revisit this address in the future.
.png)
Additional Addresses on Desktop
6. Additional addresses can be added here, for things such as Hotels when out of town, or a dump location for Job waste.
.png)
Job Address on Portal
Job Address Options on Portal
1. The Job address is entered here. As soon as the address is recognized, the remaining fields will auto populate, such as the zip, county, latitude, and longitude.
.png)
2. Once an address has been entered into the system, it remains in memory and will appear in the autocomplete prompt.
.png)
3. If you click the ellipsis next to Job Address, you will have the option to copy the address from the customer, or a previous Job, or copy and paste between jobs.
Paste Lat, Long and get address from Customer. (watch the video at the top of this page for more details)
Paste Lat/Long is great for when there is no address at a job site ie working on a highway or new development. You can right click on google maps the exact location you want then click the ellipsis next to Job address and select Paste Lat/Long and CenPoint will fill that in for you. The address will be blank since you are using the Lat/Long but your tech will be able to click on directions and it will take them to the exact place where the job site is.
.png)
Clicking the Map icon will pull up Google map directions from the office address to the Job address.
.png)

Named Addresses on Portal
4. The address name field allows you to give an address a name so that in the future you can type in the name and auto fill the address. To learn more, please see Address Name.
.png)
5. Named addresses can have address notes to give you a heads up on location specific information if you revisit this address in the future.
.png)
Additional Addresses on Portal
6. Additional addresses can be added here, for things such as Hotels when out of town, or a dump location for Job waste.
.png)