
Device Settings Overview
These settings deal with certain defaults like Language or Display Theme and effect how CenPoint behaves on the Portal and Mobile App.
These settings are only applicable for the Portal and for the Mobile App. The majority of these settings will not affect Desktop.
Find Device Settings
Click on the three horizontal lines or the "hamburger" menu on the upper right corner of the screen.
.png)
Click on the Device Settings

Device Settings will take you to this Screen.
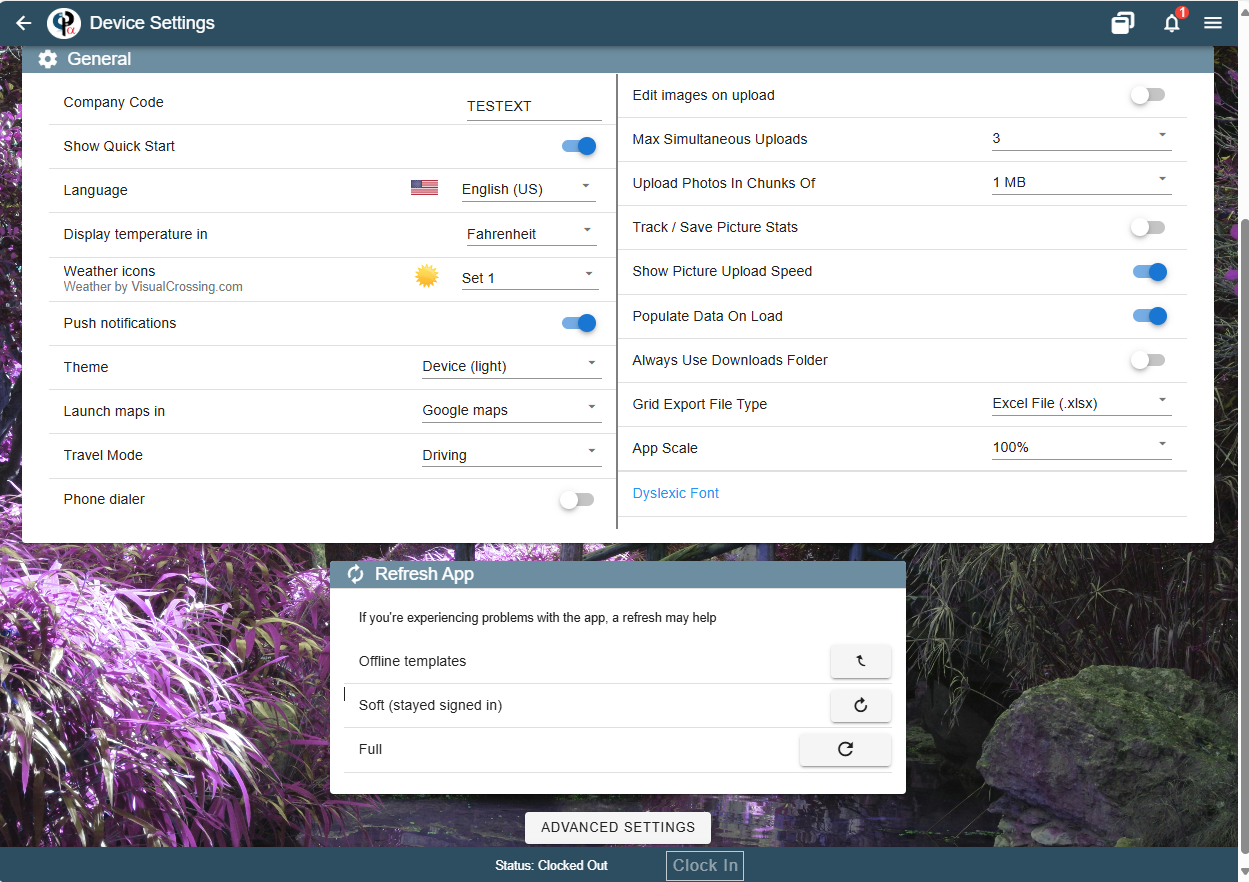
General Table
We'll go through each term and explain what it does.
Company Code: You can see your company code here. It is unique to your company and is a very important identifier on CenPoint's end. Please reach out to us if you have any questions or problems with your company code.
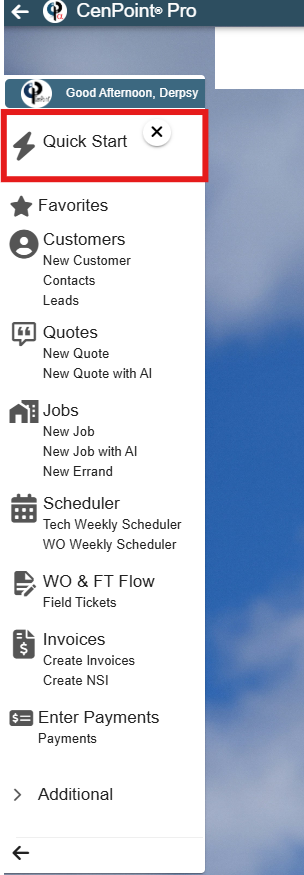
Show Quick Start: When activated, there will be a button labeled "Quick Start" in the main menu area in Portal. Clicking the X will make the Quick Start disappear from the menu until you turn on the switch in Device Settings again.
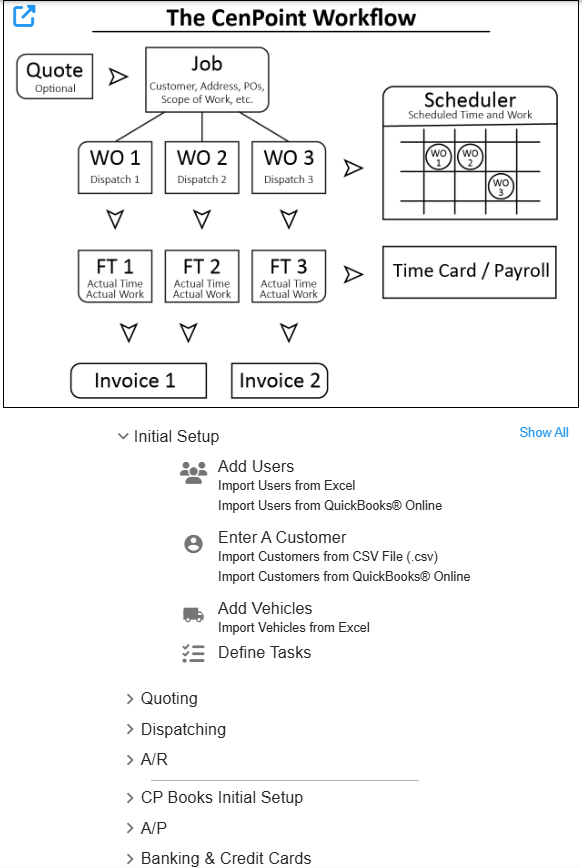
"Quick Start" will open up a window like this to help people set up CenPoint for the first time.
It explains how everything connects to each other and shows them where they can set up Users, Customers, Vehicles, and more.
Language: Select the language that CenPoint will use here.
Display Temperature In: Choose if CenPoint displays the weather in Fahrenheit or Celsius
Weather Icons: Select the icon type you would like to appear with the weather.
Push Notifications: Select whether you would like CenPoint to send you Push Notifications
Theme: Select the theme of CenPoint. (Light, Dark, or Device Default)
Launch Maps in: Select what app you would like Maps to open in.
Travel Mode: Choose if your Techs will be driving or using public transport.
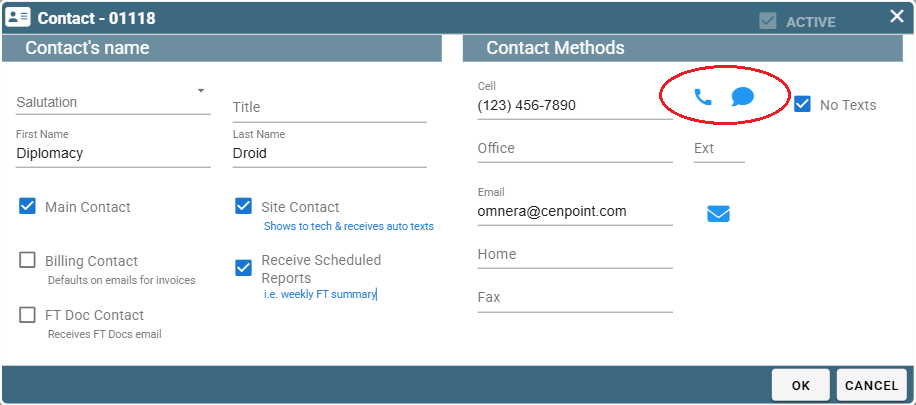
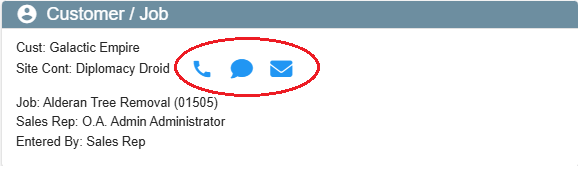
Phone Dialer: If turned on, Phone and Text icons will appear next to your Customer Contact's Phone Number. This allows someone from the mobile app to click on that icon and call/text the contact within CenPoint.
We highly recommend turning it on for the convenience it provides when contacting your customers.
Office View of a Job Contact with Phone Dialer enabled:
Tech View on a Work Order when Phone Dialer is enabled:
Edit Images on Upload: Allows you to edit an image upon trying to upload it.
Max Simultaneous Uploads: dSet the maximum number of uploads in a single batch to 1, 2, or 3.
Upload Photos in Chunks Of: Select how much data is used in a given batch when uploading Photos.
Track/Save Picture Stats: Provides information for debugging purposes. This allows CenPoint to better fix any problems you might run into with uploading photos.
Show Picture Upload Speed: In the upper right corner a little progress bar would appear to show you how long your picture(s) are taking to upload.
Populate Data on Load: IMPORTANT FOR MOBILE APP: If turned off the mobile app will not pull so many results from the database when searching for Quotes, Jobs, Work Orders, etc...
This allows CenPoint to not use as much mobile data on your phone.
Always Use Downloads Folder: When turned on, CenPoint will automatically put all files you download from it into your Downloads Folder.
Grid Export File Type: Toggle between exporting an Excel File (.xlsx) or a CSV file (.csv)
App Scale: Adjust the display size of CenPoint. You can scale everything bigger or smaller to make the data easier to see.
Dyslexic Font: Activate or deactivate "Dyslexic Font" to make using CenPoint easier for those with Dyslexia.
Refresh App Table
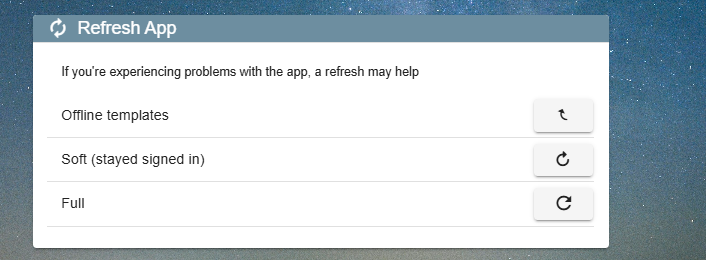
There are three levels of refreshing CenPoint.
1. Offline Templates: To ensure reliability, a technician's schedule, Work Orders, Tasks, and Notes for the current day are stored on their device. This allows them to see all this information even if Cell Service isn't available on the Job site. Clicking this button will clear that data and pull it anew from CenPoint's servers. This can solve problems like when some information isn't displaying properly on a Tech's device.
2. Soft (Stayed Signed In): This will refresh the entire app, very similar to reloading a webpage. It is a bit more intensive than the Offline Templates option but won't take too much time.
3. Full: This is the most intense option. It will refresh all data from this app and will sign you out. This is akin to redownloading the app. IMPORTANT: You will need to know your Company Code, Login name, and Password to sign into CenPoint again after clicking Full refresh.
Advanced Settings
Click on the Advanced Settings Button at the bottom of the page. It will open up a new table with more options.

This is what the Advanced Settings table will look like (presumably with different URL)

Please do not alter these settings without talking with us first. Feel free to reach out to us at 801-478-6822 extension 4 or at Support@Cenpoint.com
Most of these settings won't get altered unless extenuating circumstances occur.
App URL: This is the url used to access your CenPoint.
Current Server: Alter which server your CenPoint is operating on.
Preferred Server: The server that you would prefer to use (i.e. the most convenient one for you. It's often the server closest to you)
Base server URL: Please do not alter this unless we ask you to.
Support Info: This is here for the CenPoint dev crew to be able to help you debug obscure connection errors. On the phone with you we may ask you to click on it.