
Schedule Template Tab on Portal
Find the Schedule Template Tab on Portal
Go to More -> Users
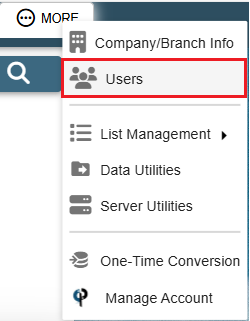
Find your user and then double click on them or click the Ellipsis -> Modify
.png)
Go to the Schedule Template tab
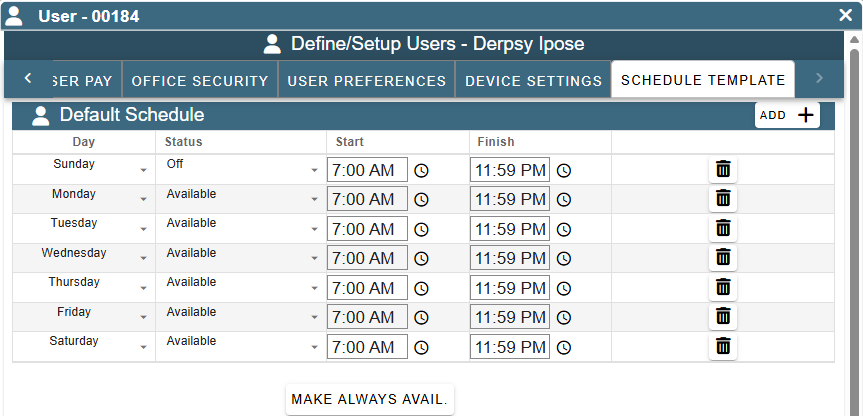
Set Template
Click the dropdown under the Status column to set the worker's availability for that day of the week.
Keep in mind that this is simply an outline of what their schedule will be for the year.
To schedule days off and holidays use the following links for more information: Schedule Days Off
Or see this section farther down on this article: Schedule Holidays/Time Off on Portal
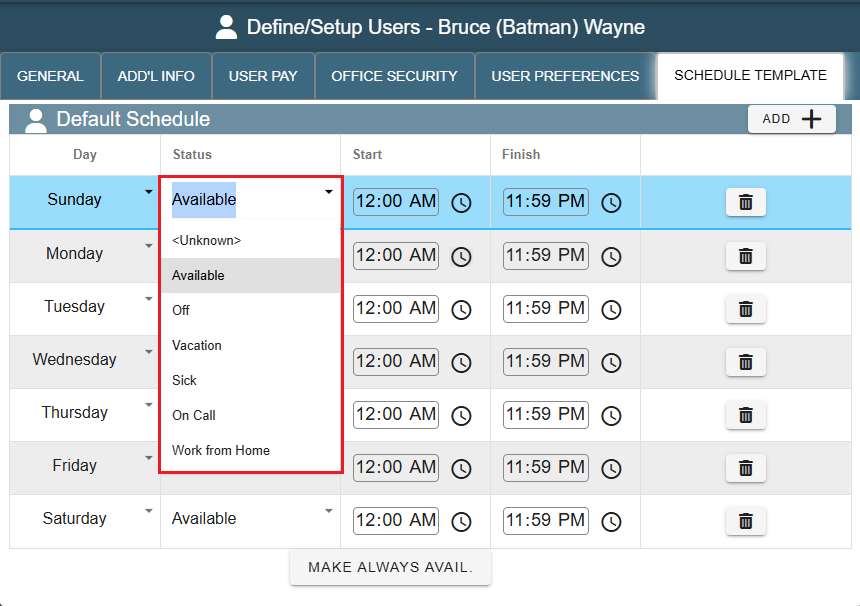
Click on the time to alter the employee's availability times for the day.
Click on the trash can to delete a row to signify that a worker doesn't work on that day.
Click Add to create another row.
The Create and Delete rows make it easy for you to template odd situations like a tech being available in the morning from 7am-noon and then being available again in the evening from 4pm - 9pm of the same day.
Make Always Available Button
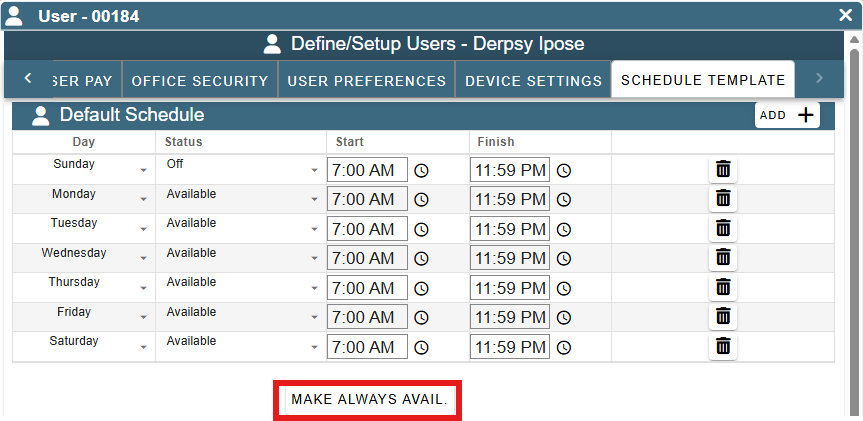
The "Make Always Avail." button if clicked will set the user to be always available as seen in the above screenshot.
If you click it again it will revert the template schedule to what it was before.
This allows you to set a user to be always available for some span of time and then easily revert back to their other schedule when circumstances change.
Schedule Holidays/Time Off
Go to CP Payroll -> Clock In/Out Data Only to open the "Manage Time Clock" window.
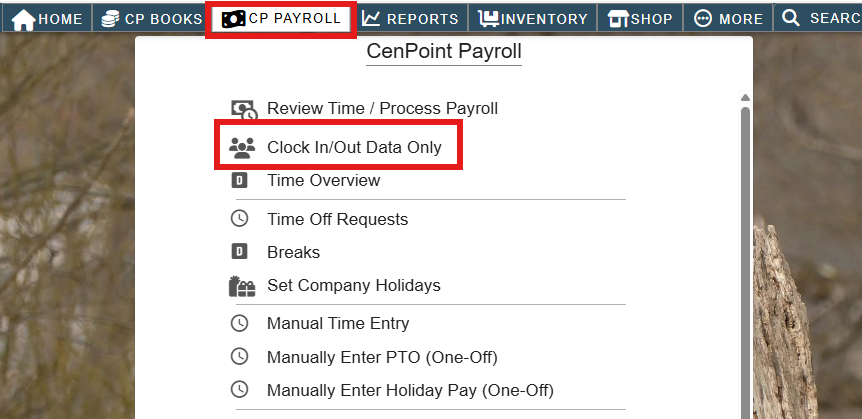
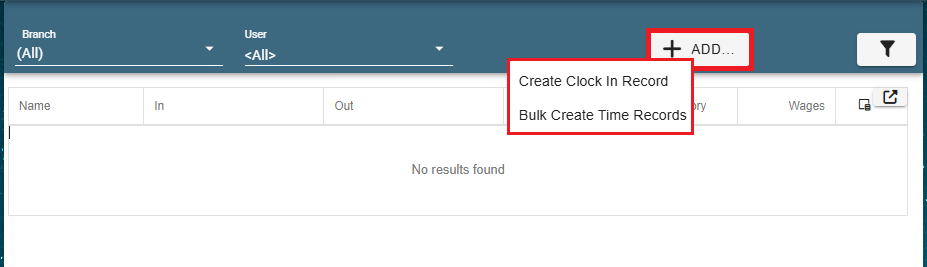
To schedule a single user click Add->Create Clock In Record
To schedule multiple users click Add->Bulk Create TIme Records
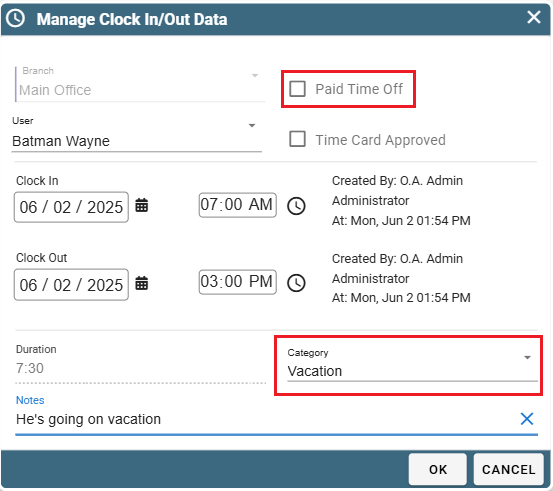
For a single user: Fill out the time that they would clock in/out at.
Check the "Paid Time Off button (if applicable) and select a Category to show why the time is the way it is.
Click OK to exit the window with your saved changes.
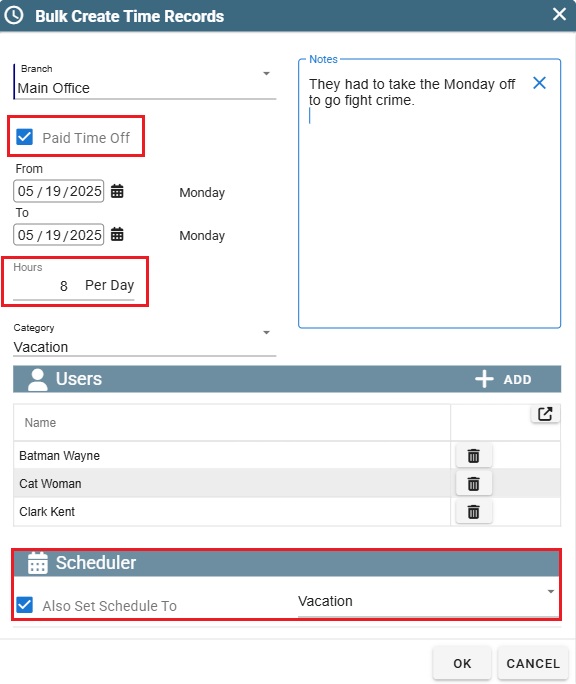
For multiple users: Click Add and select the users you'd like to schedule.
Select the number of hours and if it is Paid Time Off.
Also select if you'd like to set the Users' Schedules to a certain category like Vacation.
Click OK to exit the window with your changes.
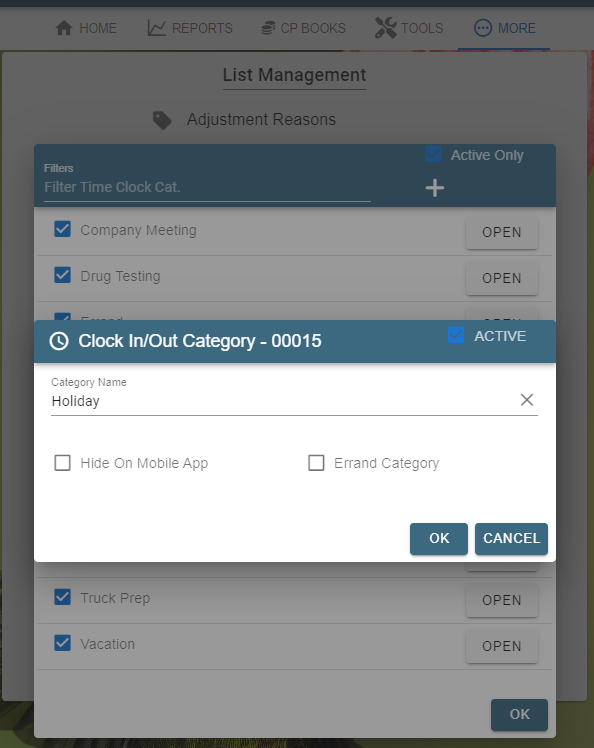
To add or change clock in categories go to More -> List Management-> Clock In/Out Categories
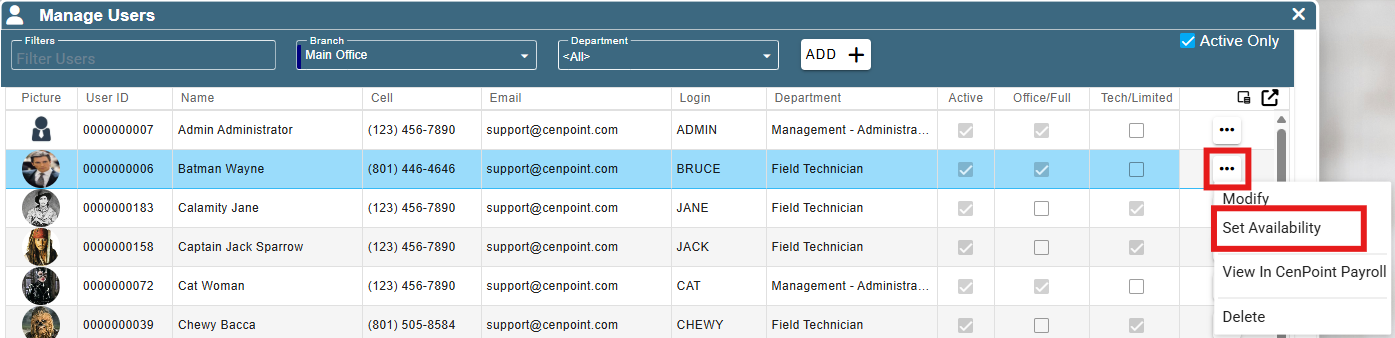
For more detailed control on altering a specific user's schedule on a given day go to More -> Users -> Click Ellipsis -> Set Availability
.png)
Now find the desired day and alter it to suit your needs.
The ellipsis will show multiple options to filter through the days.
Click on the Status, Start, and Finish columns on a given day to alter the schedule.
