2. Which contacts are used to email statements?
3. What email message is sent with the attached statement?
4. What happens if there is no email on file?
1. How to bulk send statements
1a. Go to A/R > Print Statements.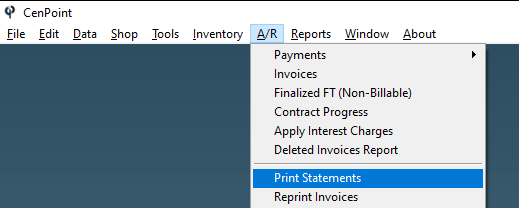
1b. Set your filters such as branch and date range.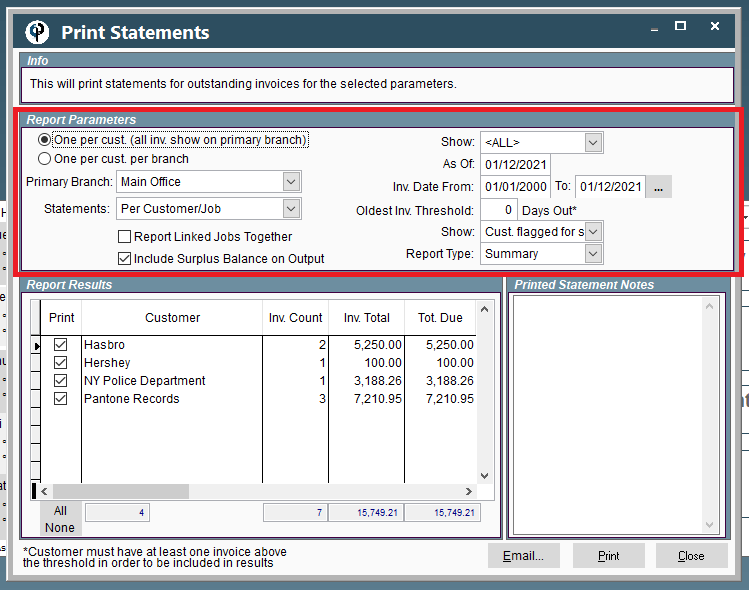
1c. Check the box next to every statement you would like to send (utilizing the “all” and “none” buttons as needed).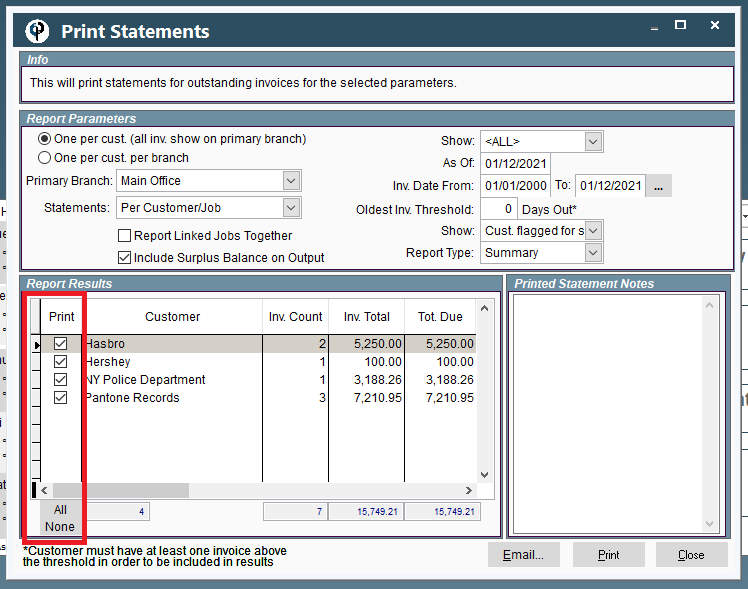
1d. Click the “Email” button.
1e. Select either of the first 2 options..png)
2. Which contacts are used to email statements?
2a. The statement is sent to every customer contact marked as “Receive Statements”.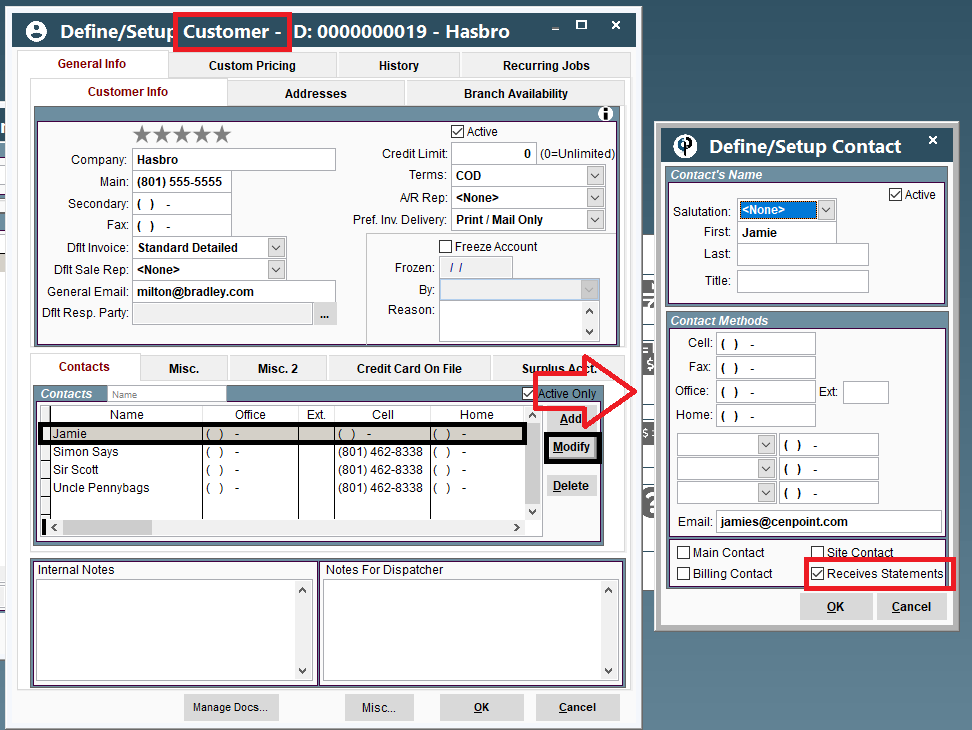
2b. If you select the second option, “Receive Statements Contacts and Cc All Job Billing Contacts” . . . .png)
all statement emails will additionally cc any Job contacts marked as “Billing”.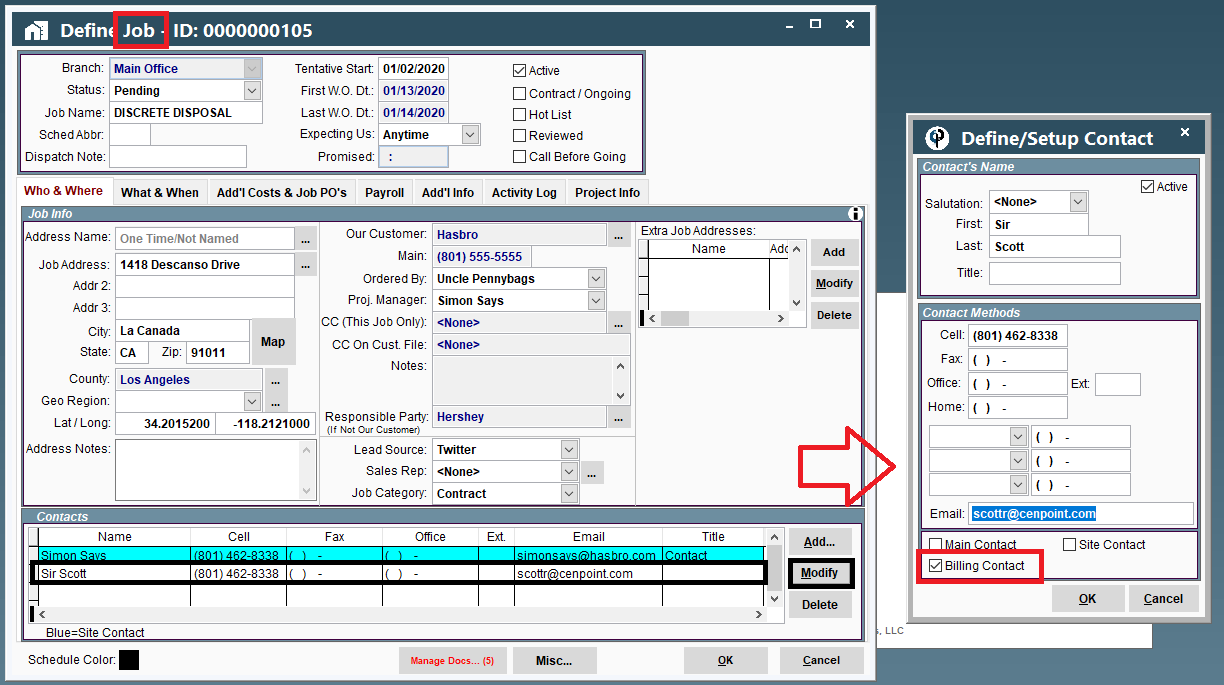
3. What email message is sent with the attached statement?
1e. Before sending your statements, you may wish to modify the email template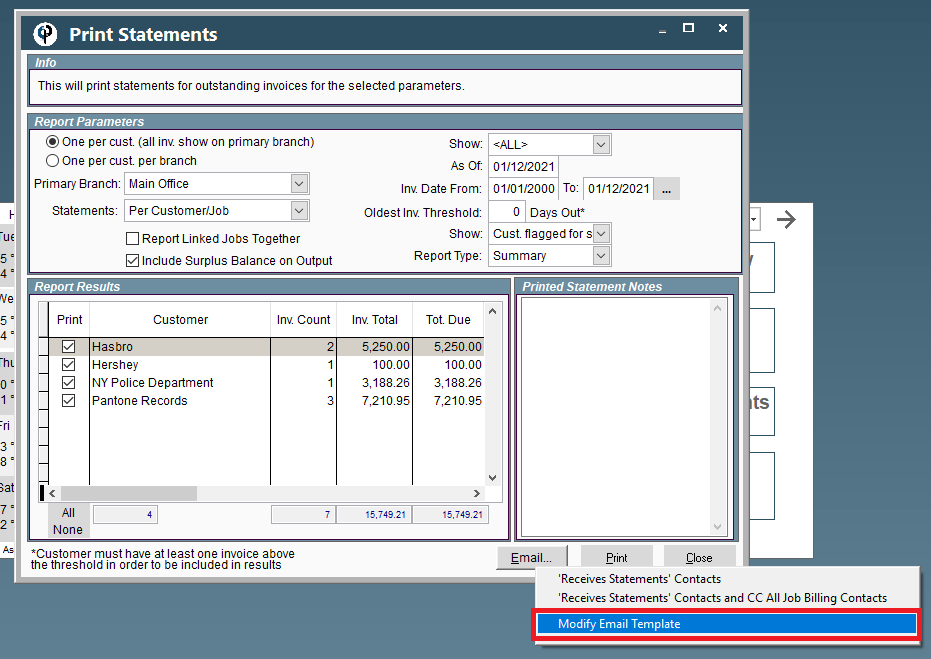
1f. The email template allows you to define the subject and body of the emails being sent out. These fields only have to be set once, and if never set will use CenPoint’s default.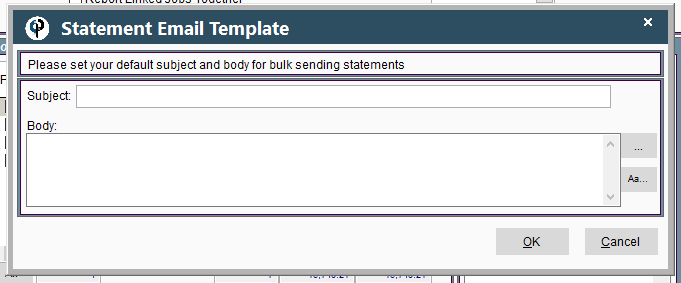
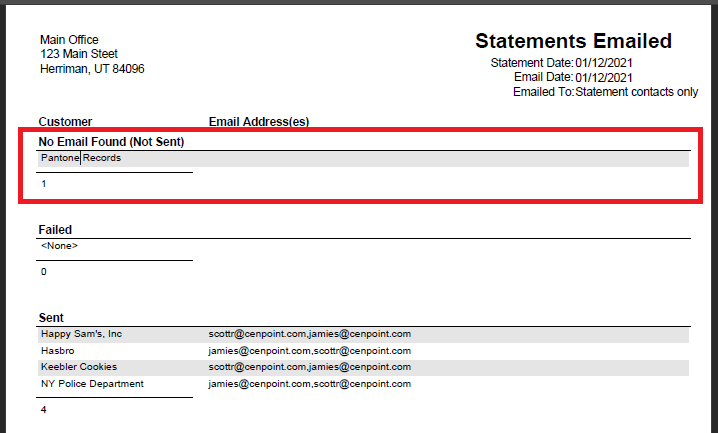
4. What happens if there is no email on file?
4a. If no customer contacts marked "Receive Statements" is found . . .
4b. CenPoint will try to use the Job contacts marked “Billing Contact” instead. However, this step is skipped if you did not specify "cc all job billing contacts".
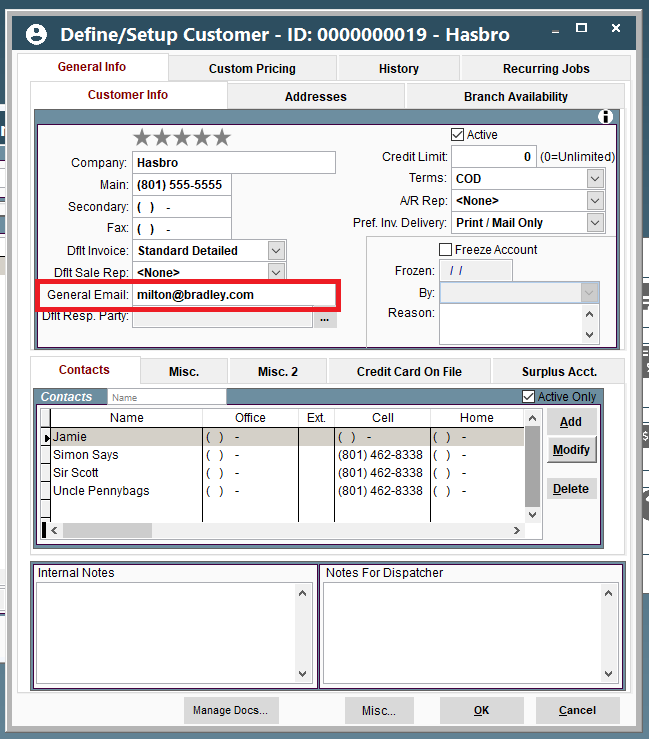
4c. If no billing contact was found, or you did not specify "cc all Job billing contacts", CenPoint will next attempt to use the customer general email.
4d. If no customer general email is found, the customer will display on the final print out under “No Email Found (Not Sent)”