This article covers exporting positive pay.
Positive pay exports are sent to banks as a fraud prevention measure.
To get to the positive pay export screen, go to CP Books → Essentials → Checks → Positive Pay Export.
Select the branch name and bank account from the two drop-downs at the top.
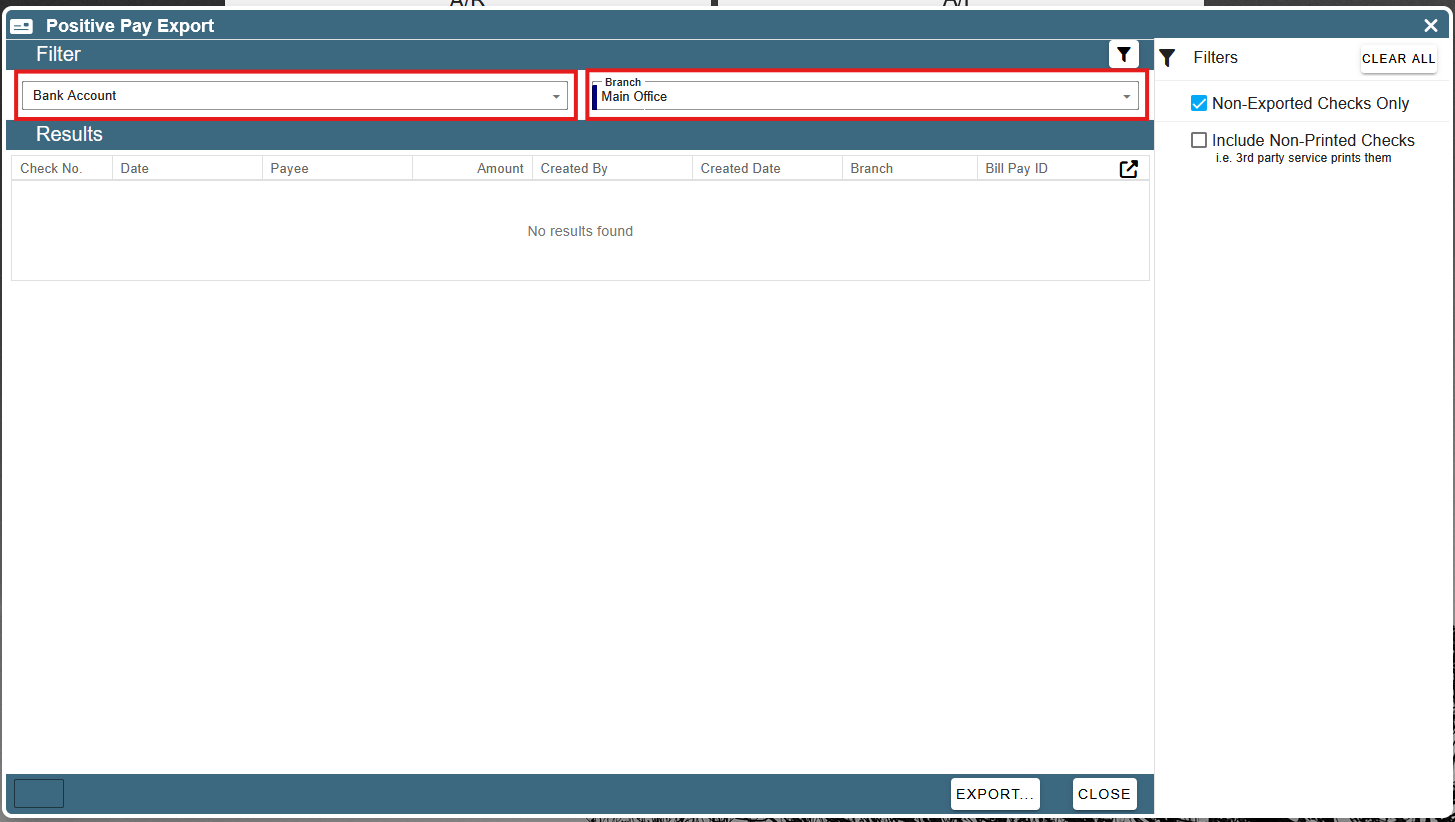
By default, this screen only loads printed checks that have not been exported yet. To include checks that have already been exported, you can uncheck the “Non-Exported Checks Only” check-box. This causes a date range selector to appear that allows you to choose the time period you would like to display checks for.

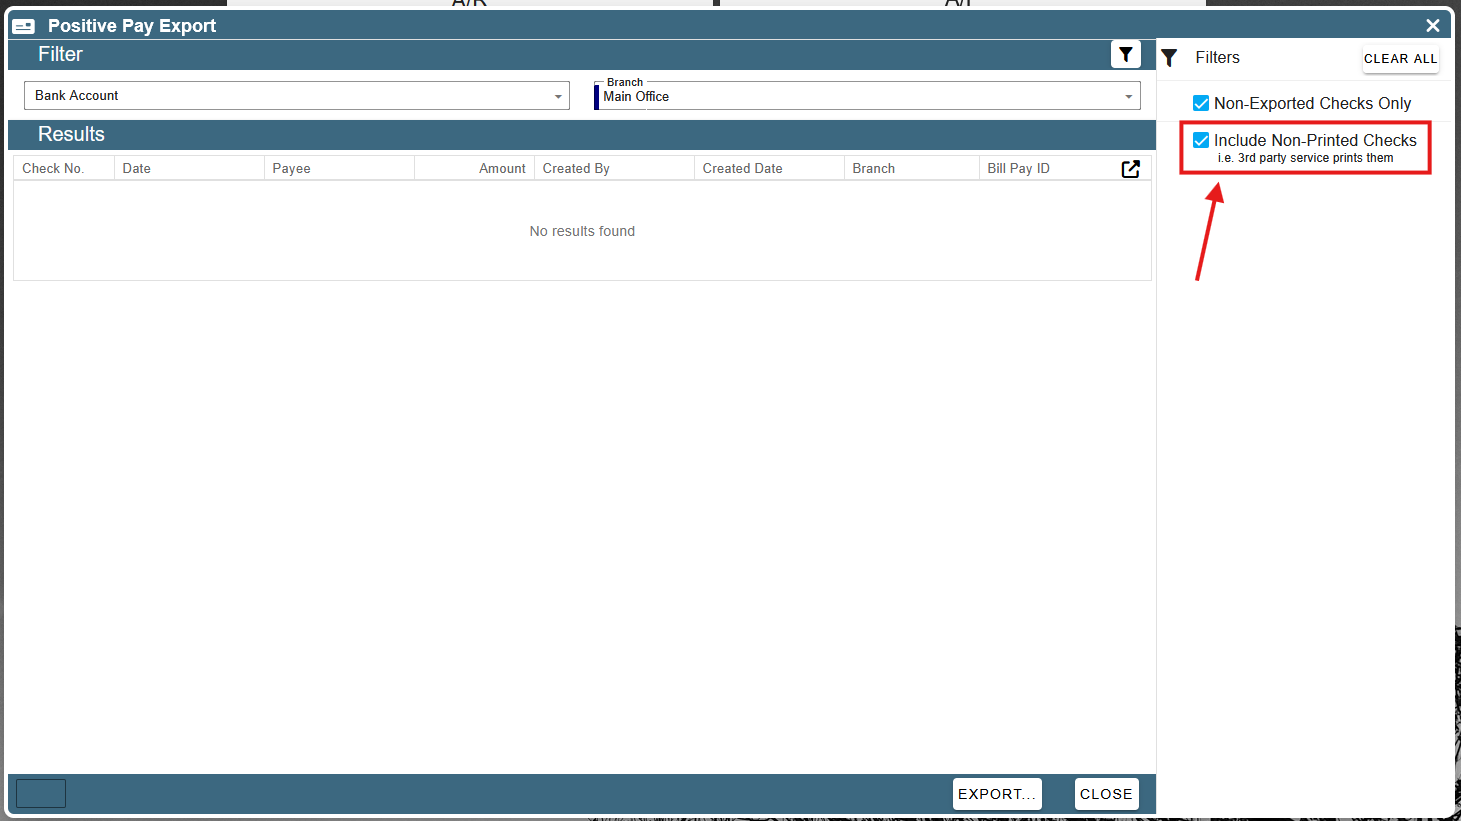
You may also include checks that have not been printed yet by checking the “Include Non-Printed Checks” check-box. This box should be checked if you print your checks with a 3rd party service (and not in Cenpoint).
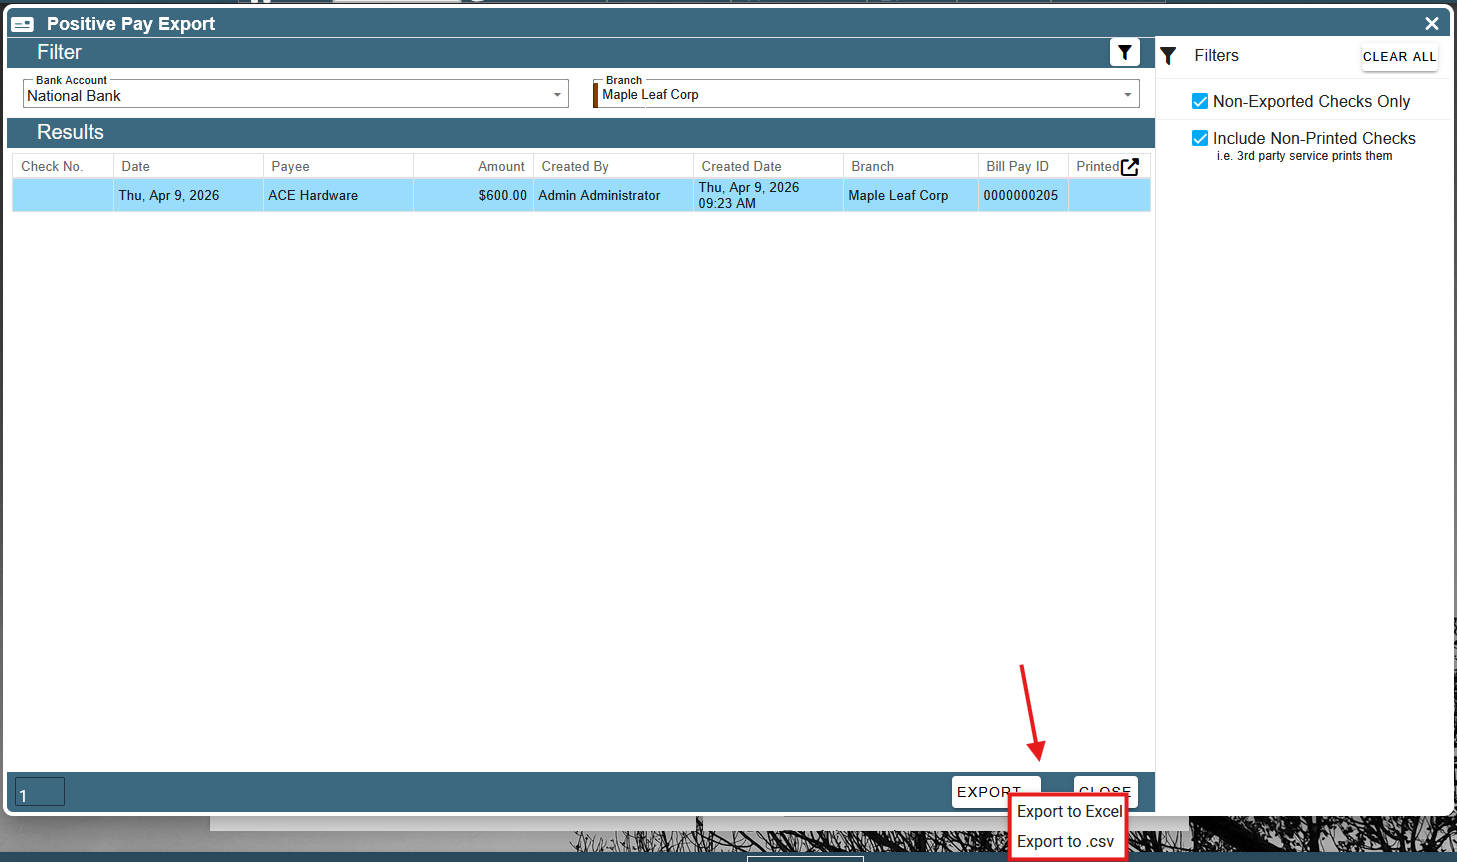
Once you have adjusted the filters to show all of the checks you want to export, click the “Export” button at the bottom of the screen.
You can choose to export an Excel or a CSV file.