
CenPoint allows you to send a text message to customers, with a link to view and sign their Quote. This article will cover . . .
How to send the customer link (from the mobile app, desktop, and portal).
How to filter quotes by their signature status.
How to customize the Quote text message.
Quote Signatures on Desktop
Customer Signature on a Quote on Desktop
1. Open a Quote, and go to the “eSigned” tab..png)
2. If the Quote has already been signed, you will see the customer name and date here..png)
3. You also see the date and time the link was last sent to the customer, as well as their view history..png)
4. Once a Quote has been signed by the customer it will become read only.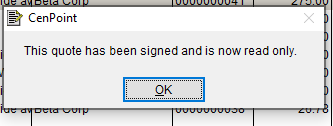
5. If changes need to be made to the Quote, the customer signature can be deleted with the button below.
.png)
6. To send or resend the link to the customer click on the “Send Sig. Link” button..png)
7. You can send the signature link via text message to the “prepared for” contact, or a phone number you manually enter.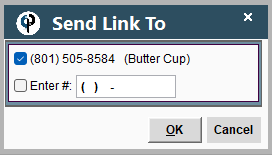
Send a Customer a Quote on Desktop
Open your quote and click on the “Email or Text…” button at the bottom of the window.
There are three ways to send the Quote to the customer: Email a PDF, Email a Link, and Text a Link.
Important Note: If you select the “Email-PDF” option the customer will not be able to sign it from the file attached in the email. The other two options allow the customer to sign the quote right then and there.
.png)
Filter Quotes by their Signature Status on Desktop.
On the Quote finder, there is a filter called eSigned. It is intended to help make resending the signature link and reaching out to customers easier.
.png)
Customize the Quote Text Message on Desktop.
1. By default, the customer will see this text message.

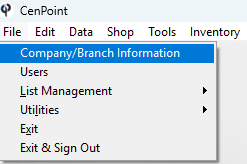
2. To modify the message sent, go to File → Company/Branch Information
3. Highlight your branch, and click the Modify button.
.png)
Go to the “Cust. Portal” tab.
To set up your quote signature, use the options on the right of the “Quote Signature Message” to customize the text.
.png)
Example of what the customer would see.
.png)
4. You can also arrange for a small logo to appear on things like messages or quotes on CenPoint.
.png)
Quote Signatures on Portal
Customer Signature on a Quote on Portal
1. Open a Quote, and go to the “eSigned” tab.
.png)
2. If the Quote has already been signed, you will see the customer name and date here..png)
3. You also see the date and time the link was last sent to the customer, as well as their view history.
.png)
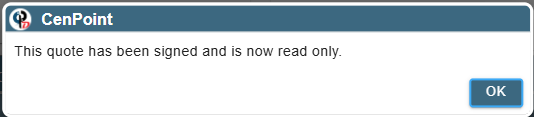
Once a Quote has been signed by the customer it will become read only.
If changes need to be made to the Quote, the customer signature can be deleted by clicking the Ellipsis → Delete Sig.
.png)
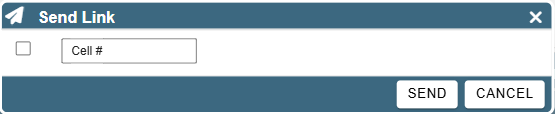
To Send or resend the link to the customer click on the “Send Link” button.
.png)
Upon clicking the “Send Link” button you will be prompted to enter in the phone number you would like to send the link to.
Send a Customer a Quote on Portal
Open your quote and click on the “View/Send…” button at the bottom of the window.
There are three ways to send the Quote to the customer: Email a PDF, Email a Link, and Text a Link.
Important Note: If you select the “Email-PDF” option the customer will not be able to sign it from the file attached in the email. The other two options allow the customer to sign the quote right then and there.
.png)
Filter Quotes by their Signature Status on Portal
On the Quote finder, there is a filter called eSigned. It is intended to help make resending the signature link and reaching out to customers easier.
.png)
Customize the Quote Text Message on Portal
By default, the customer will see this text message.
To modify the message sent, go to More → Company/Branch Information
.png)
Find your desired branch and click on the Ellipsis → Modify
.png)
Go to the “Cust. Portal” tab.
To set up your quote signature, use the options on the right to customize.
You can also arrange for a small logo to appear on things like messages or quotes on CenPoint.
.png)
Customer View of Signing a Quote
The customer will receive a text message or an email with a link to your quote. Your message may be customized in Branch Settings. Please see the following link for more information: Customer Portal
When the customer clicks on the link, they are taken to the Quote.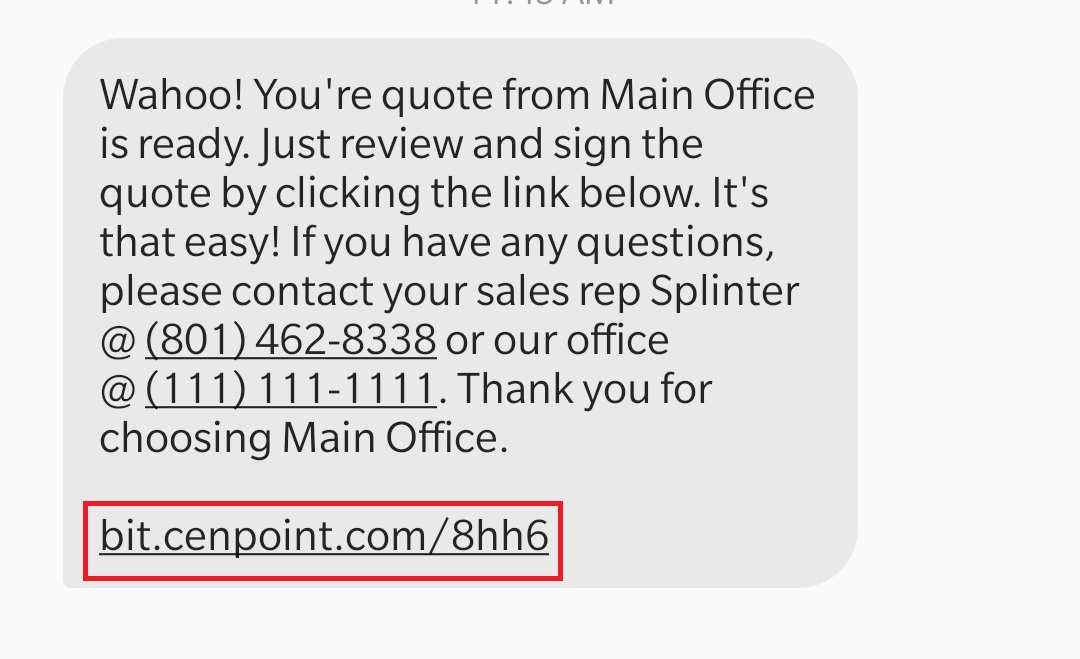
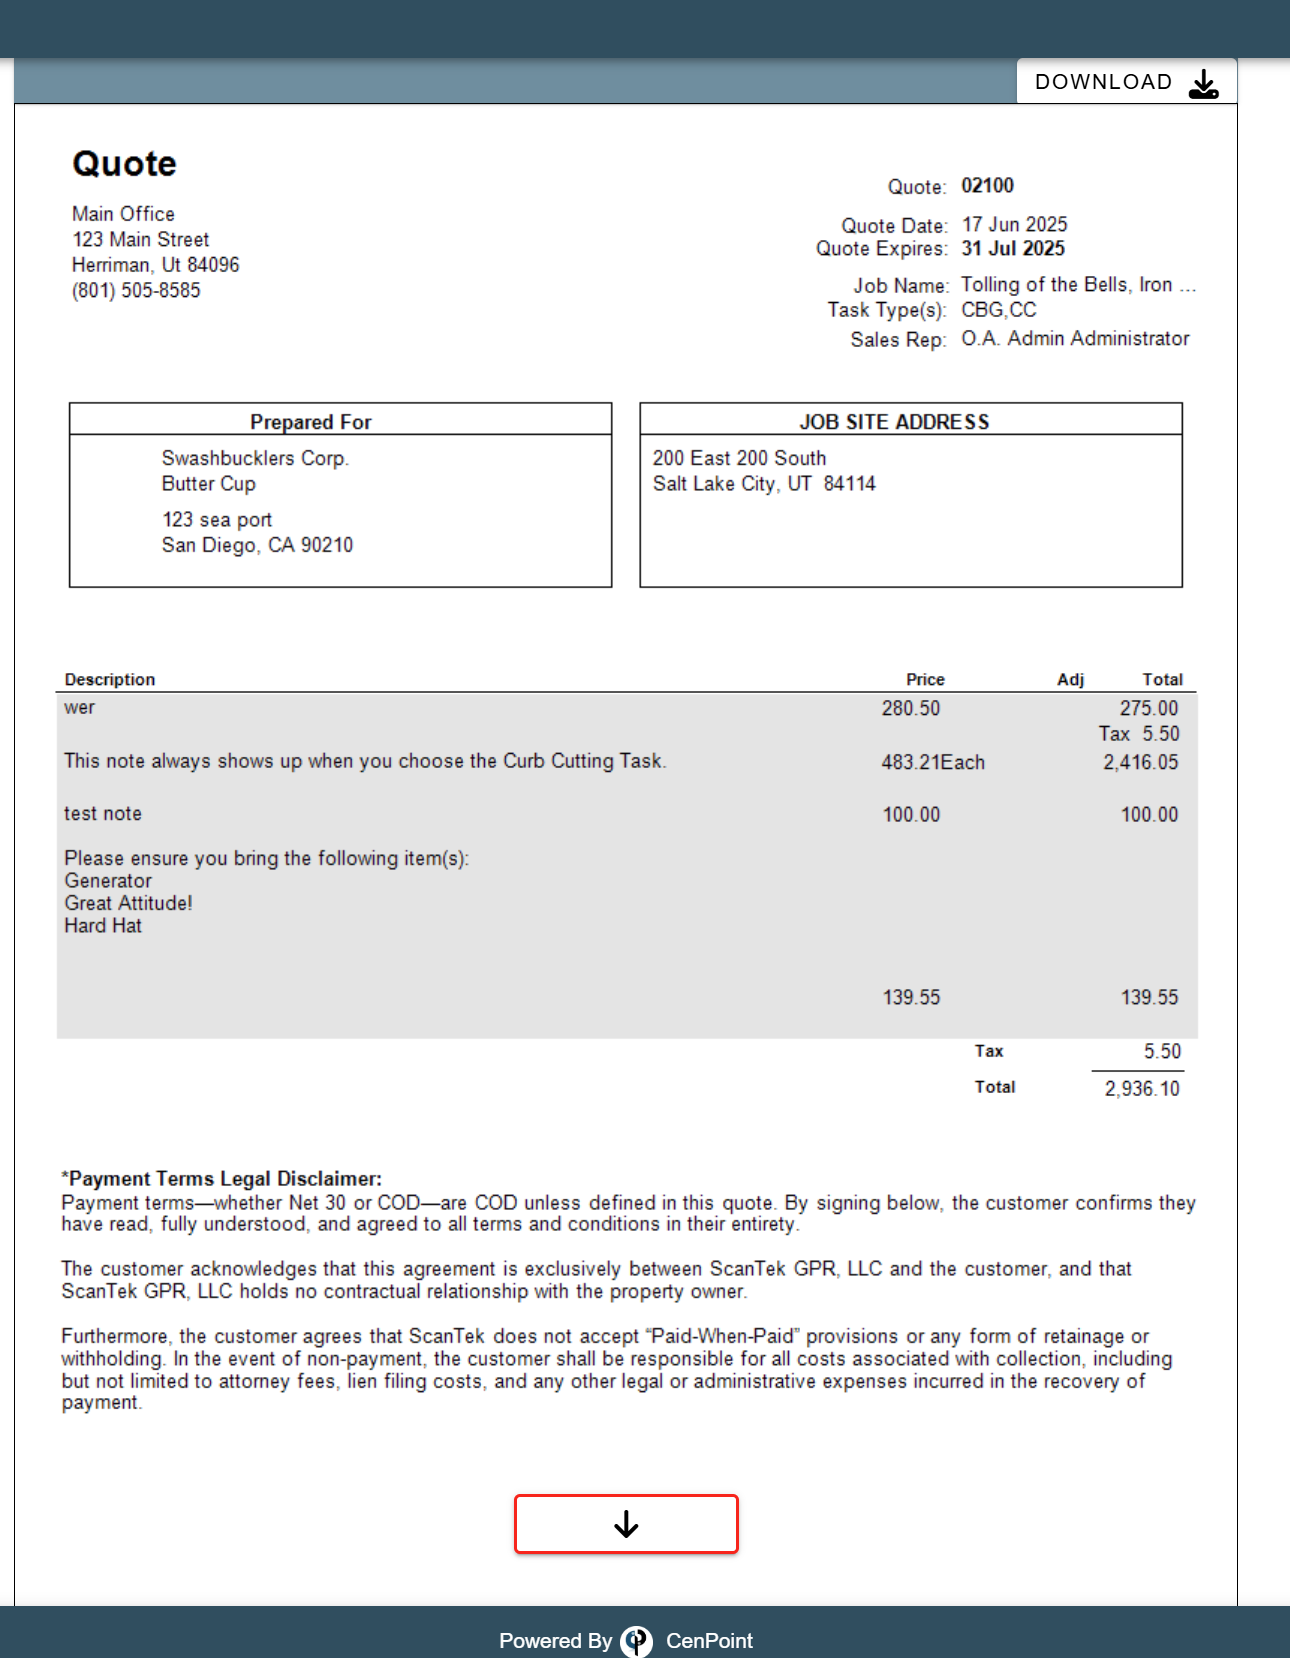
When they scroll down, they will see the signature field.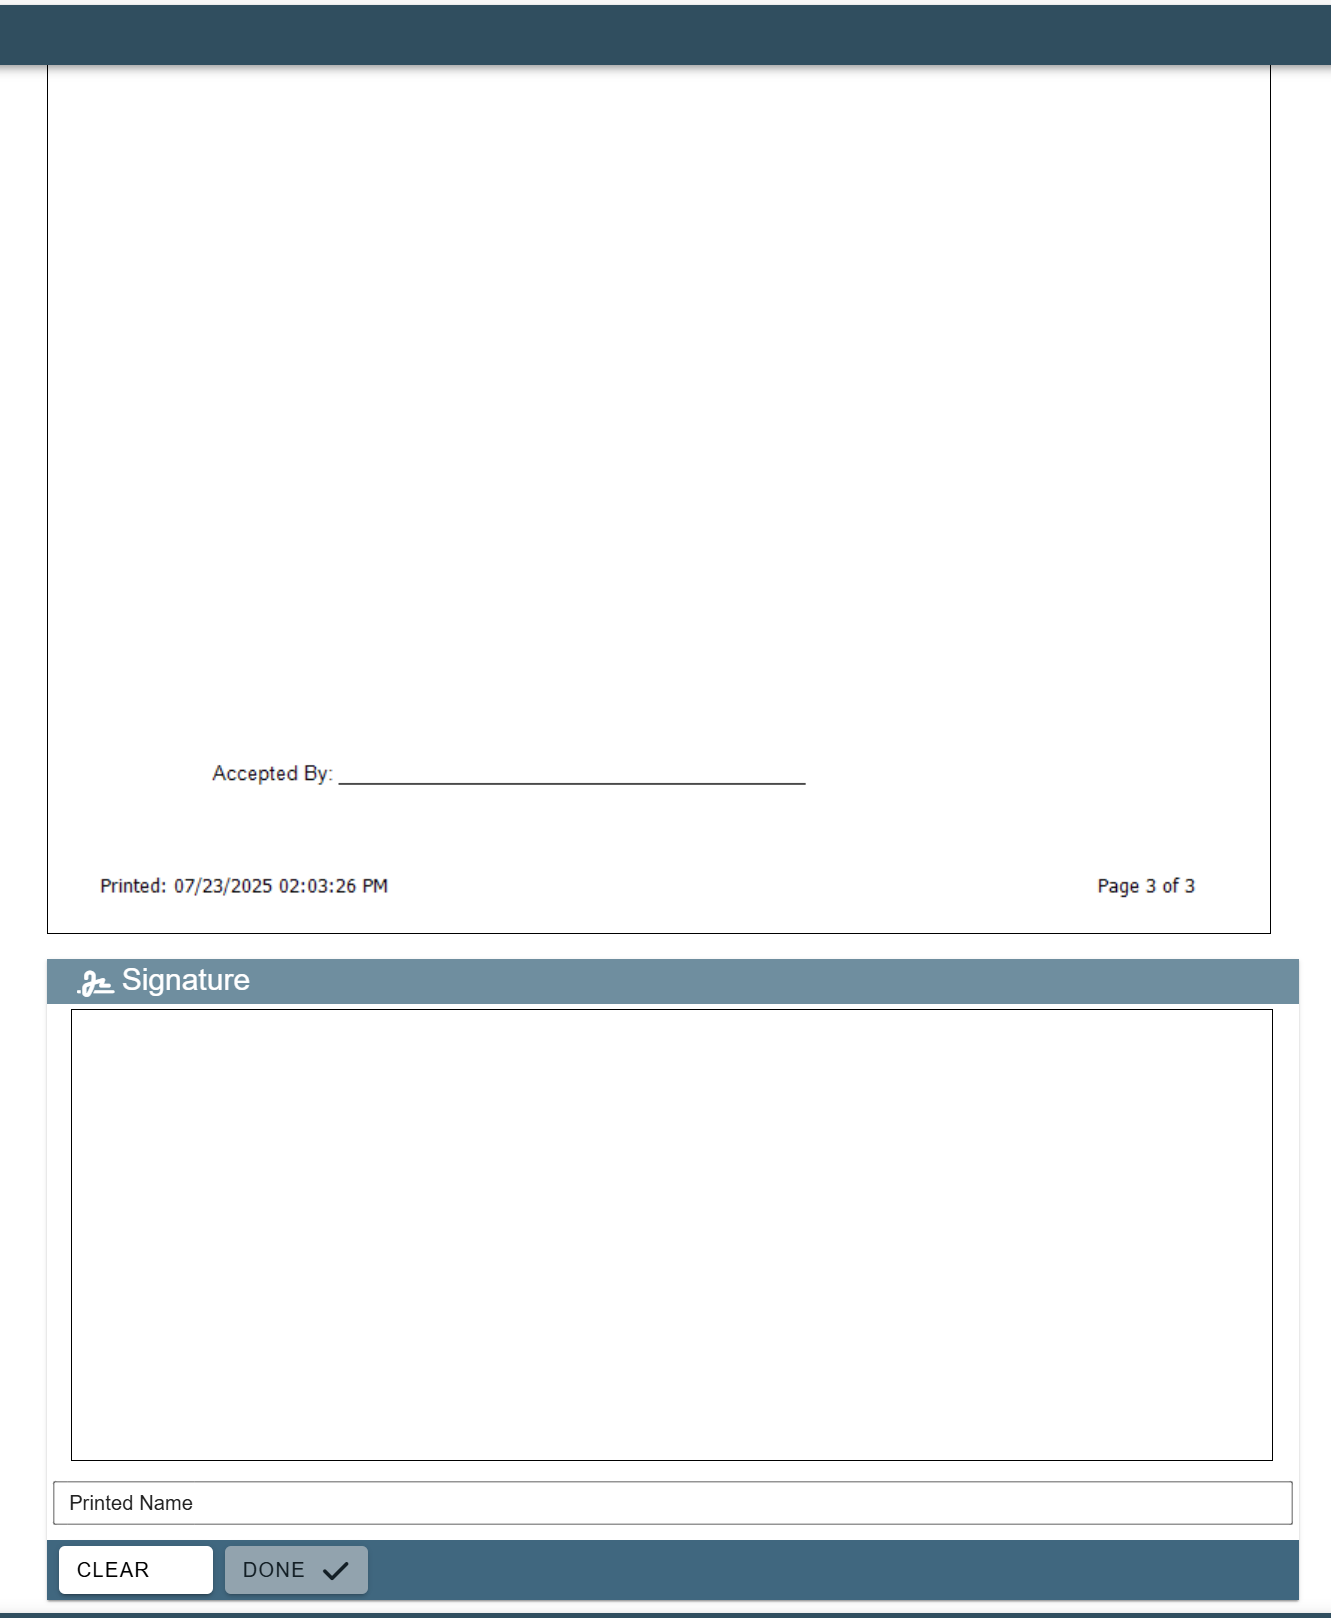
As soon and as they sign and click the “Done” button, the signature will save and appear on their view of the Quote.
.png)
.png)