
Overview
CenPoint has integrated with Credit Card Merchants to allow direct payment processing including ACH in CenPoint. To use these features, you must be set up with a Credit Card Merchant. The following article will cover how to set up and accept electronic payments in CenPoint.
Integrated Credit Card Merchants (Fees subject to change)
(Preferred) | ||
No Set Up Fees |
|
|
No Monthly Fees |
|
|
No Monthly Minimum |
|
|
CC Fee | US Customers: 2.8% + $0.10/transaction fee (for all card types) Canadian Customers: 2.9% + $0.20/transaction fee (for all card types) | 2.99% + $0.30/transaction fee (for all card types) |
ACH Fee | 0.39% + $0.10/transaction Next Day | 1.6% (up to a max of $10.00) 2 Days |
.png)
.png)
Set up to receive Electronic Payments in CenPoint
Steps 1-3 on Desktop
1. First go to File > Company/Branch Information. 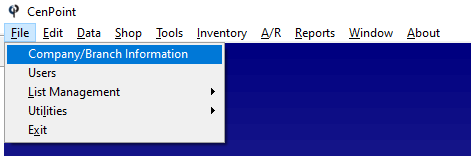
2. Highlight your branch and click “Modify”.
(Each branch requires Electronic Payments set up)

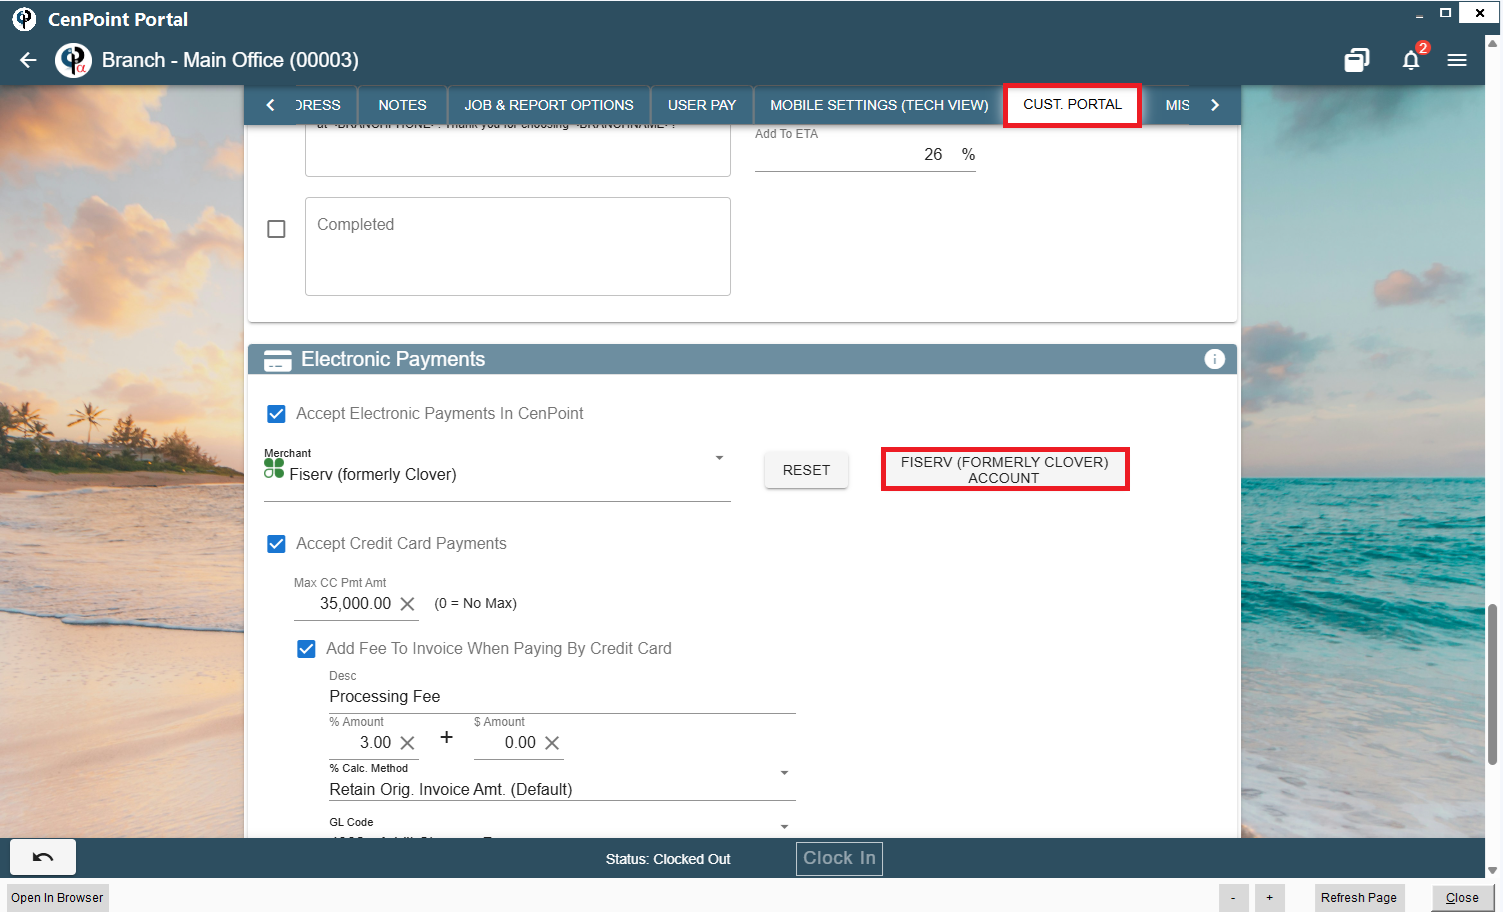
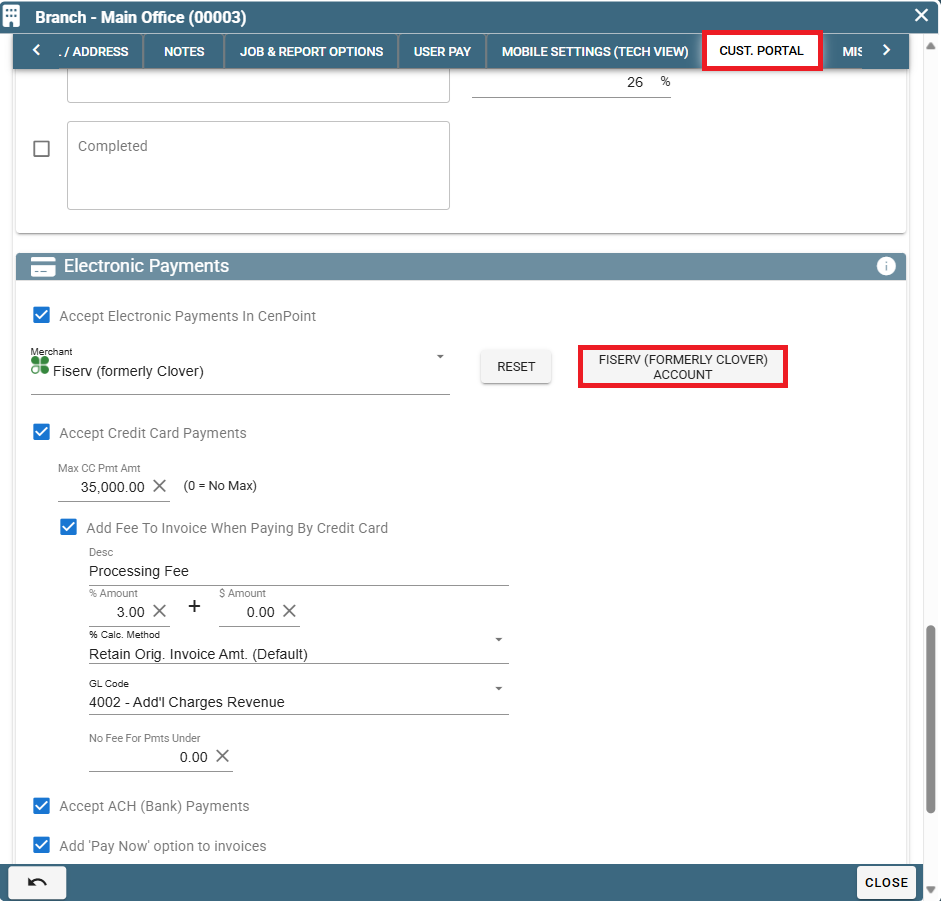
If you haven’t before set up Electronic Payments, go to the Cust. Portal tab and scroll down to the Electronic Payments section so you can click the check box saying “Accept Electronic Payments in CenPoint”.
Select Fiserv (formerly Clover) as your merchant and click Create Account.
.png)
If you have set up an account before, go to the Cust. Portal tab, scroll down to the Electronic Payments section and click the button “Fiserv (Formerly Clover) Account”.
Please scroll down to the header “Steps 4 to the End on Desktop and Portal” for the remaining instructions.
Steps 1-3 on Portal
First go to More→ Company/Branch Information
.png)
click on the ellipsis by your branch and click Modify
.png)
If you haven’t before set up Electronic Payments, go to the Cust. Portal tab and scroll down to the Electronic Payments section so you can click the check box saying “Accept Electronic Payments in CenPoint”.
Select Fiserv (formerly Clover) as your merchant and click Create Account.
.png)
If you have set up electronic payments before, go to the Cust. Portal tab, scroll down to Electronic Payments, and click the “Fiserv (Formerly Clover) Account” button
Steps 4 to the End on Desktop and Portal
4. Go to the browser that launched
Scroll down to Locale and confirm your country has been selected.
We use your country to determine what currency should be used when processing a payment.
i.e. USA = US Dollars, Canada = Canadian Dollars, etc.
.jpg)
5. Scroll Down to Electronic Payments-> Check the Accept Electronic Payment->
Choose a Merchant-> Click Create Account
You will be redirected to the Credit Card Merchant webpage to create an account.
Note: Clover Connect is now named Fiserv
.jpg)
6. If you already have a branch authorized with a Credit Card Merchant,
and the branches share the same bank account, you can select that branch and 'Copy' the authorization.
Otherwise, you will need to create a different Credit Card Merchant account, so the payments go to the correct bank account.
Note: Clover Connect is now named Fiserv
.jpg)
7. Now that you have created and authorized a Credit Card Merchant account,
you can set up the parameters for your Electronic Payments in CenPoint.
Note: Clover Connect is now named Fiserv
(3).jpg)
1. Check 'Accept' Credit Card Payments
2. Select the maximum credit card payment you will accept. (0=no max)
3.Check 'Add Fee' if you are charging the customer a fee to pay by Credit Card
4. Add a description for the fee, this will print on the invoice.
5. Choose the percentage that will be charged, to the customer when paying by Credit Card.
6. Add a dollar amount if applicable. Example: .30 transaction fee.
7. Assign a GL code to a Credit Card payment if applicable.
8. Add a minimum charge amount that a fee will not be added. (You will be covering this amount)
9. Check 'Accept ACH/Bank Payment if applicable.
Congratulations, you are now set up to accept electronic payments CenPoint!
Use the following links for more detailed information: