
1. Download the CenPoint Client Version
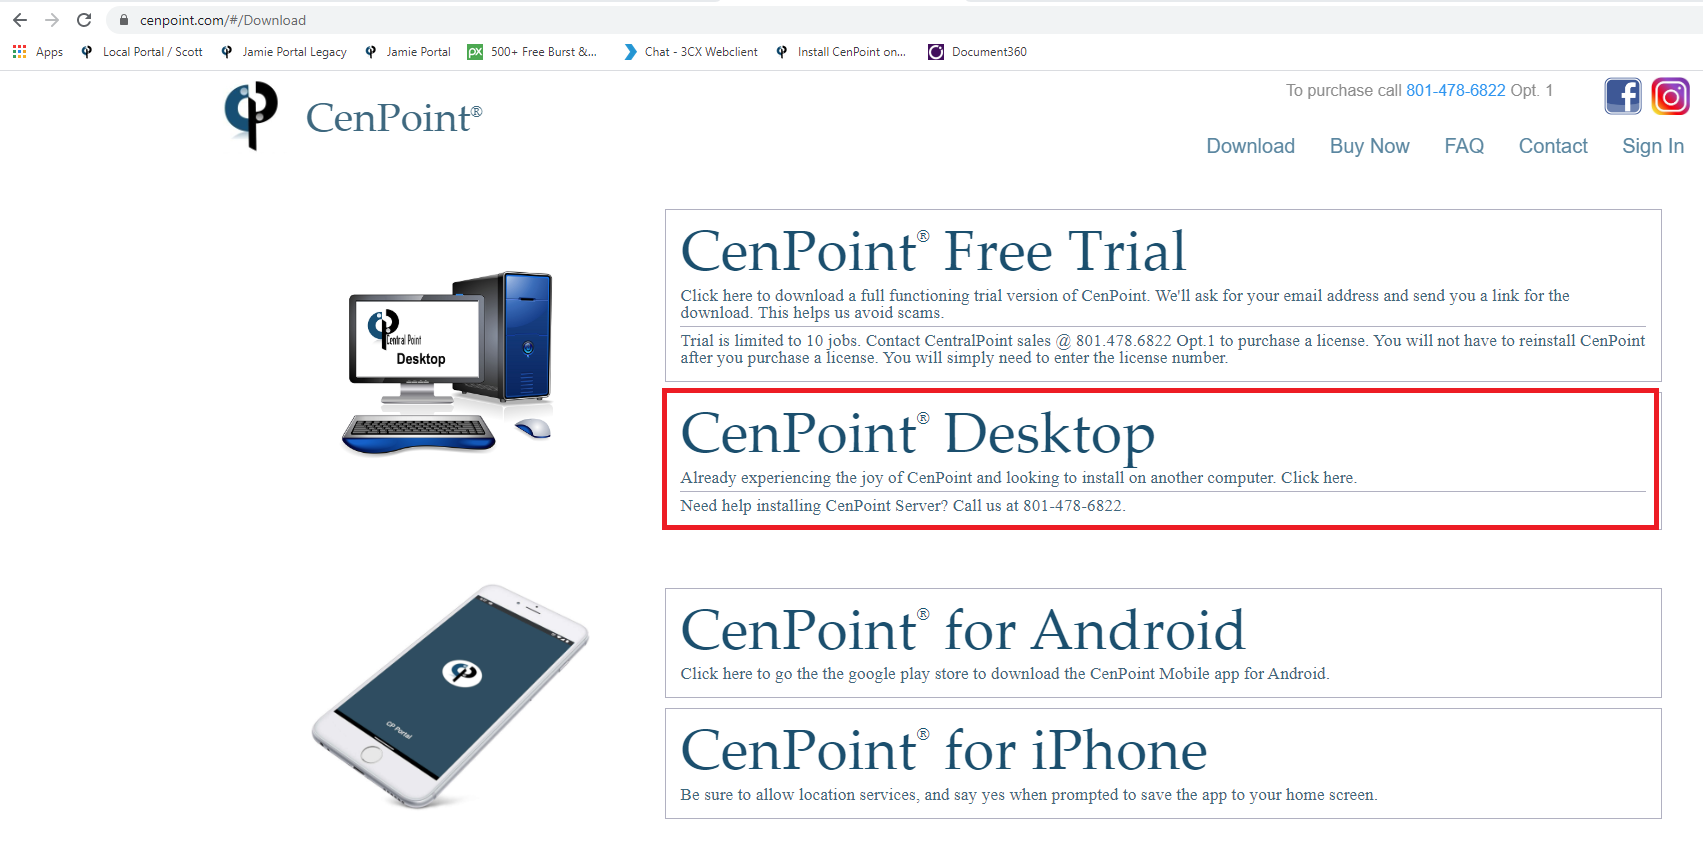
a. Go to https://www.cenpoint.com/#/Download
b. Select the Cenpoint Desktop option and begin the download.
Please note the location of where your file downloads.
2. Run the file to install.
a. Navigate to where you saved the file, click on the downloaded file and select “run.”
b. Follow the steps to install. (Basically click “next” and accept (if you choose to do so) the terms of use.)
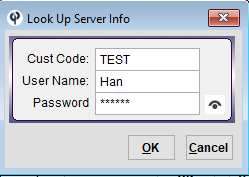
3. Enter the Sever Name your Client Version will talk to.
a. If you don't know your server click on "Look Up" and type in your customer code, user name and password.
.png)
4. Enter the IP address or computer name of your CenPoint server in the server text box, circled above.
a. This can easily be located on a computer that is currently running CenPoint (can be either a client version or the server itself).
b. To find the server name, sign in to CenPoint, and on the home screen, look directly below the CenPoint logo and you will see where it says “Server: ______________”.
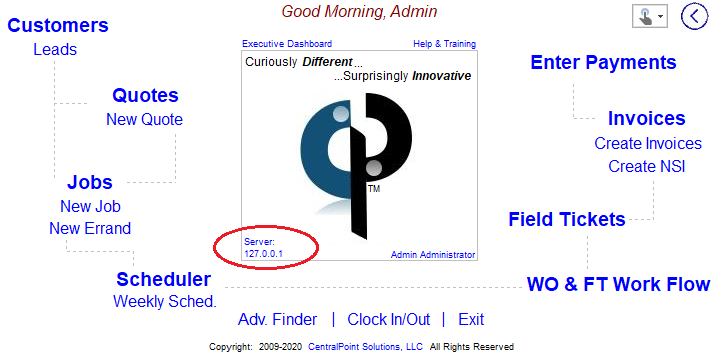
Enter the Server Name EXACTLY as it shows (capital letters, hyphens, / vs ) in the required field on the computer, you are installing the CenPoint Client version. The “\cenpoint” at the end is very important.
5. Click “OK” to finish the installation.
6. If you get an Error that contains the message cannot erase/open file and the file path contains “C:\Windows\System32\”
a) Right Click on the Install File
b) Click on Properties
c) Go to the Compatibility Tab and click the “Run this program in compatibility mode for” box
d) Use the drop-down menu, to select Windows 7
e) Click Apply then OK
f) Re-run the install file