
This article covers the blacklisting and whitelisting of customers and focuses on these key parts.
What is the customer blacklist
What is the local whitelist
How to blacklist a customer
How to whitelist a customer
Customer Blacklist Overview
What is the CenPoint Blacklist?
With your help, CenPoint creates a list of bad customers. These customers have previously been flagged by users of CenPoint because they engaged in unethical activities.
This feature was specifically created to help us spot customers who frequently change their company name to escape payment and their own bad reputation.
When you enter a new customer, we compare the new customer info with all blacklisted customers across the CenPoint network. If the name, phone number, or email address are a close match to a blacklisted customer you will get a potential fraud alert.
Blacklisting a customer protects you, and our CenPoint community, so don’t blacklist a customer for personal reasons. If you need to block a customer for your company only (Bob and Sally don’t get along for example) freeze the customer instead. Please see this link for more information on freezing a customer: Customer Overview
Once a customer has been blacklisted, they will remain blacklisted at the global level (the entire CenPoint network), unless you call us to discuss removal from the global blacklist.
This feature was introduced January 2021.
What is a Whitelist?
A whitelist is where the customer has been Blacklisted on CenPoint’s database but you allow them to be a normal customer for your company.
That customer will remain blacklisted for all other companies that use CenPoint, but they will no longer raise warnings about being blacklisted when you try to create quotes, jobs, work orders, invoices, etc…
Blacklist
There are two ways that a customer can be blacklisted on CenPoint Portal.
A customer can trigger the Potential Fraud Alert, or you could manually blacklist a customer from inside the customer settings.
Customer Triggers the Potential Fraud Alert
A window similar to this will pop up (Don’t be surprised if it looks a little different than this screenshot). It will show you the customer you created and show the blacklisted customer that it matched with.
You have the option to Blacklist or Whitelist the customer by clicking one of the buttons near the bottom of the window.
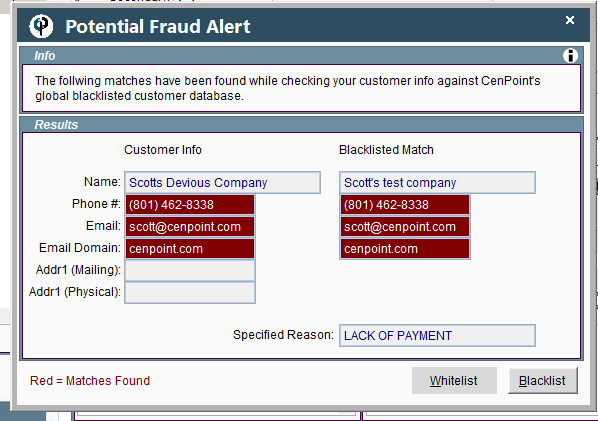
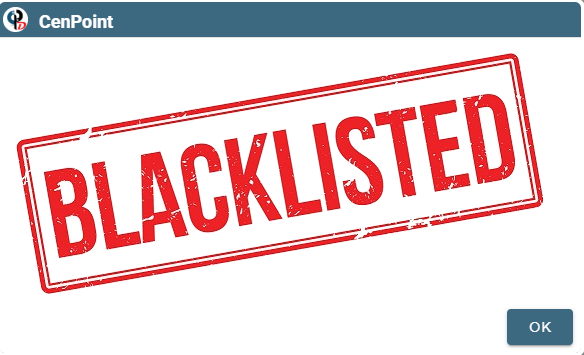
If you blacklist them, the customer will still be added to your customer list but will now have the status of Blacklisted.
A label like this will look like it is stamped across your customer:
Manually Blacklist a Customer on Portal
Open the customer and go to the ‘Misc.’ tab.
Click on the ‘Globally and Locally Blacklist” button.
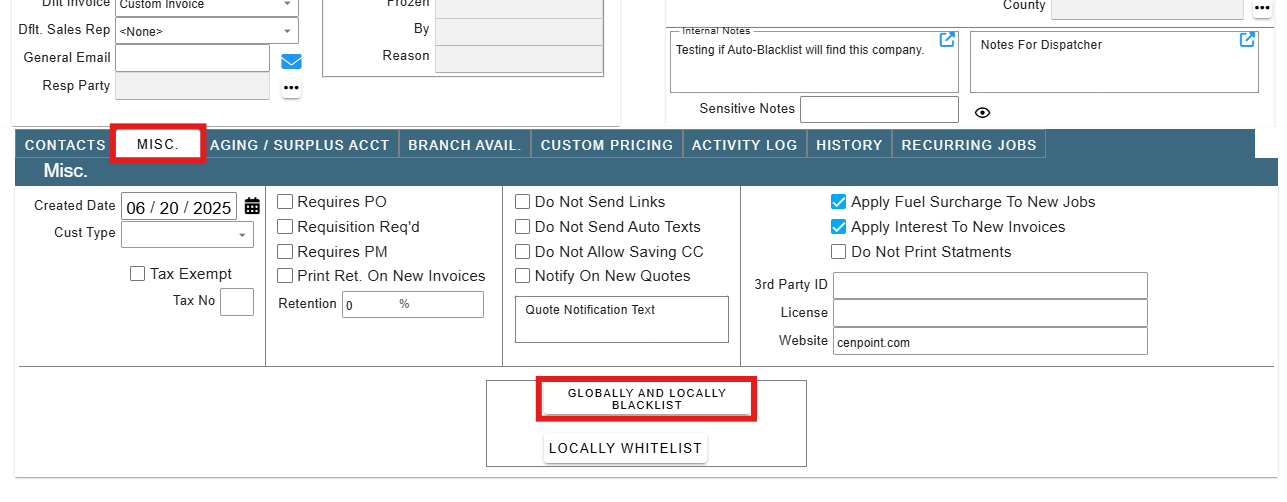
**WARNING: this will blacklist the customer for ALL users of CenPoint. If you are trying to block a customer for reasons that would NOT affect other companies, please freeze the customer instead.**
Please see this link for more information on freezing a customer: Customer Fields
How to whitelist a customer
If you receive the Potential Fraud Alert message while creating a new customer, you can simply click the “Whitelist” button.
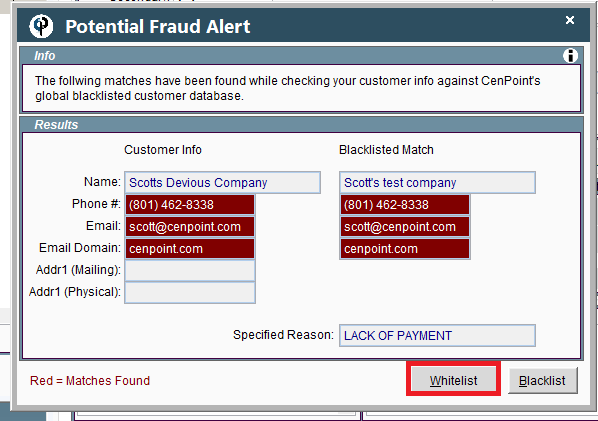
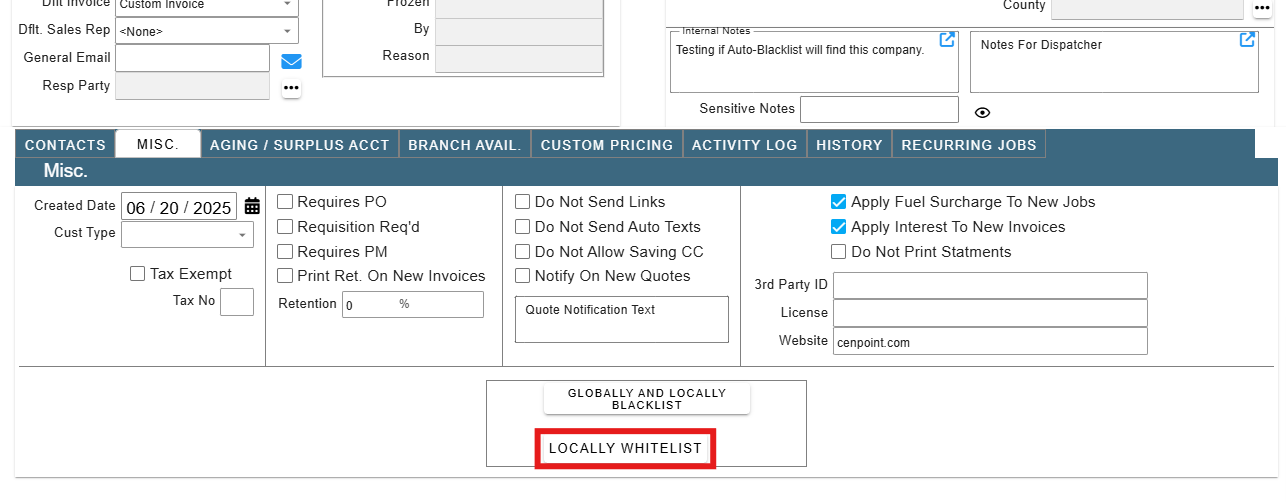
If you blacklisted a customer by accident, or if the customer blacklists while you are filling out the phone number/email/name, go to the “Misc.” tab → click the “Locally Whitelist” button.
Please remember that once a customer is Blacklisted, they automatically get added to CenPoint’s Global Blacklist.
If you would like this customer removed from CenPoint’s global blacklist and not flag other customers for other users of CenPoint, please give us a call at 801-478-6822 opt. 4
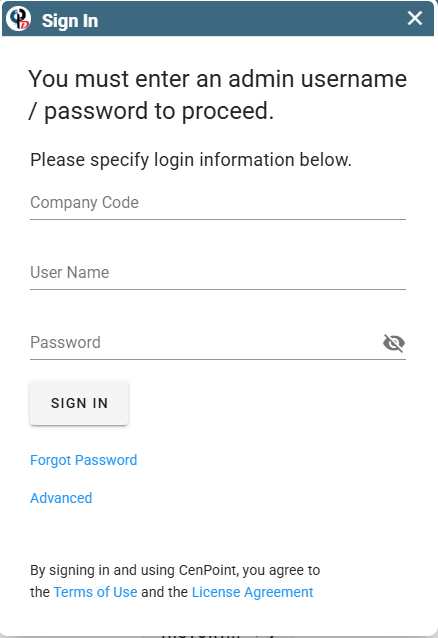
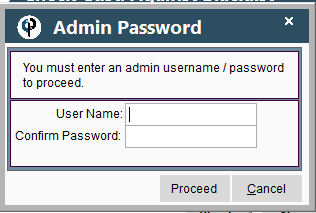
If you select ‘Whitelist’, a user with Admin privileges must enter their CenPoint username and password to proceed.
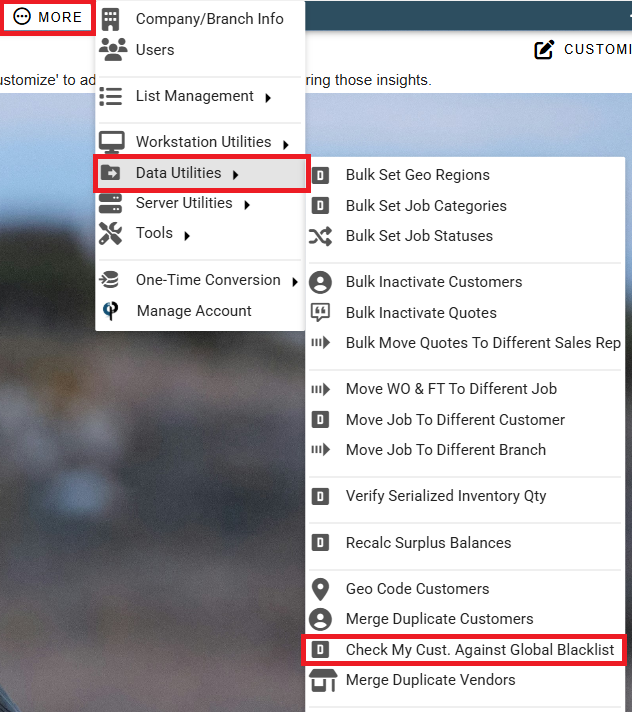
How to check your customer list against the blacklist:
To check your customer list against the CenPoint global blacklist go to: More → Data Utilities → Check My Cust. Against Global Blacklist
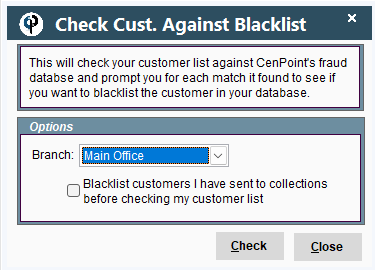
This brings up a screen where you can select the branch to check against and the option to blacklist all customers you’ve sent to collections. The act of being sent to collections should blacklist the customer, but in case they were skipped somehow, this is another way of doing that.
The blacklist check will run when you click Check and if there are any matches, you will see a pop up like this show up telling you how many matches have been found and if you would like to review the matched list.
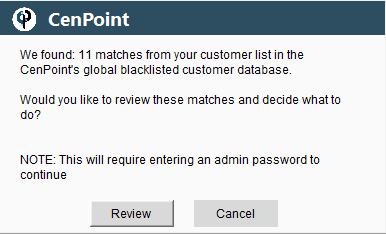
If you click Review, it will show you the customer that matches something in the blacklist database and will show you what matches. You can choose to blacklist that customer as well or you can whitelist them.
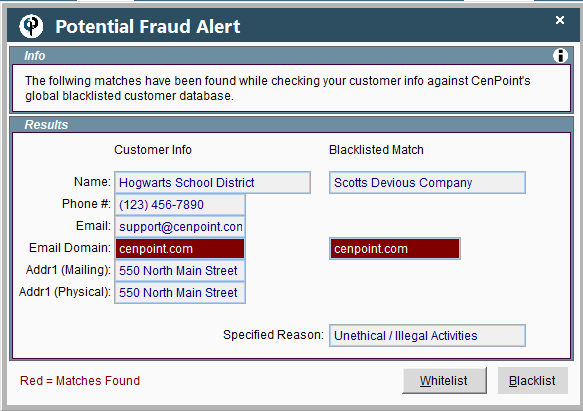
If you choose to blacklist them, they join the blacklist locally and you can’t create any quotes, jobs, or work orders for them.
If you whitelist them, you can continue business as usual, though it will require an admin account to whitelist the customer.
Once you whitelist a customer, you will see the following screen
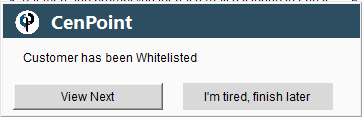
You can choose to go to the next customer in the list, if there are any, or you can be tired and stop. Both work. It can be a lot of hard work checking if a customer is good enough to join the whitelist.
By the time you are done, you will have a much better customer list. Enjoy being safe. Or dangerous. Your choice! :)