
1. Open the Customer and go to the "Surplus Acct." tab
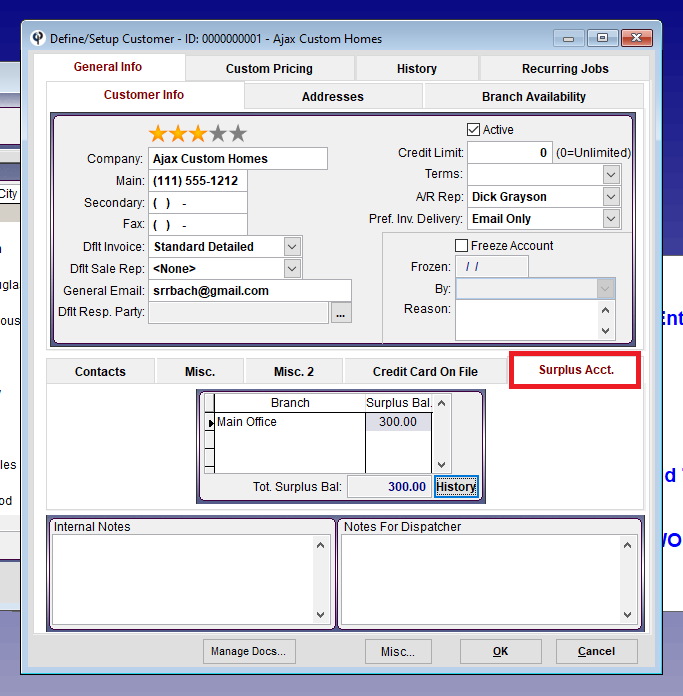
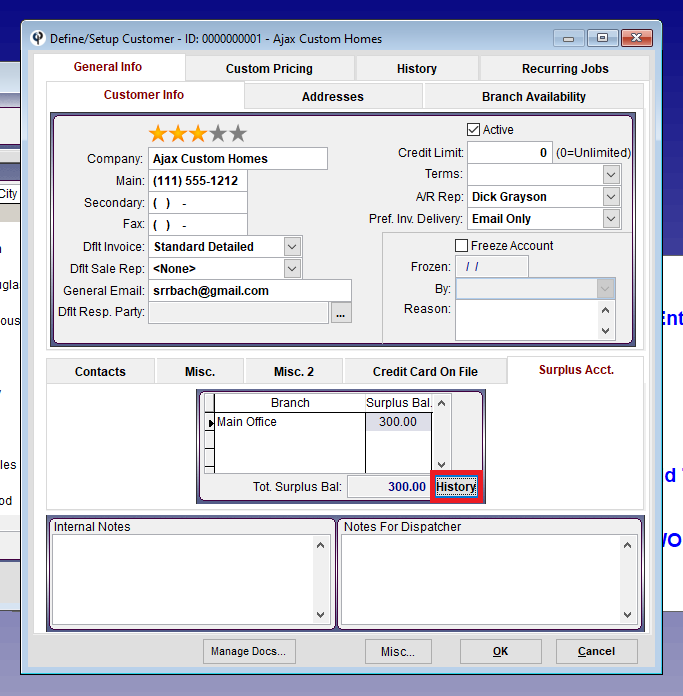
2. Click "History"
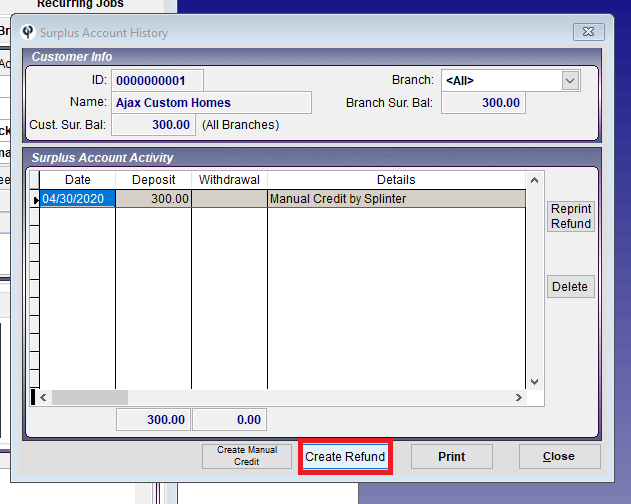
If using QuickBooks you’ll need to cut the checkout of QB but in CenPoint you’ll create a refund from the surplus screen.
The refunds will then push over to Quick Books.
3. Click "Create Refund"
4. Fill out the Following Fields, confirm that "Print Refund" is checked, and press ok
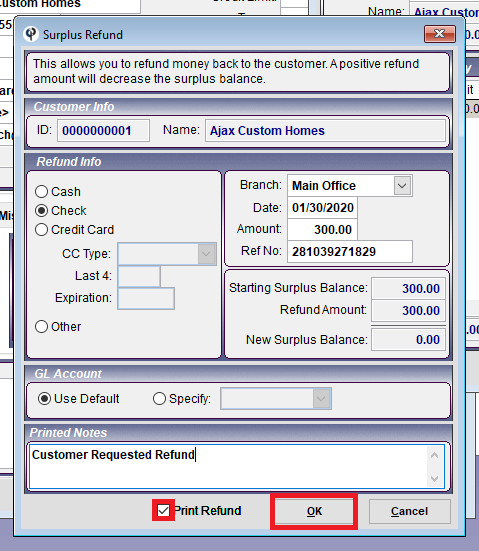
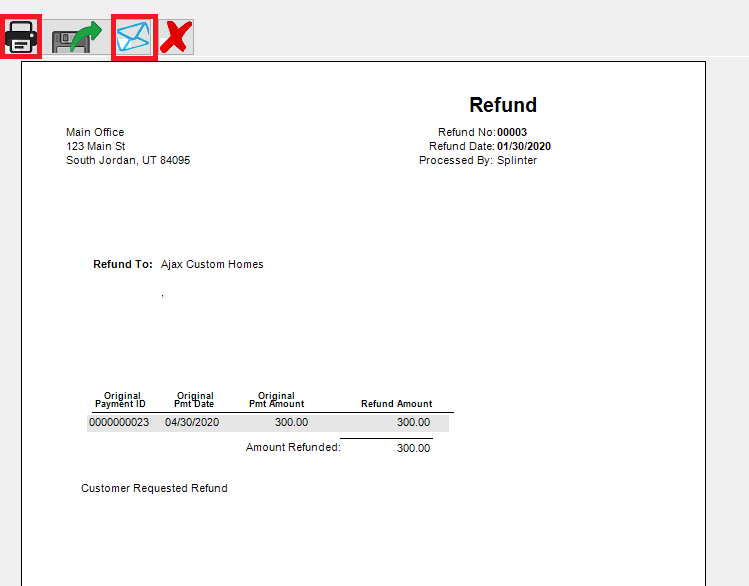
5. Print or Email the refund
Refund Surplus on Portal
Open the Customer and click the ellipsis next to the Surplus account.

On the Surplus account history Click ‘Add’ then click ‘Create Refund’

Fill out the information to do the refund

The refund will show on the Surplus Account History for the customer. To get to the Surplus Account History click on the ellipsis next to surplus account on the customer screen.
