Find Misc. Tab on Portal
Go to More → Company/Branch Info
.png)
Then double click on your branch or select the Ellipsis→ Modify
.png)
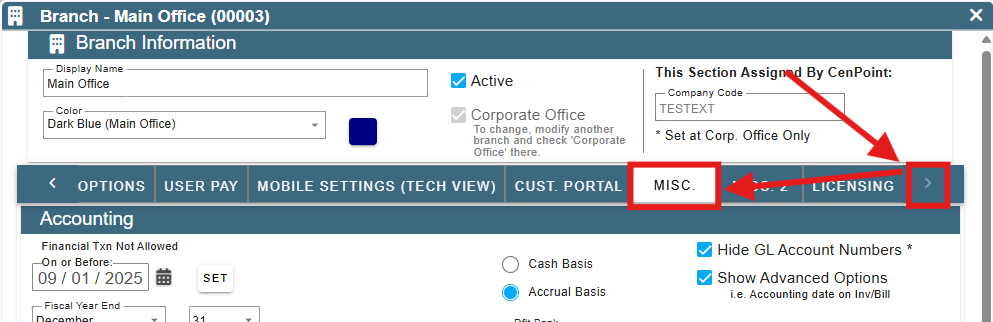
Go to the Misc. Tab. You may have to click the arrow to see more tabs
Accounting
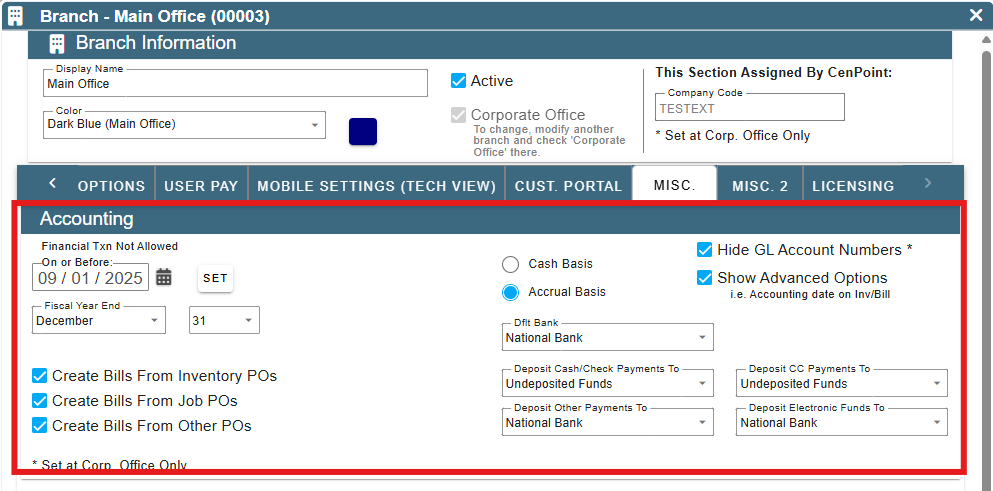
Financial Txn Not Allowed On or Before: This closes the accounting period and locks down your Invoices/Prices before the set date (Usually the end of last year) to help avoid discrepancies in accounting.
Dflt (Default) Bank: Select the dropdown to select the bank you’d like payments to go to.
If your desired bank isn’t on the list, you’ll have to add it as another GL Code. Follow this link for more information on how to create a GL Code: GL Codes
Close Accounting Period
In the Accounting section, click the Set button
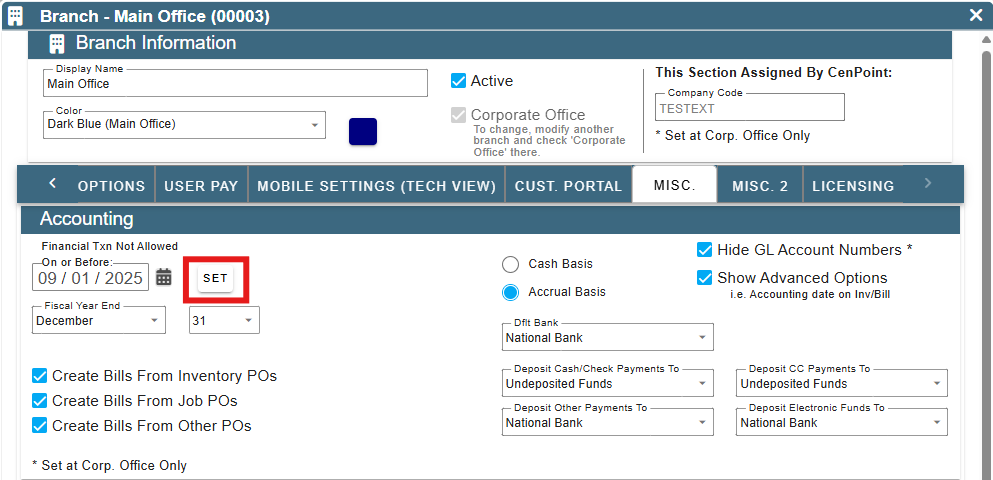
It will open up the Close Accounting Period window
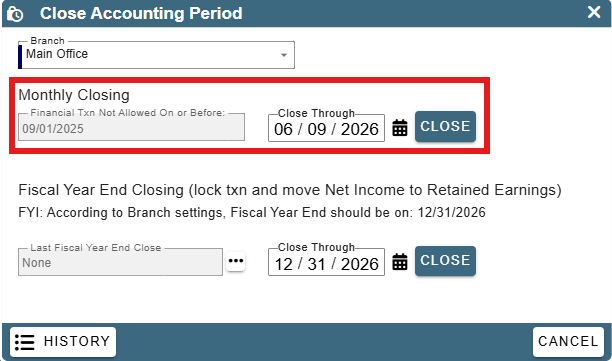
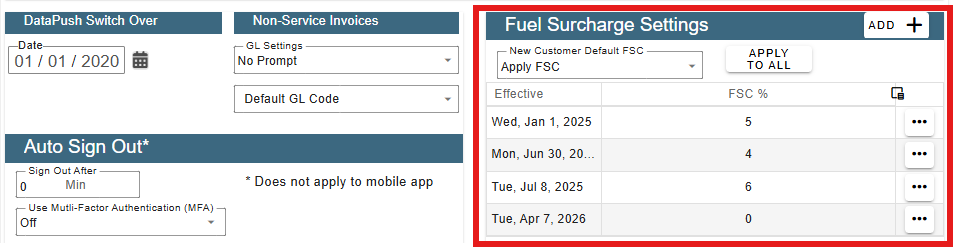
DataPush Switch Over
This will be the date that you decide you will no longer manually enter
invoices and payments into your accounting software, and will be using CenPoint
to do a data push.
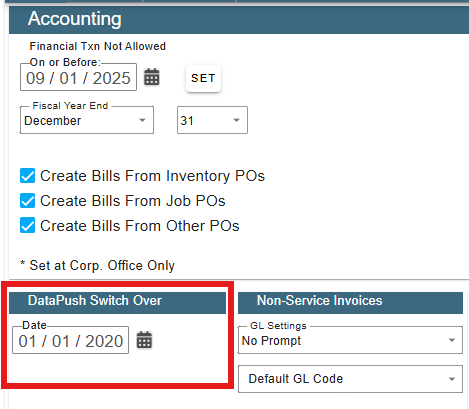
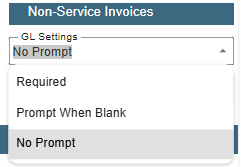
Non-Service Invoices GL Settings
Select an option when entering a Non- Service Invoice
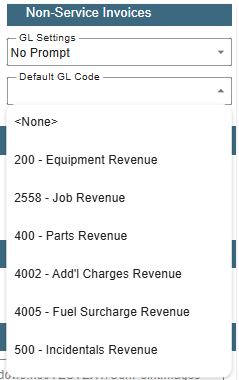
Default GL Code this is where you would define which GL code is the default for the NSIs
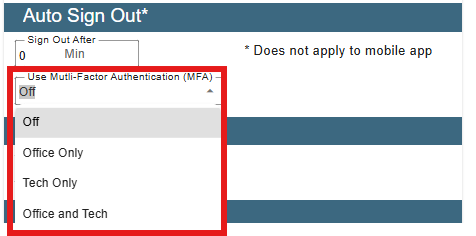
Auto Sign Out
Set CenPoint to Log out of Desktop and Portal sessions after a set amount of time.
*This does not apply to the mobile app

Multi Factor Authentication
You can require Multi Factor Authentication when signing into CenPoint.
* Can be set for: Office, Techs, or Both
* Techs stay signed in on the mobile app so it would only require it on new phones
or if they manually sign out, not everyday
* Uses email or cell # on file for each user to send the code
Fuel Surcharge Settings
The New Customer Default FSC will apply to all customers created after the Effective date.
When Appling a FSC, Click 'Add' choose an effective date ( this can be future dated as well)
and the FSC percentage.
New Customer Default FSC: Use the dropdown to set the default on invoices to Yes Apply Fuel Surcharge or No Do Not Apply Fuel Surcharge.
Apply To All: Updates these defaults to all of your jobs, invoices etc...
If you click the Add or Ellipsis → Modify it will bring up this window allowing you to create/modify a default Fuel Surcharge.
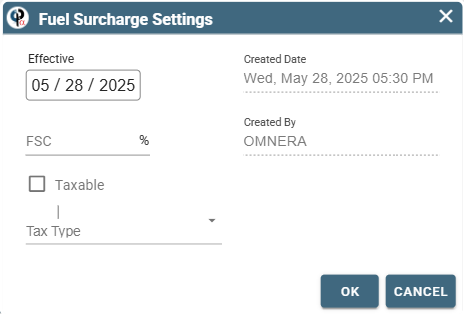
FSC: Calculate your Fuel Surcharge as what percentage of the invoice/task price
Taxable: Selects whether this fee needs to be accounted for with taxes
Tax Type: Use this dropdown (if applicable) to select what type of tax this fee would fall under
If you want to charge FSC using milage you would set up a task for FSC and use formula pricing using distance in the formula.
Here is more info on formula pricing: https://help.cenpoint.com/docs/formula-pricing
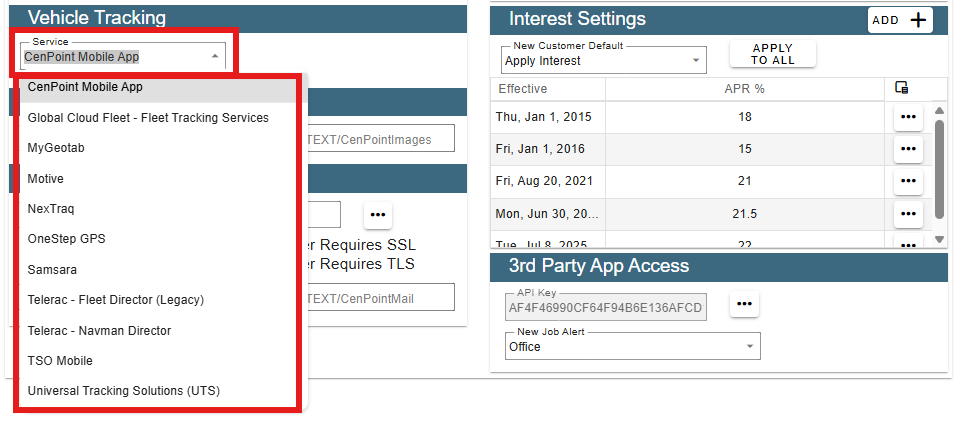
Vehicle Tracking
Use the dropdown to select your Vehicle Tracking Service, then enter any required information like a login or password in the boxes that appear in the Vehicle Tracking section.
Scanned Documents
Choose a path to where you want your scanned documents to be stored.
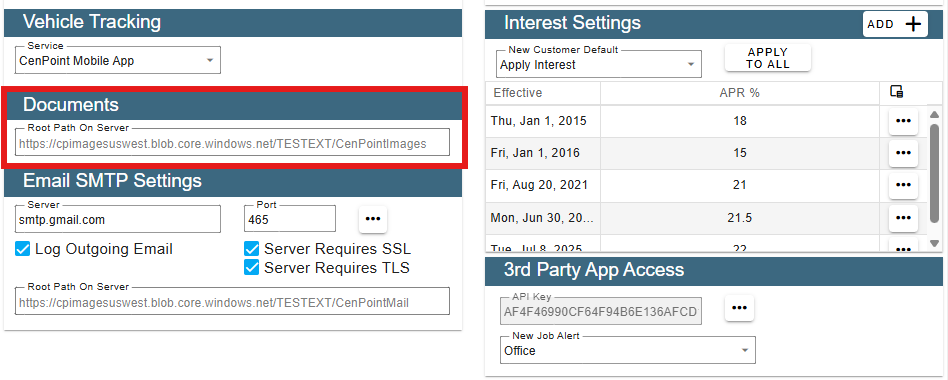
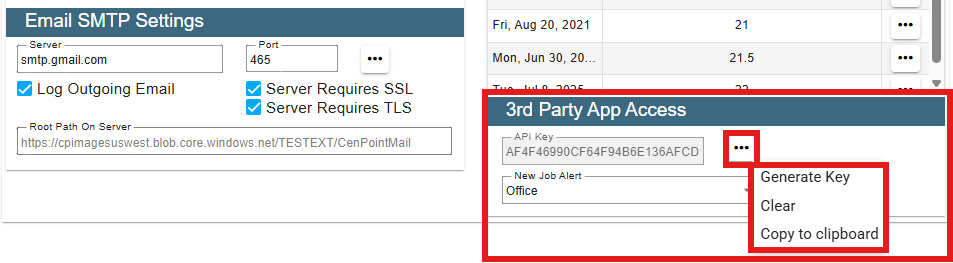
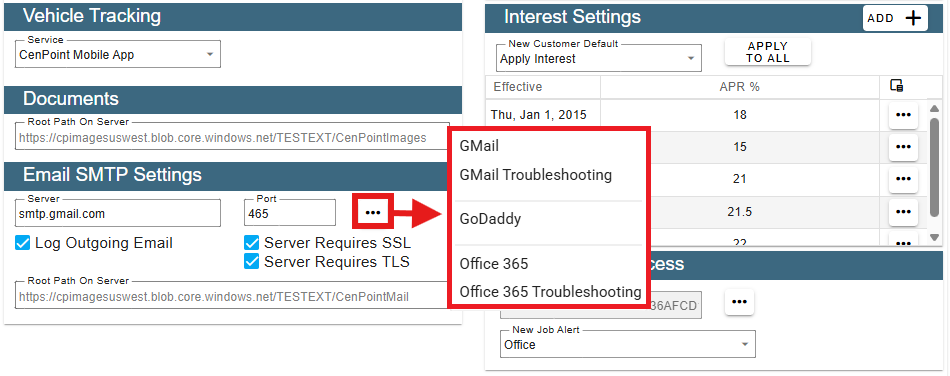
Email SMTP Settings
Input your email settings here. The ellipsis will allow you to select which type of email you have.
Use the link below for more information on setting up E-mail
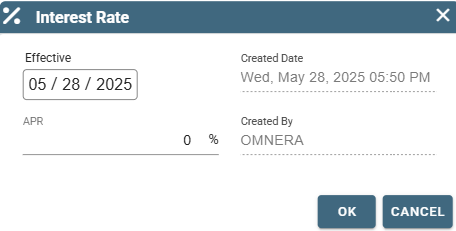
Interest Settings
Select to Apply or Not Apply Interest to set the defaults for a new customer.
When Appling Interest Click 'Add' and choose an effective date ( this can be future dated as well)
and the Interest percentage.
Apply to All: applies current default to all customers/jobs.
.png)
If you click Add or the Ellipsis → Modify it will pull up this window, allowing you to create/edit the default interest settings for all new customers.
3rd Party Access
Used for services like payroll to allow CenPoint and other 3rd parties to communicate.
The dropdown for New Job Alert allows you to select where an alert goes, be it to the Office, a Field Technician, or one of several other options.