
Vendors Overview
Vendors are a part of the Inventory section in CenPoint. Parts, Manufacturers, Vendors, and Warehouses are all connected to each other. See the following link for more information:
Vendors on Portal
Go to More -> List Management -> Inventory -> Vendors
.png)
Click 'Add New' to create a Vendor. Click the Ellipsis -> Modify to edit an existing vendor.
.png)
Enter the name of the vendor or use the Category drop down to filter your search for vendors.
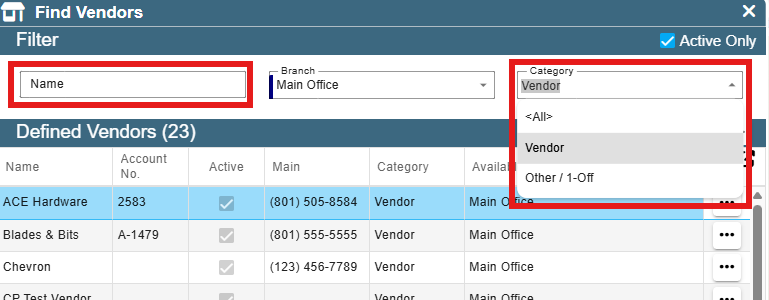
When creating a vendor select which category it should be a part of.
Other/1-Off means that you likely won't use this vendor again.
Vendor hints that it's a vendor you'll be visiting repeatedly.
Add notes about the vendor if desired.
.png)
Add contacts for this Vendor by clicking the 'Add' button. Edit an existing contact by clicking the 'Open' button.
Select which branches will be able to see this vendor in CenPoint..png)
Add documents by clicking the 'Add' button.
Click the 'History' button to see bills and payments associated with this vendor.
Click 'OK' to close the window.
.png)