Add Tech User on Desktop
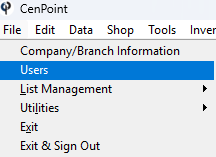
To add a tech User go to File-> Users
Then click Add New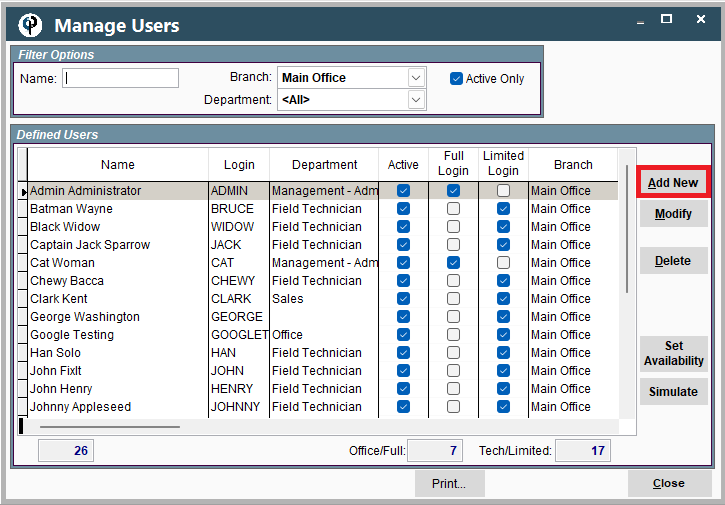
The next steps are under the "Set Up a New Tech User's Information/Settings" header a little farther down this article
Add Tech User on Portal
Go to More -> Users
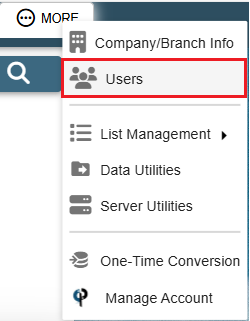
Then click on Add
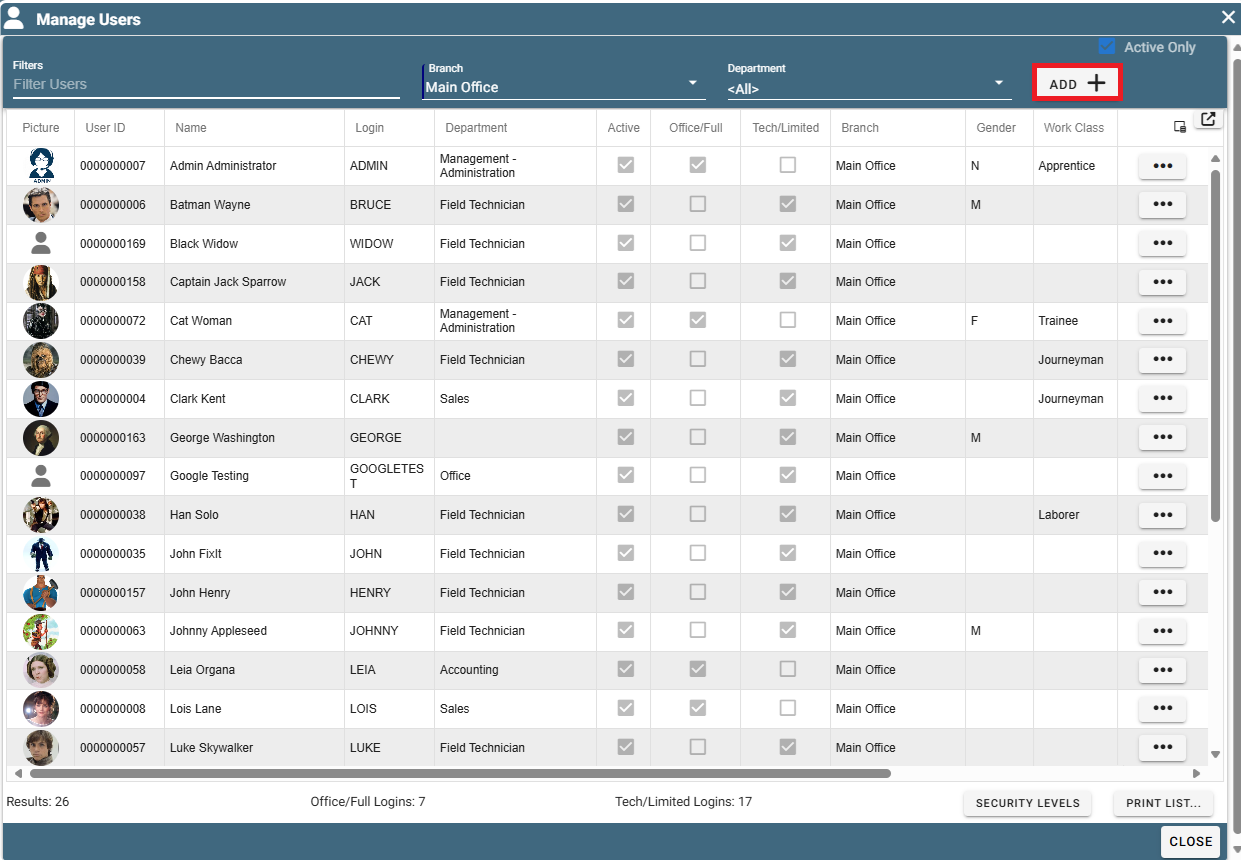
The next steps are under the "Set Up a New Tech User's Information/Settings" header in this article
Set Up a New Tech User's Information/Settings (Both Desktop and Portal)
General Tab
General Info Section
Type in your Users First and Last Name and Hire Date
Make sure the box labeled "Active" is checked. This allows the user to log into CenPoint.
If the Active box is unchecked the user can't do anything in CenPoint.
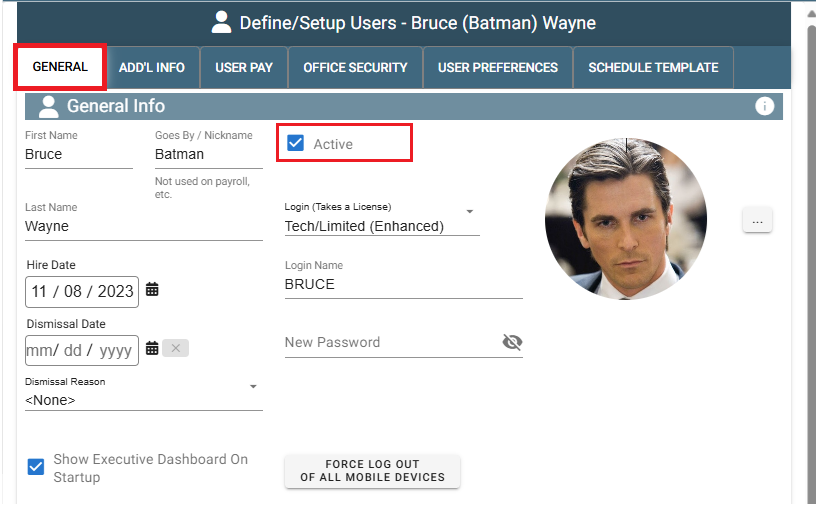
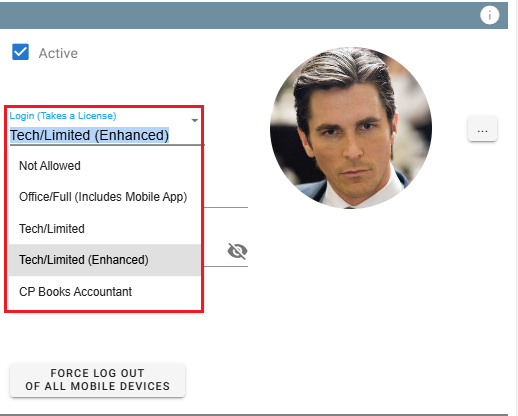
Since this is a Tech user select Tech/Limited User as their login type
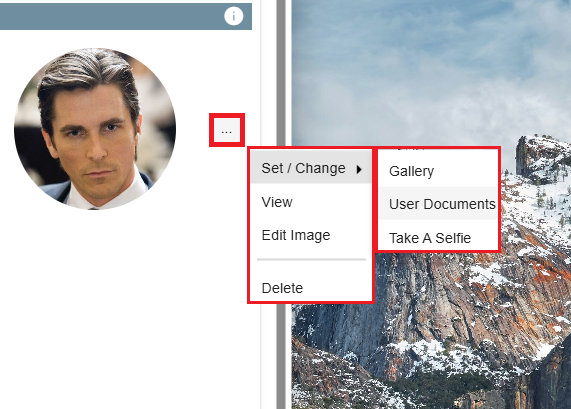
To add a Profile Picture simply click the Ellipsis -> Set/Change
Now you can choose what way Cenpoint accesses the document.
The three options are the Gallery on your device, a document already in this User's Docs, or take a selfie right now.
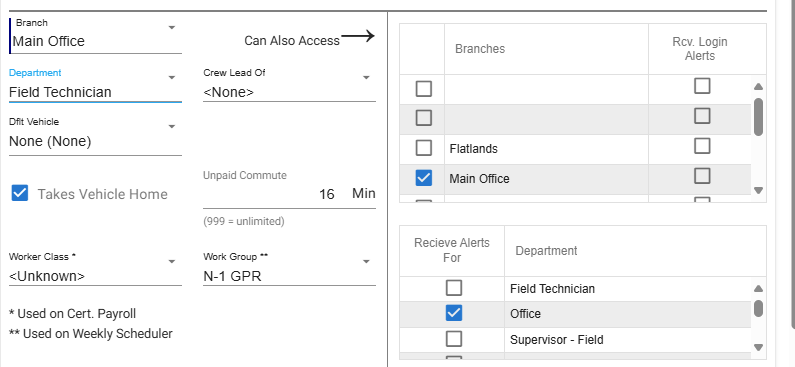
Select a Main Branch for this tech user, then select any additional branches this user may have access to.
Select the Field Technician Department, if they are the lead of a crew and if they have an assigned default vehicle.
Check the box if the technician takes their vehicle home and fill in the time amount allowed for the unpaid commute.
Assign a worker class, this is used for Certified Payroll
Assign a Work Group if applicable, this is used on the weekly scheduler.
Then select all the departments where the Tech can receive alerts.
To learn more about Unpaid Morning Commute use the following link: Unpaid Morning Commute
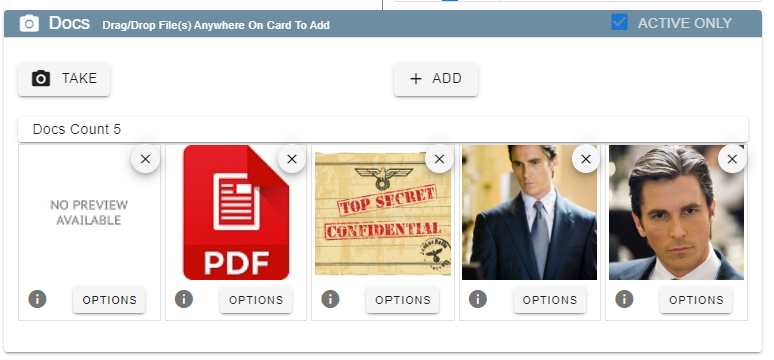
Documents
Upload any documents for pictures associated with this user like an employee photo, driver's license, contract, etc...
Buttons at Bottom of General Tab
Click the 'Email or Text' button to easily send download links
to your new tech user for the mobile app.

Click the 'User Log' button to see a list of notes about your user.
The User Log is a great place to keep a record of that employee. Examples: User received a customer compliment, or user has called in sick for the 20th time this month.
For more information on the User Log use the following link: User Log

Click the 'Audit Log' button to see a log of which users have changed what settings recently.

Add'l Info Tab
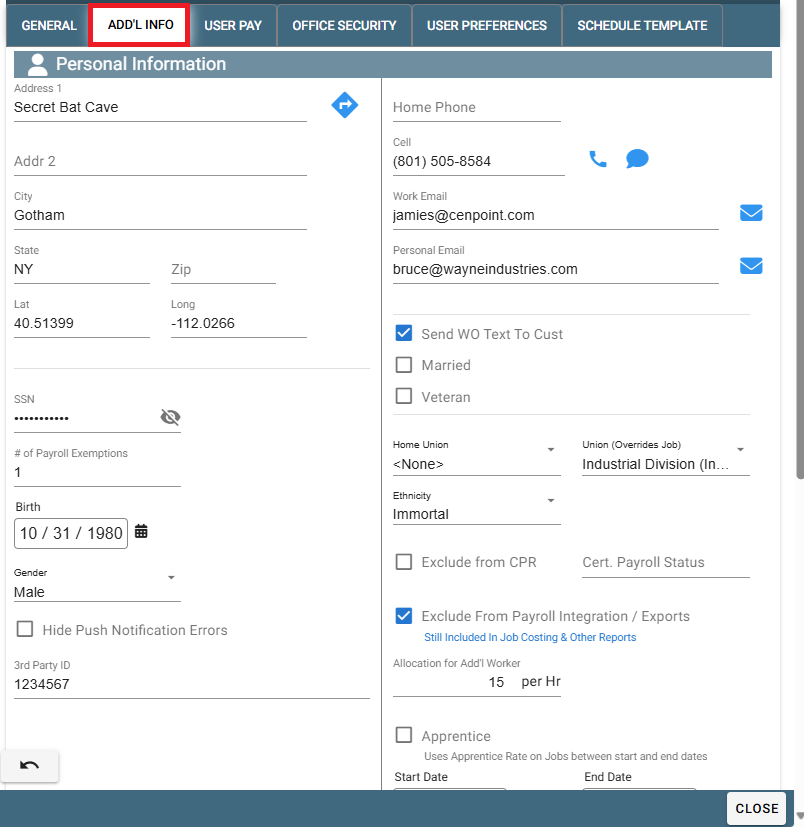
Personal Information
Fill in all the necessary information required for your company.
Emergency Contact
Fill out the User's Emergency Contact if applicable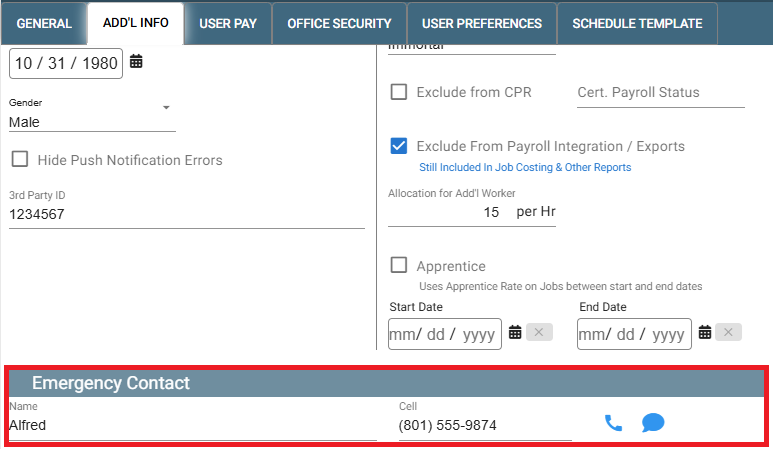
Licensing
Add the user's Driver's license information.

Notes
Keep notes for this User. This is not the same as the User Log
For more information on the User Log use the following link: User Log

User Pay Tab
Rate of Pay
Fill in the users rate of pay. A Tech user will usually be Hourly via Field Tickets and Clock Ins

Pay Details
You can assign the user to a Rate of Pay Group and set up their pay rates for things like standard time, travel time, and more.
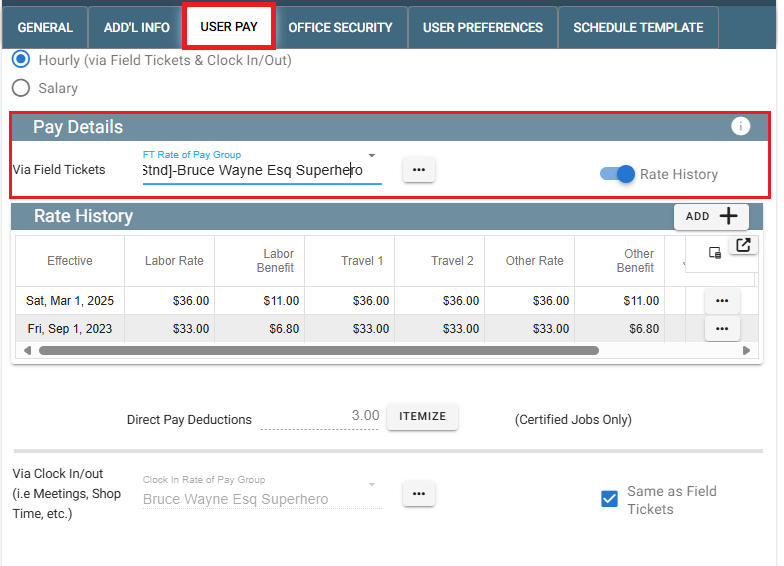
For more information on Pay details, please visit one of these articles:
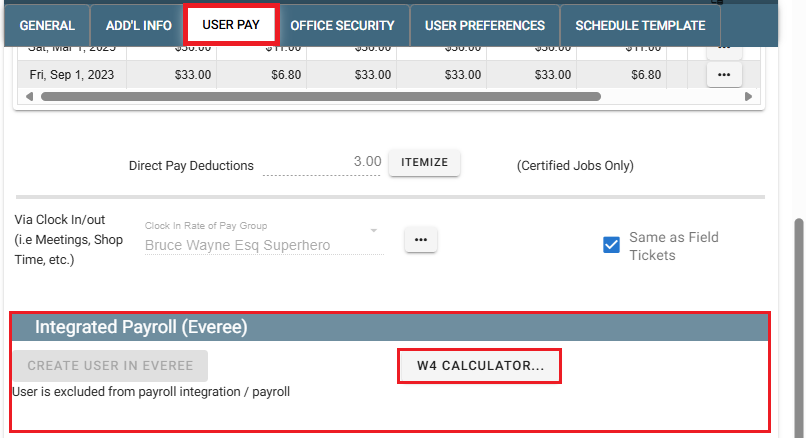
Integrated Payroll (Everee)
You can access the W4 calculator and if you enable Payroll integration you can setup/create your user in Everee.
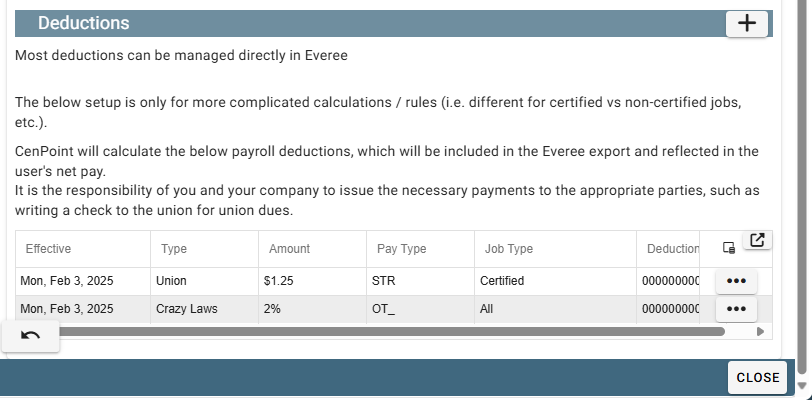
Deductions
You can customize deductions for any odd situations that may arise.
Office Security Tab
This tab is for you to regulate what permissions Office Users require.
You can leave this tab blank for Tech users.
User Preferences Tab
General
Set the User's password for CenPoint. Remember that it can be up to 24 characters long.
Most of the other user preferences can be set up by the user, according to their preferences.
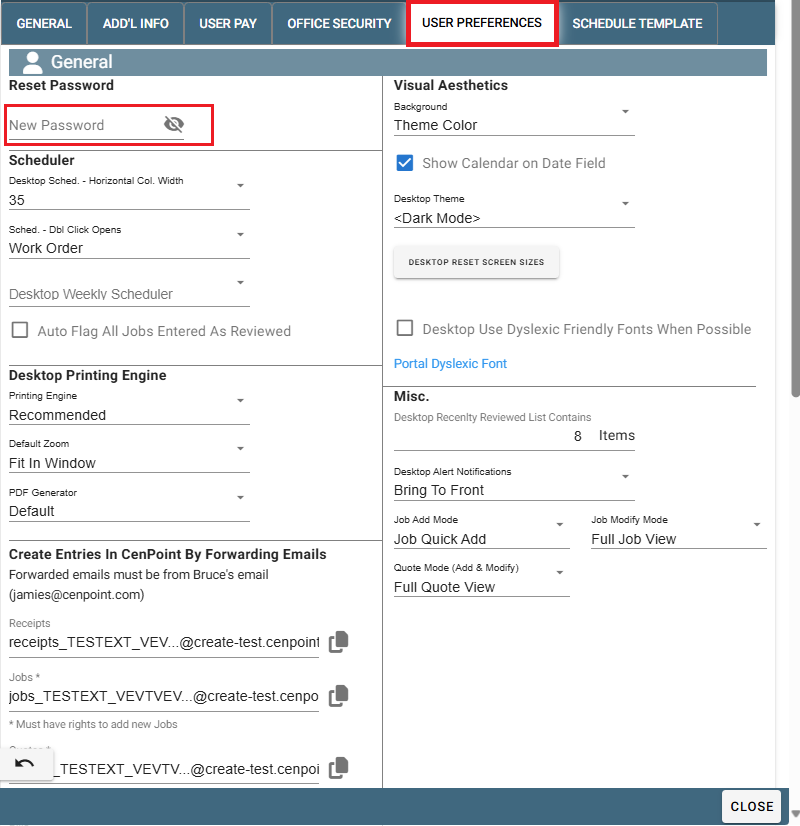
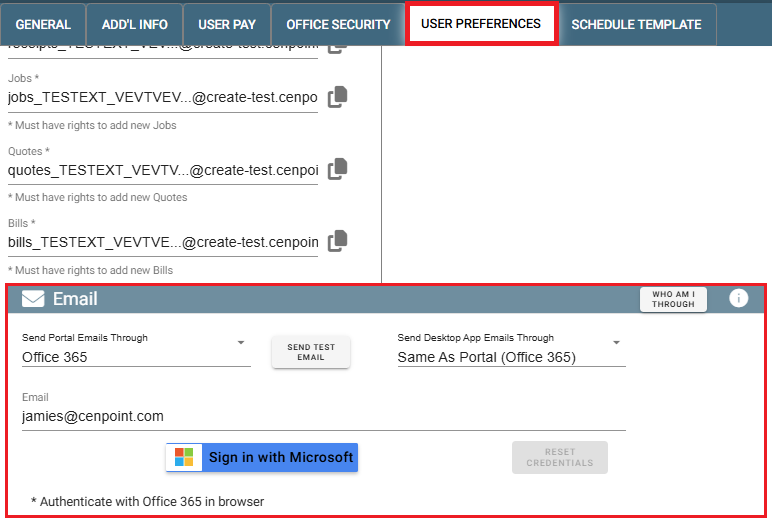
Set up user email. Use the following links for more information on setting up E-mail
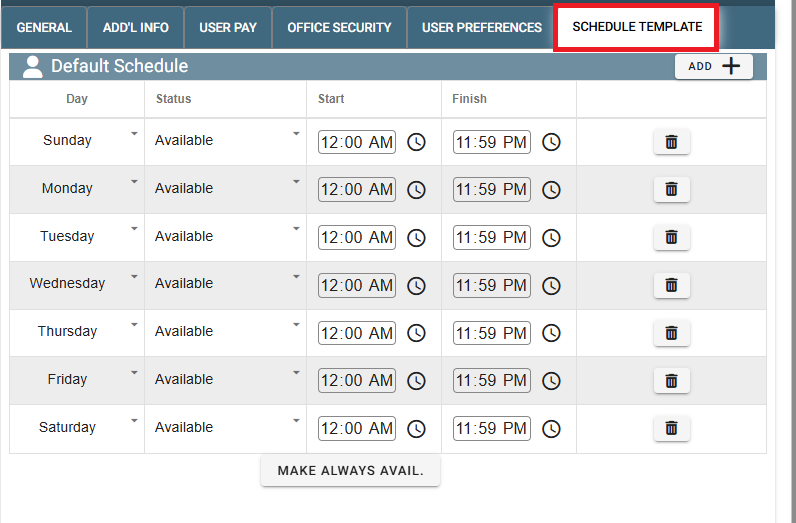
Schedule Template Tab
Set up a schedule for the office user.
