
Find User Preference Tab
Find User Preferences Tab
Go to More -> Users
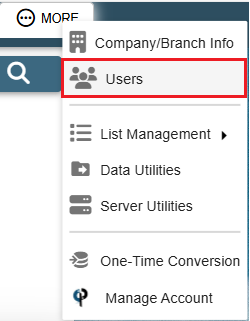
Find your user and then double click on them or click the Ellipsis -> Modify
.png)
Or you can go to the Hamburger Menu -> User Preferences
.png)
.png)
Go to the User Preferences tab.
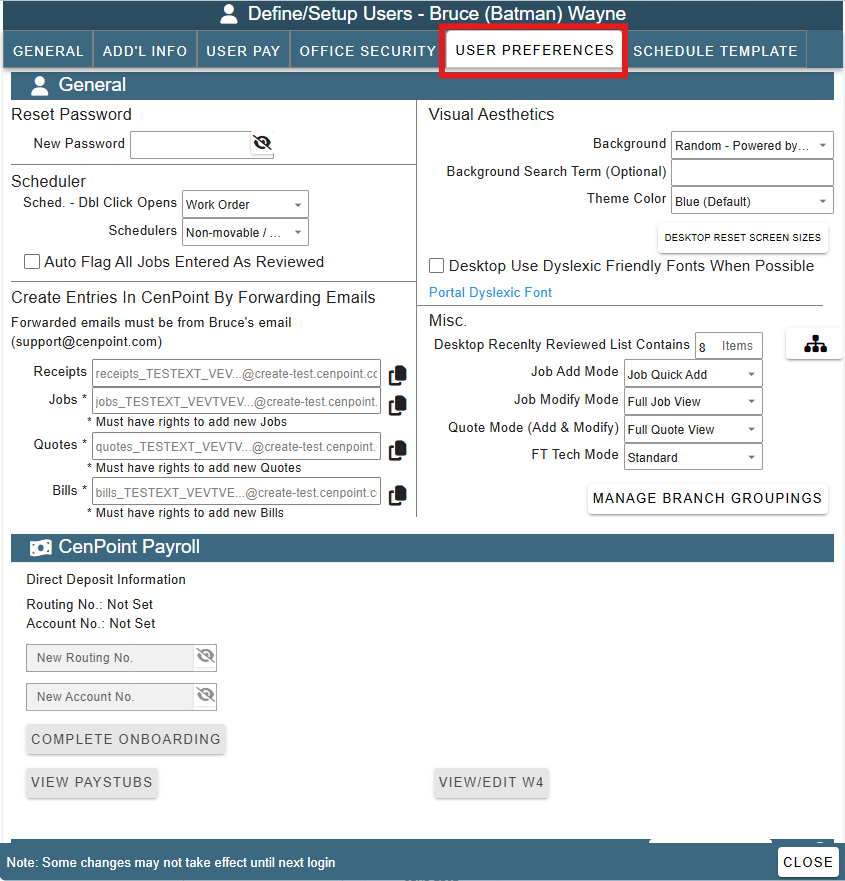
User Preferences Fields Overview
Important Note: Some settings say Desktop as part of their name. An example is "Desktop Reset Screen Sizes".
Any setting with the word "Desktop" in front of it applies only to the Desktop version of CenPoint.
General Table
We'll break down the General Table piece by piece to explain what each part does.
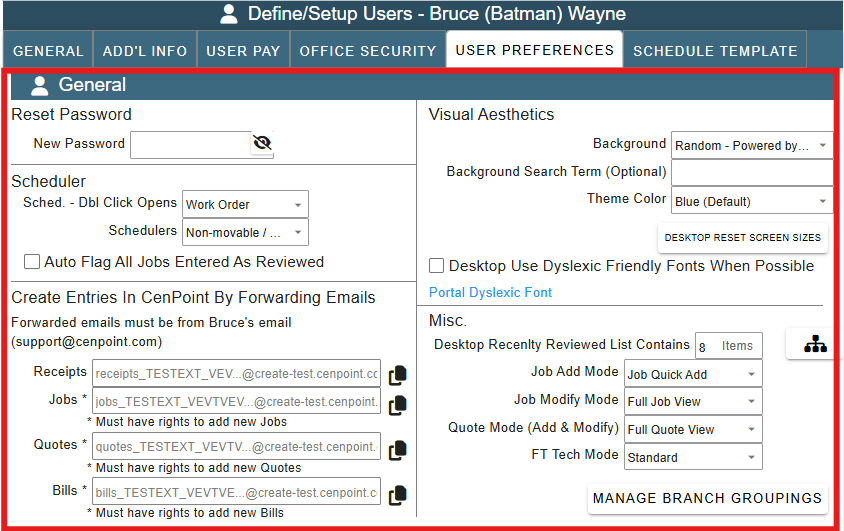
Reset Password:
Create or reset the password for CenPoint here. The same password is used for the desktop and mobile app.
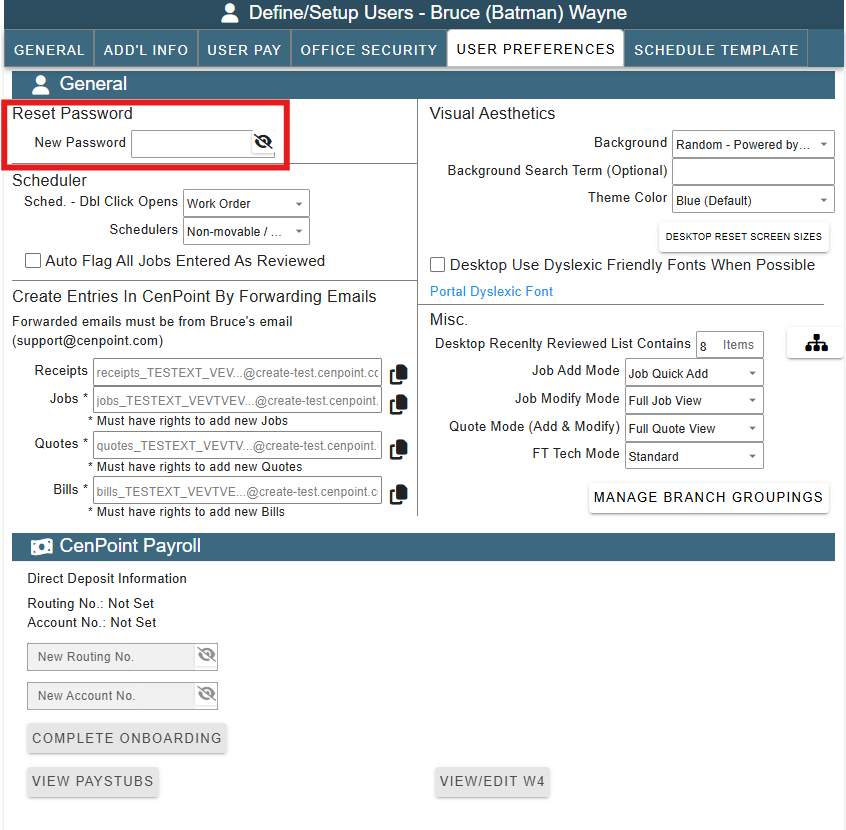
Visual Aesthetics:
Customize visual aesthetics in CenPoint for your preferences.
Use the following link for more information on CenPoint background images and themes: CenPoint Background Images and Themes

Desktop Reset Screen Sizes:
The "Reset Screen Size" button will put all your screens back to a default size.
Note: This only works on Desktop.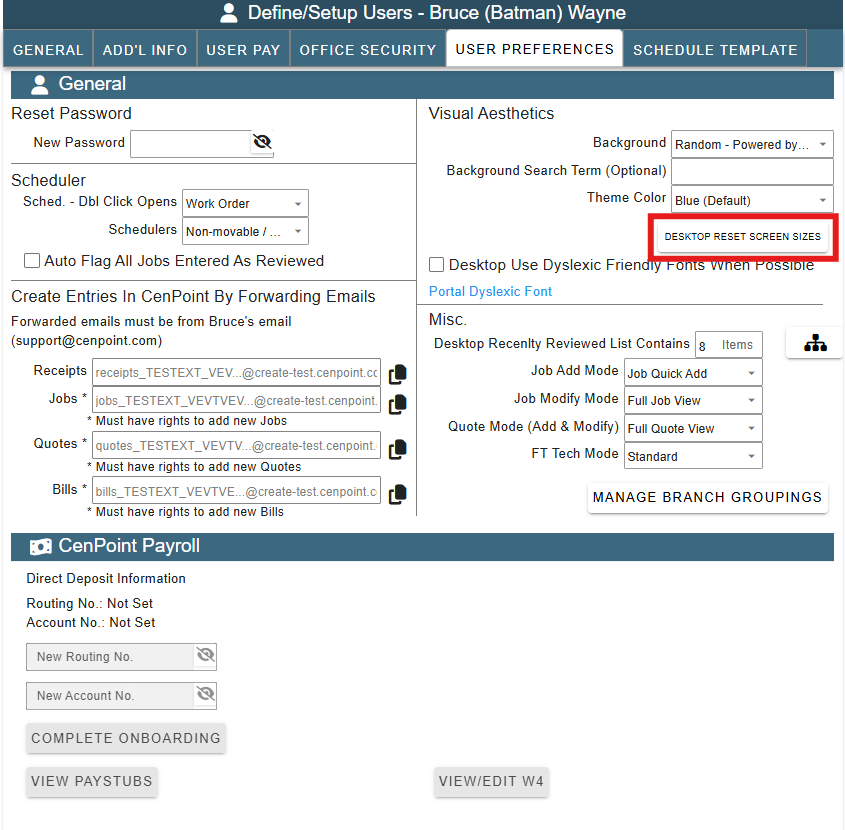
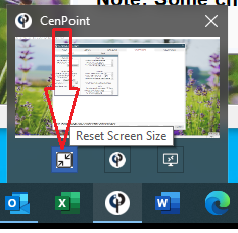
You can also reset the screen size by hovering over the CenPoint Icon on the task bar and click reset Screen Size.
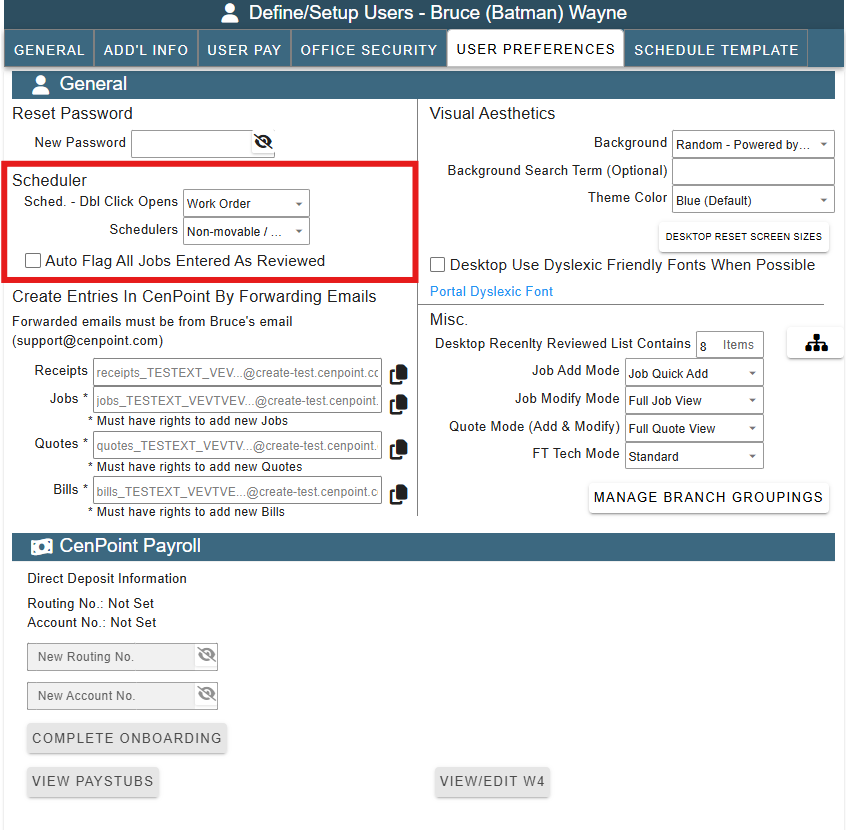
Scheduler
Customize how you want to see the schedulers and if you want to auto review jobs when entered.
Customize whether a double click on an item in the schedule opens a Work Order or a Job.
Note: The settings that have the word "Desktop" in front of them only function on the Desktop version of CenPoint.
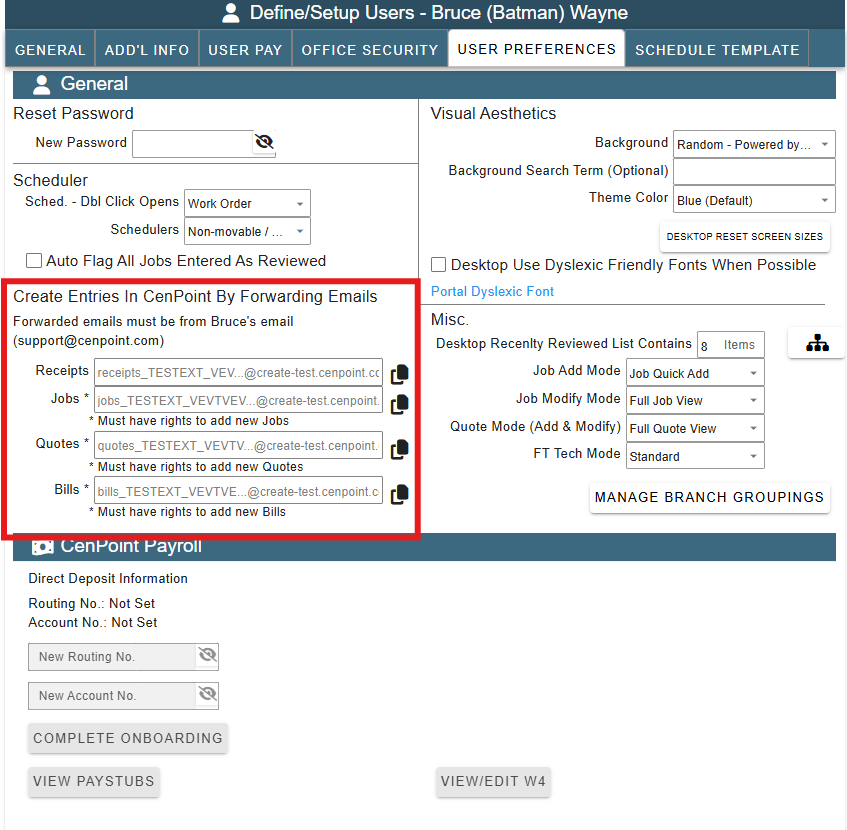
Create Entries in CenPoint by Forwarding Emails
Forward emails to CenPoint to automatically be entered into your CenPoint.
For more information on creating entries via email, please see this documentation
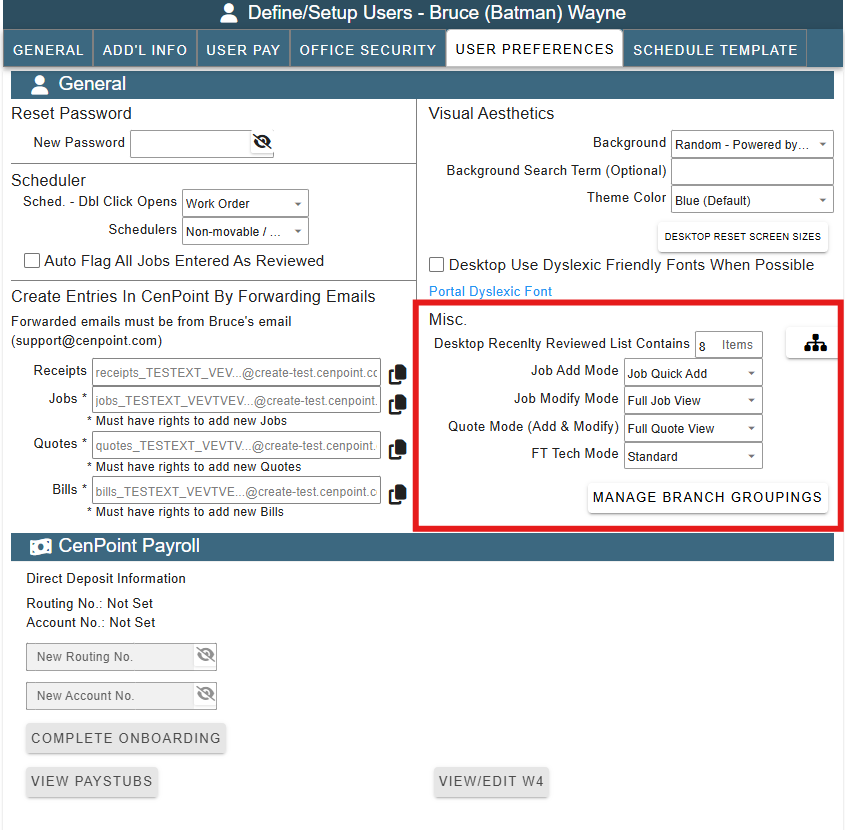
Misc.
Customize how you want to be notified of alerts.
Choose the default on how you want to enter in Jobs.
For more information on Job Add Mode, see the following link: New Job Preferences
For more information on Branch Groupings, see the following link: Branch Groupings
Note: The settings that have the word "Desktop" in front of them only function on the Desktop version of CenPoint.
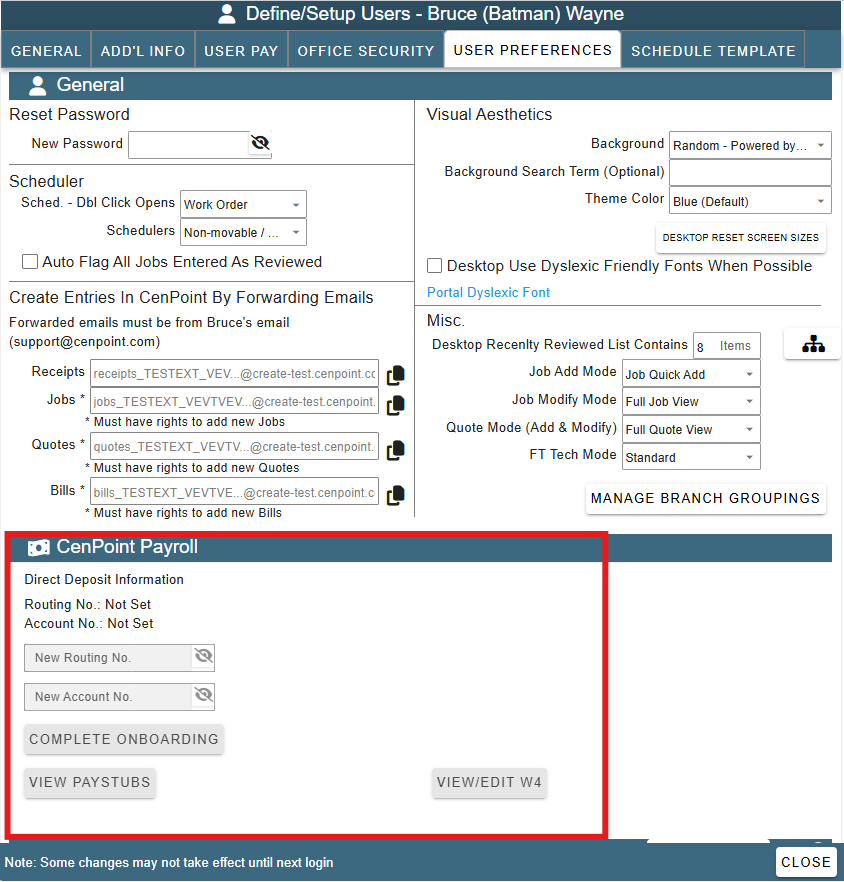
CenPoint Payroll
This is a view only CenPoint payroll that reflects what is in the User Pay tab. For more information, please view this documentation
User Email Table
Set Up User Email
Set up user email by adding the email address and the password that would be used to access that email. (Not the password for Cenpoint)
Use the following links for more information on setting up email:
Then click the Send Test Email button..png)
Add an E-mail Signature
Use the following link for more information on setting up an email signature: Email Signature
.png)